Hiking Around Las Vegas, Grand Canyon National Park
 |
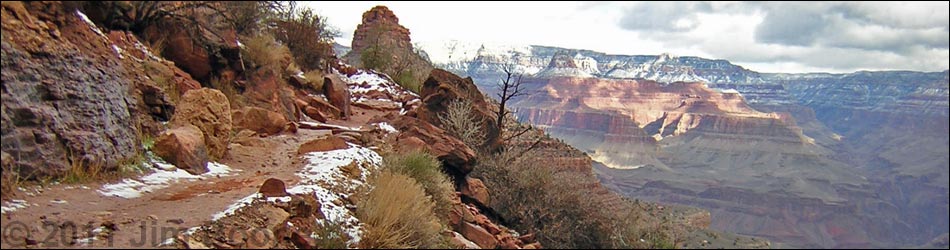
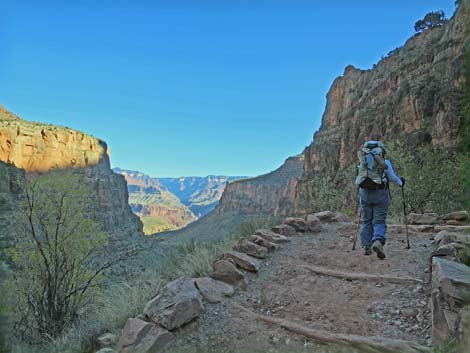
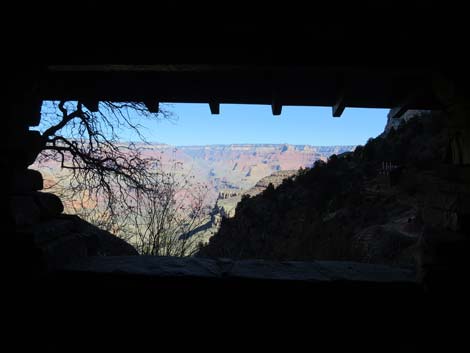
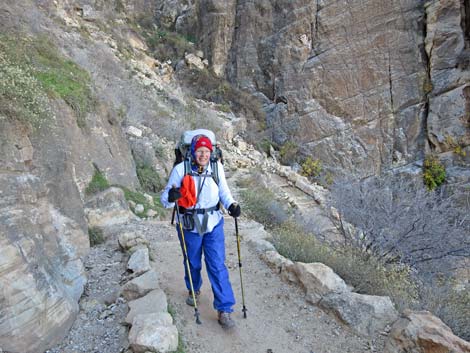
Overview As described here, the Bright Angel (BA) Trail begins at Phantom Ranch and climbs some 4,400 feet over 9.5 miles to the South Rim near BA Lodge. The trail is open and airy, but not too steep, with many grand views out into the Grand Canyon. From Havasupai Garden, the trail runs at gentle grades up the canyon to the base of the Redwall. Although imposing, the trail climbs through the Redwall to 3-Mile Resthouse and then 1.5-Mile Resthouse at fairly gentle grades. The remaining 1.5 miles include some long steep parts, but they are interspersed with more gentle sections. Presented here are photos of the hike from Havasupai Garden Camp to the South Rim. For a full description of this hike, including GPS coordinates and other information, see Bright Angel Trail downhill. See also a full description or just photos of the lower section heading uphill. Link to map. |
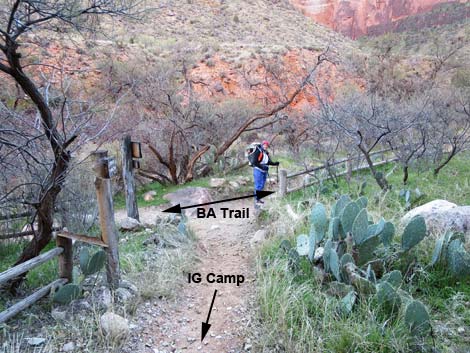
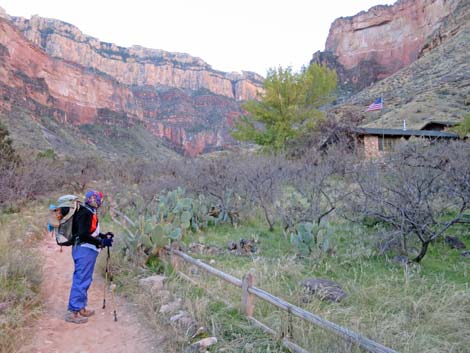
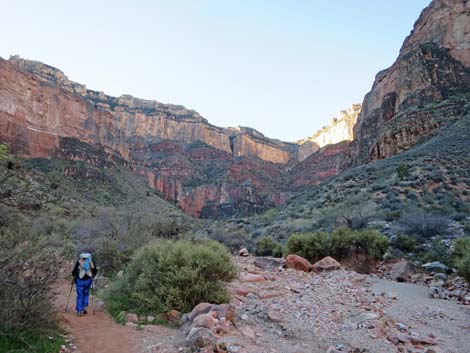
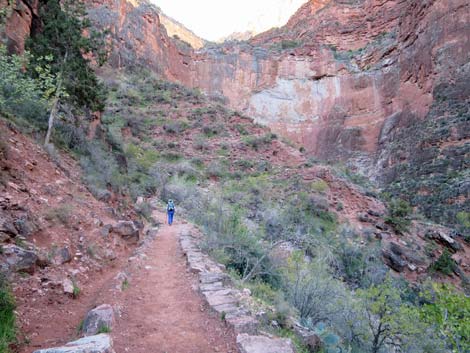
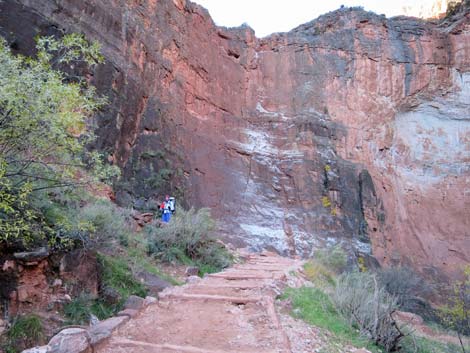
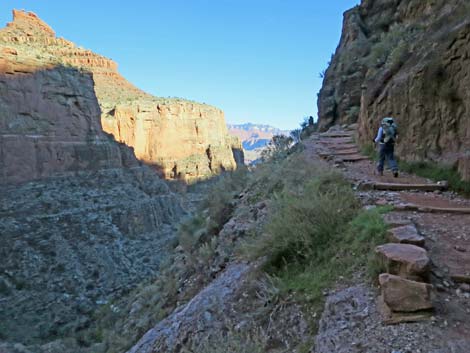
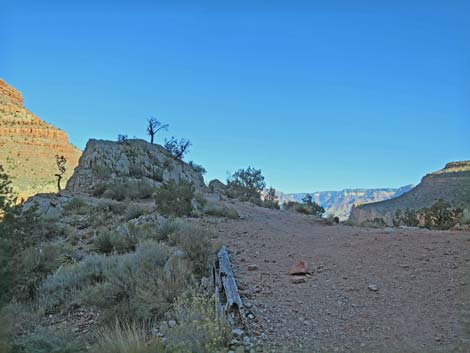
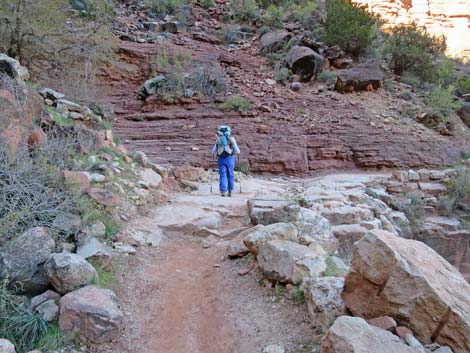
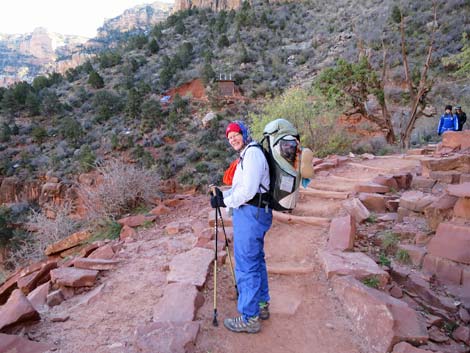
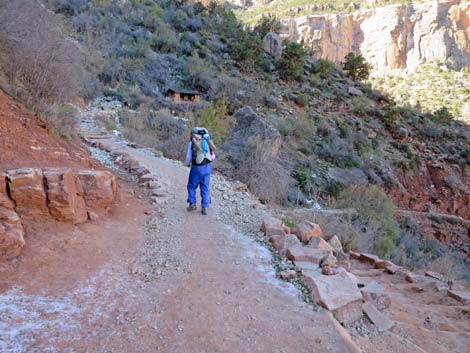
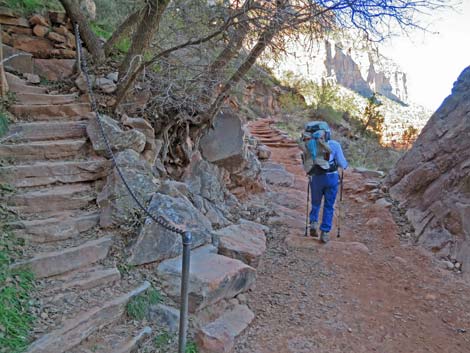
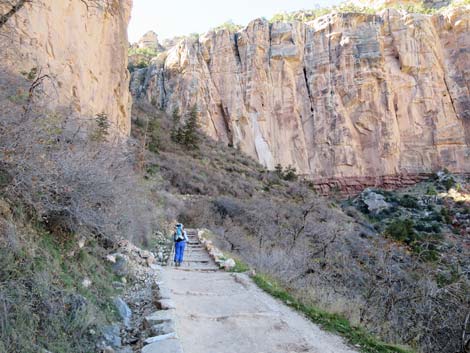
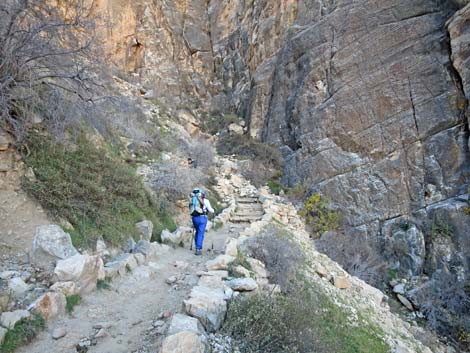
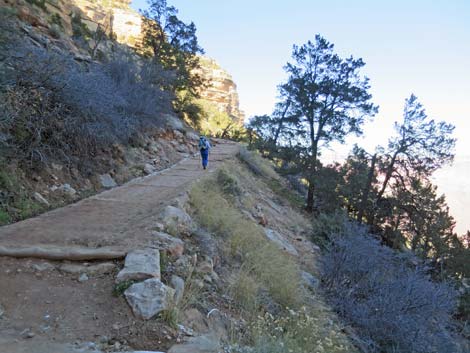
 Hiker starting up BA Trail from Havasupai Garden Camp (view S) |
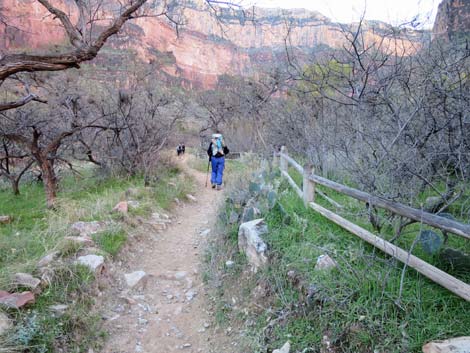
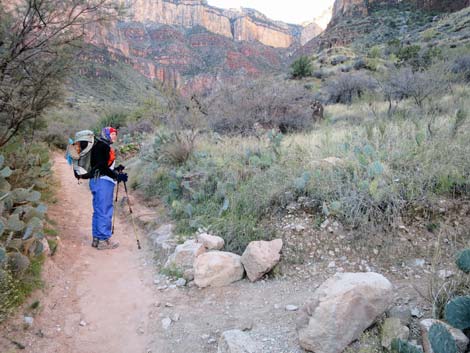
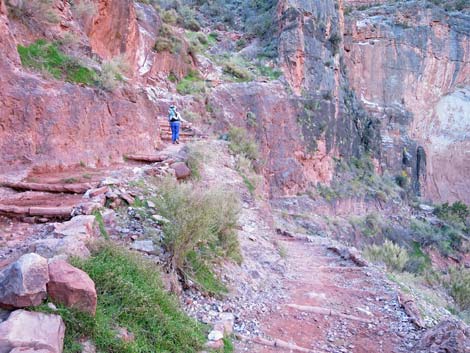
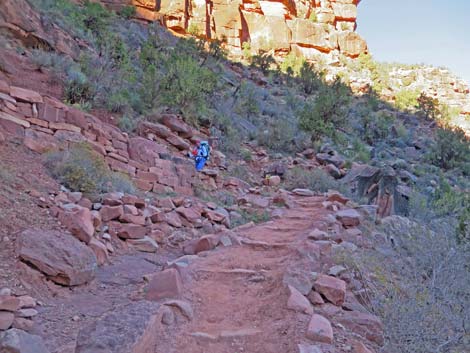
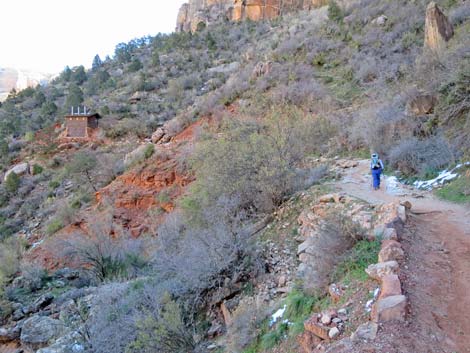
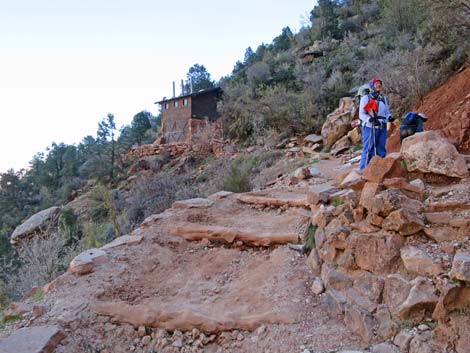
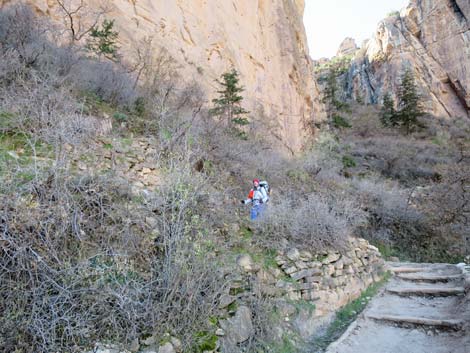
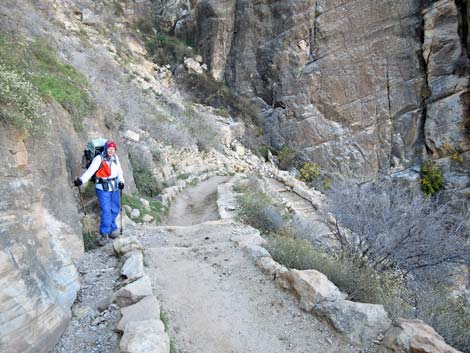
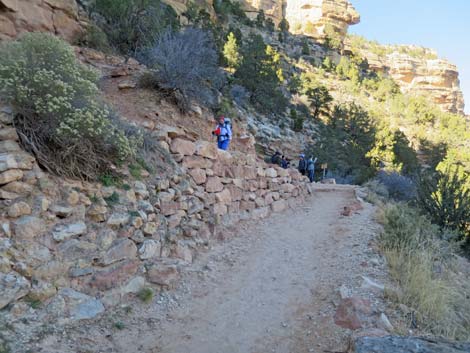
 Hiker passing Havasupai Garden Ranger Station (view S) |
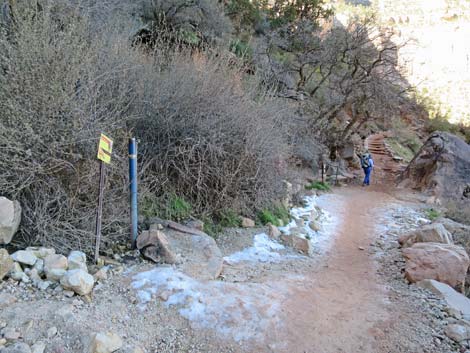
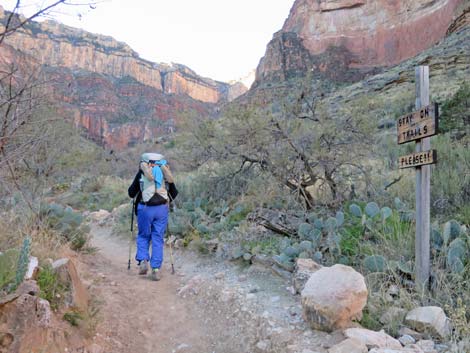 Sign: please stay on the trail (view SW) ... |
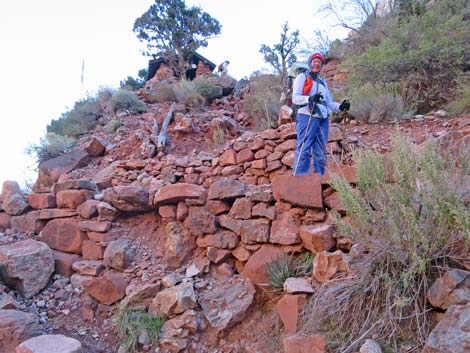
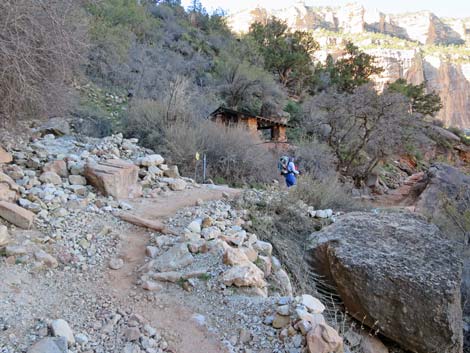
 ... then an unsigned use-trail to the Ranger Station. |
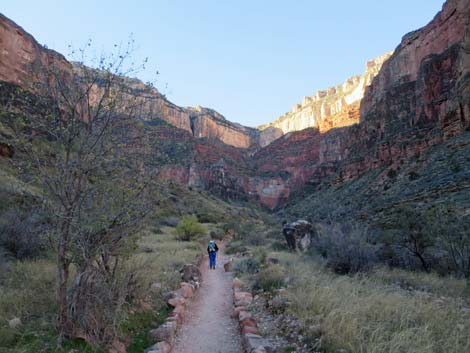
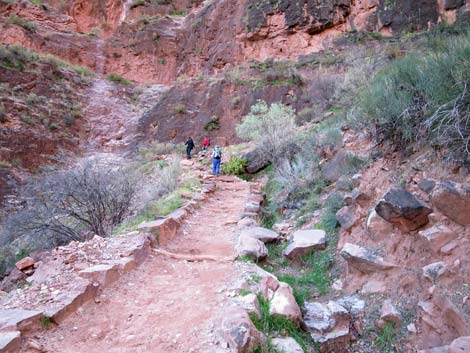
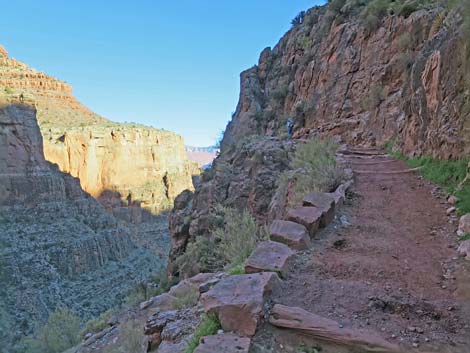
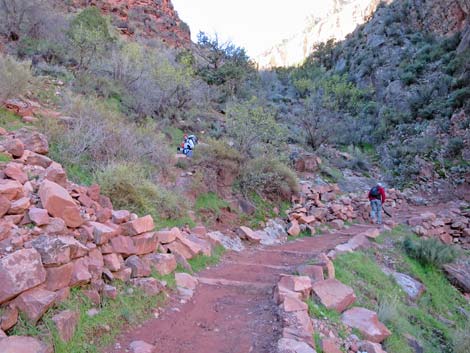
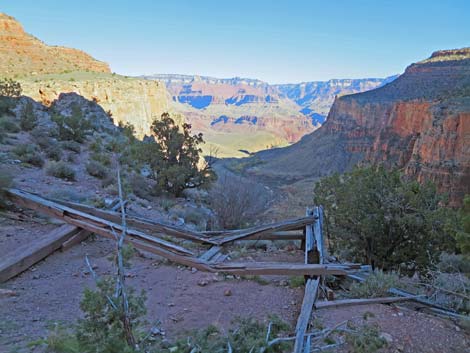
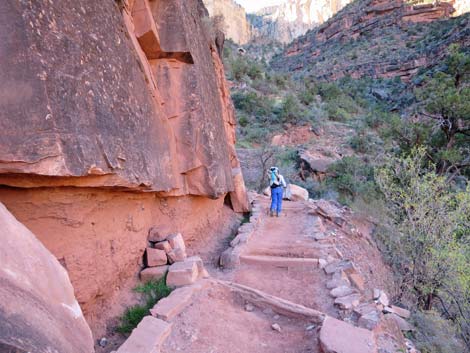
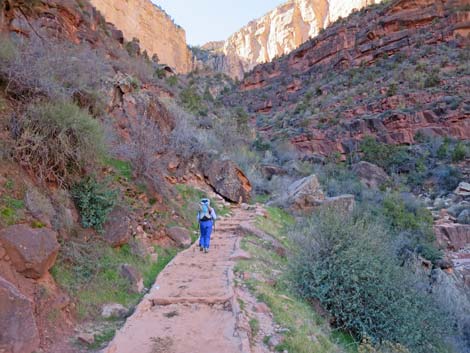
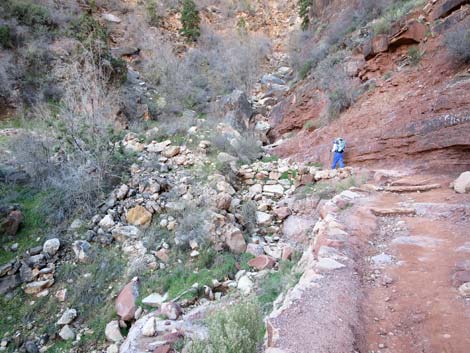
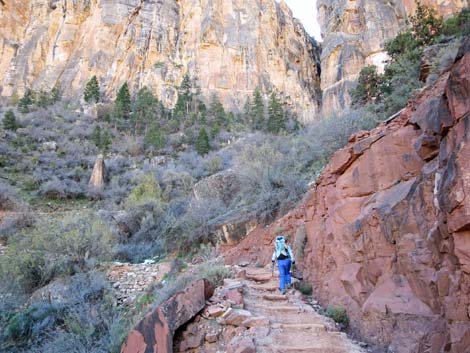
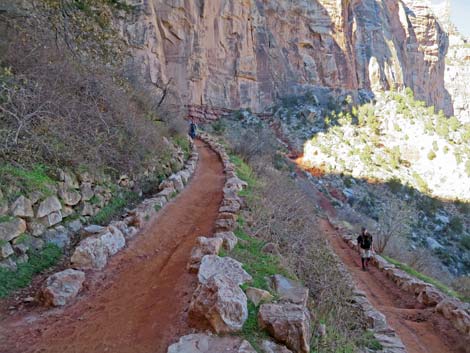
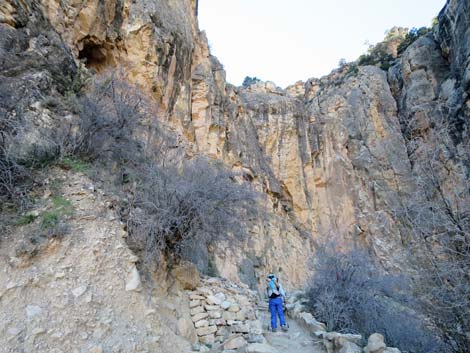
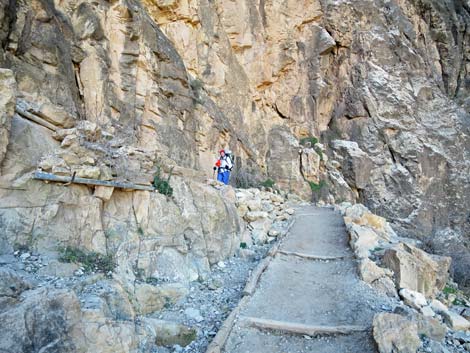
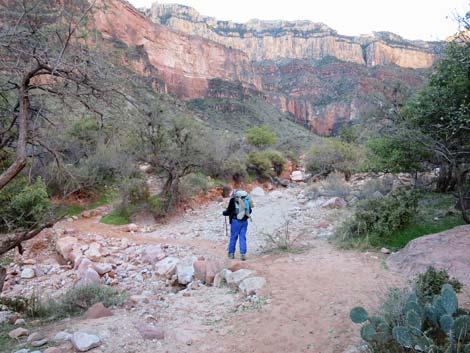 Crossing Garden Wash (view S) |
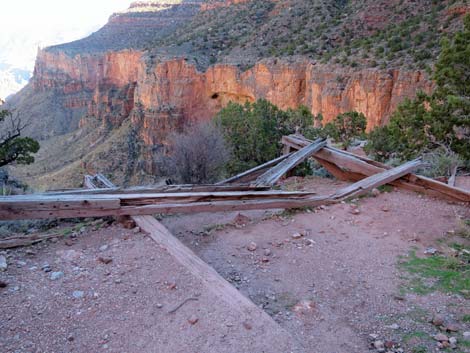
 Garden Wash flash floods and leaves lots of rock (view SW) |
 |
 |
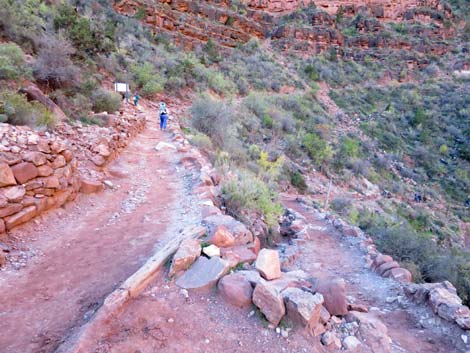
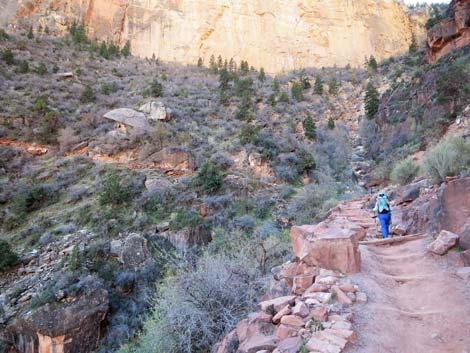
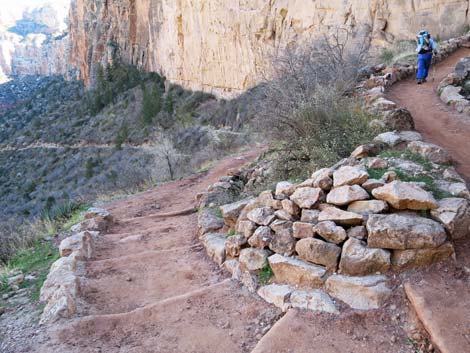
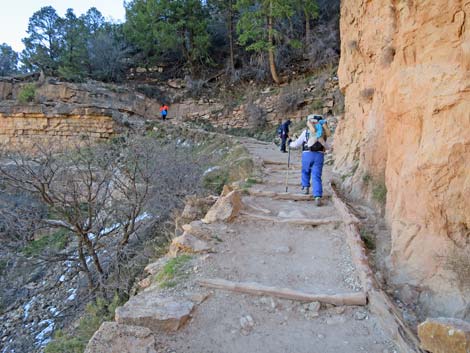
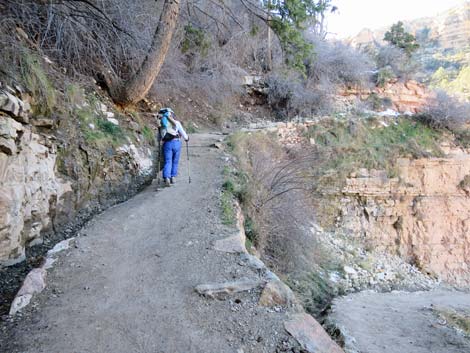
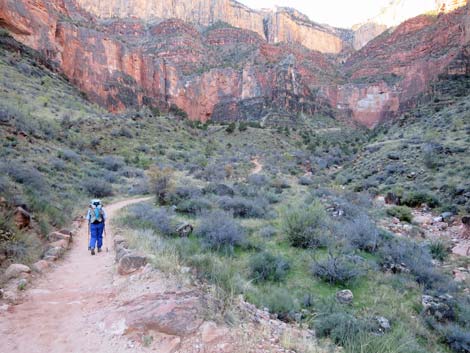 Trail runs along Garden Wash (view SW) |
 The Trans-Canyon pipeline takes a shortcut across a side wash |
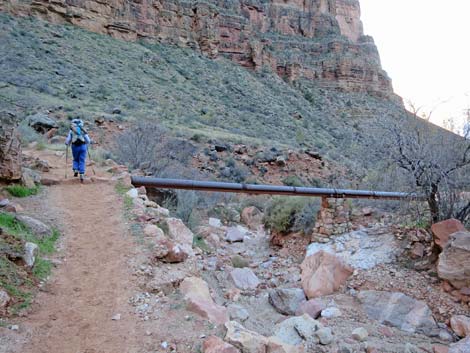 Trail contours around sidewash, then pipe rejoins the trail (view W) |
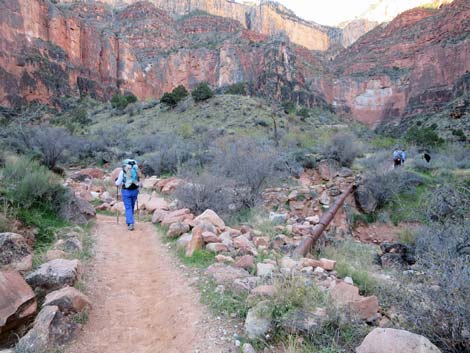
 Trail contours into second, larger sidewash (view SE) |
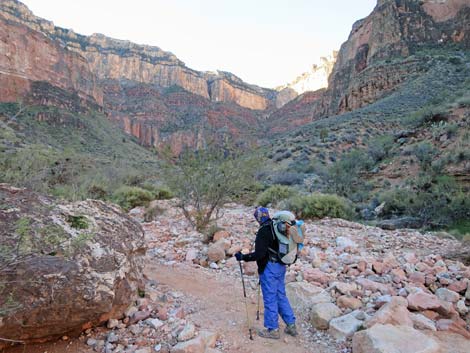
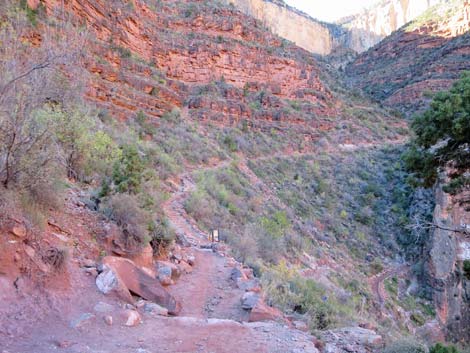
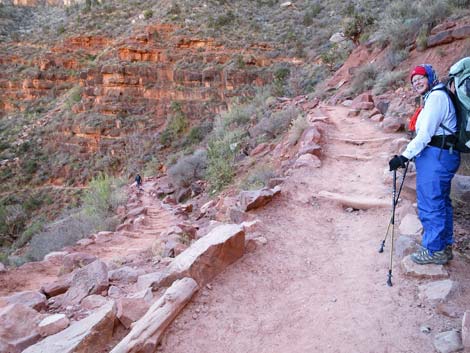
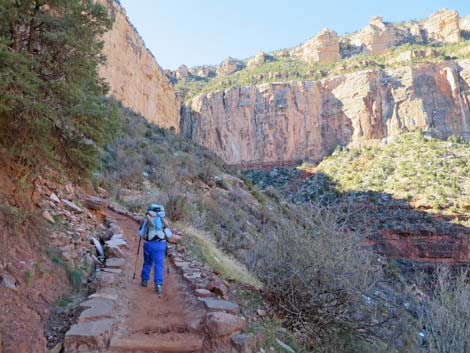
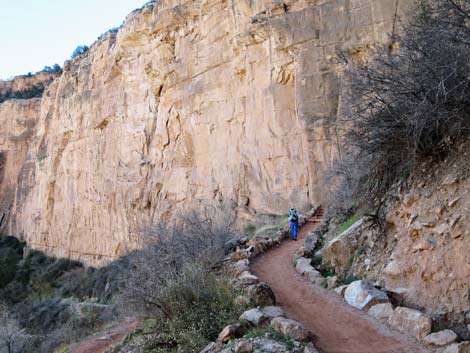
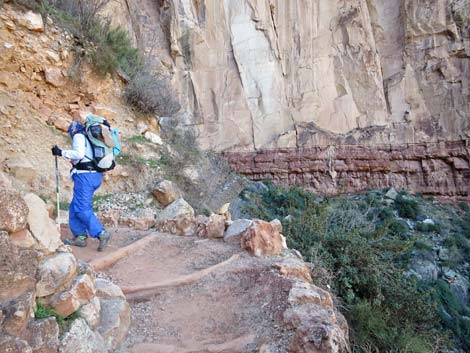
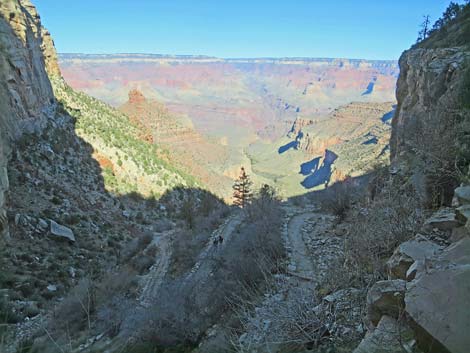
 Trail climbs towards Redwall (view SW) |
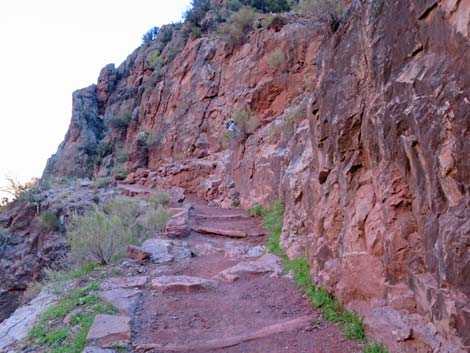
 The Redwall looks imposing from afar (view SW) |
 The Redwall looks more imposing from up close (view SW) |
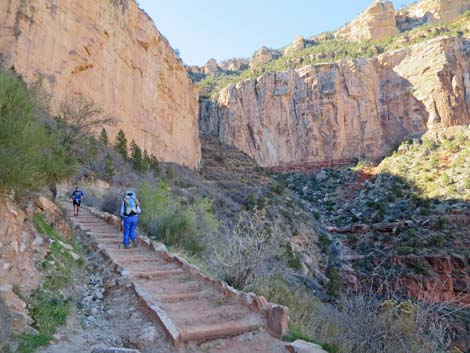
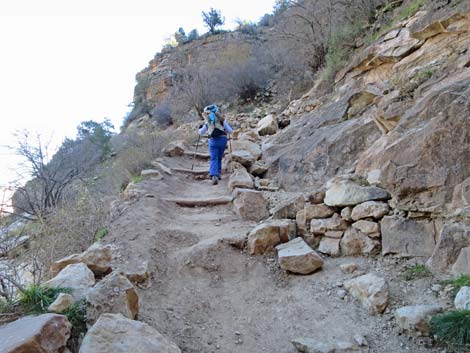
 First Redwall switchback (view SW) |
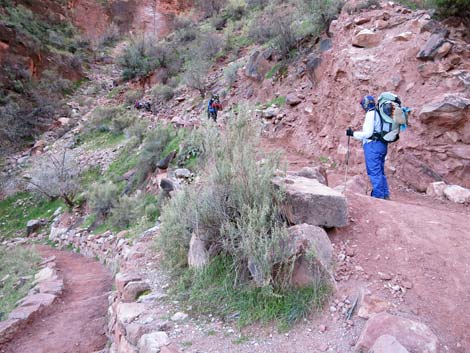 Waiting at first Redwall switchback for pack train (view SW) |
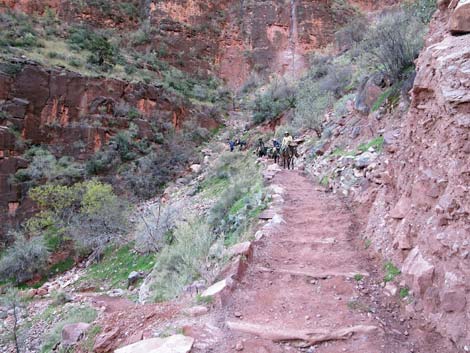 Pack train approaching (view SW) |
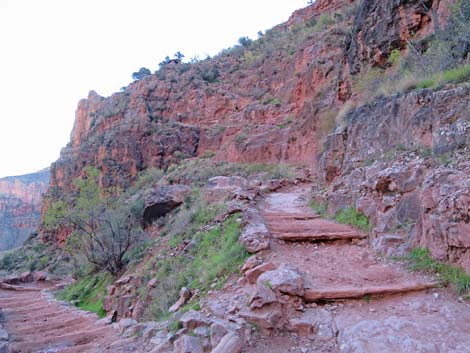
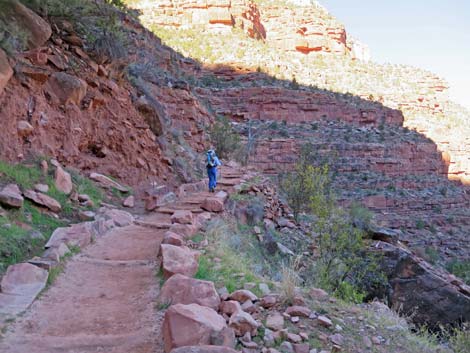
 Lots of gentle switchbacks (view NW) |
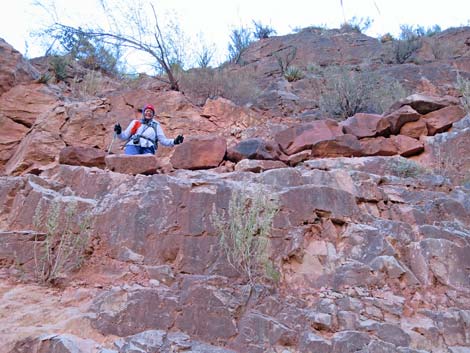
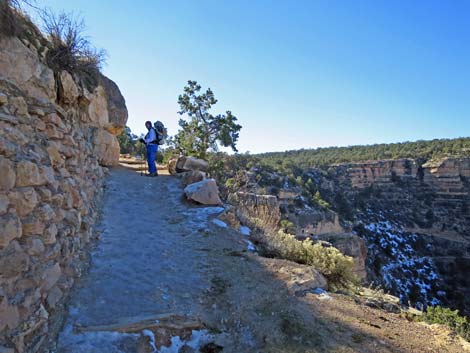
 Hiker finally at base of Redwall, proper (view SW) |
 |
 |
 |
 |
 |
 |
 |
 |
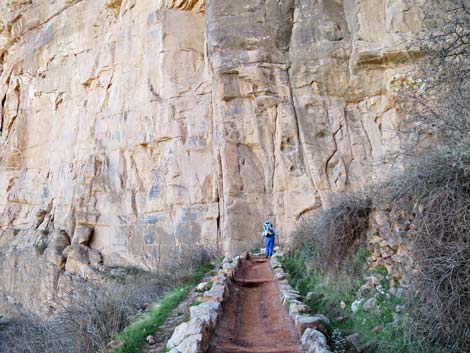
 Trail through the Redwall is not steep, but ... |
 ... the Redwall certainly is! |
 |
 |
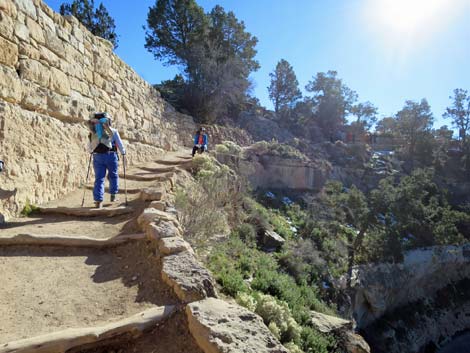
 Hikers at next-to-last Redwall switchback (view SW) |
 Hikers past last Redwall switchback; note resthouse above (view NE) |
 Hikers atop last Redwall switchback; note resthouse above (view NE) |
 Hikers at spur trail to 3-Mile Resthouse (view S) |
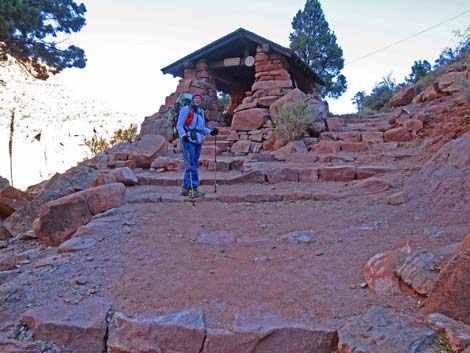 Hiker at 3-Mile Resthouse (view NE) |
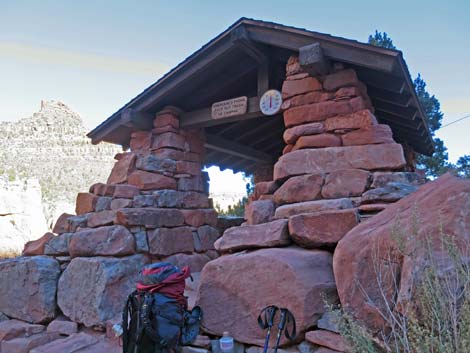 3-Mile Resthouse (view NE) |
 3-Mile Resthouse and trail to restrooms (view NE) |
 Trails to 3-Mile Overlook and 3-Mile Restrooms (view NE) |
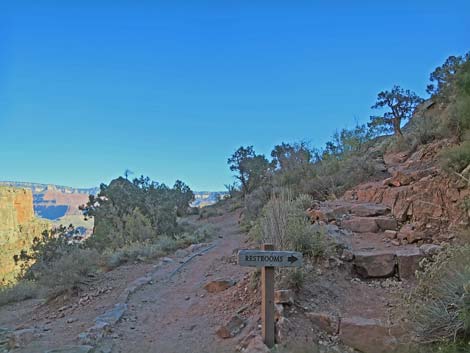
 Trail to 3-Mile Restrooms (view NE) |
 Approaching 3-Mile Overlook (view NE from restrooms) |
 3-Mile Overlook (view NE) |
 3-Mile Overlook (view NE) |
 3-Mile Overlook (view NE) |
 Returning to 3-Mile Resthouse (view SW) |
 Returning to Bright Angel Trail (view SW from 3-Mile Resthouse) |
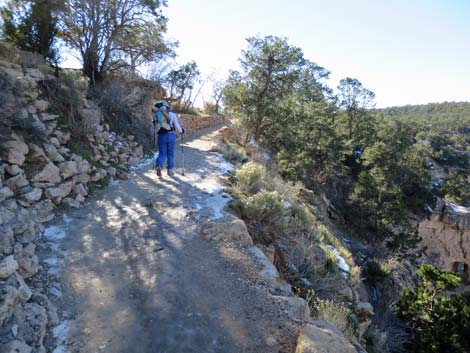
 Continuing on Bright Angel Trail (view SW) |
 Starting into next set of switchbacks (view SW) |
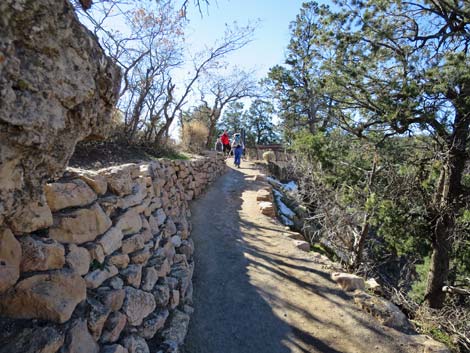
 Lots of gentle switchbacks (view NE) |
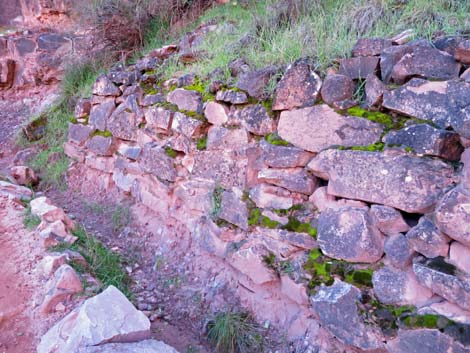 Lots of moss growing on shady rock wall (view SE) |
 More switchbacks (view NE) |
 More gentle switchbacks (view SW) |
 Contouring up and across the hillside (view SW) |
 Contouring up and across the hillside (view SW) |
 Approaching the next set of switchbacks (view W) |
 In the switchbacks (great view NE to North Rim) |
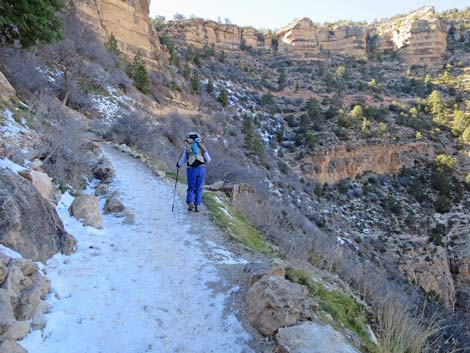
 More gentle switchbacks (view NE) |
 More gentle switchbacks (view SW) |
 More gentle switchbacks (view SW) |
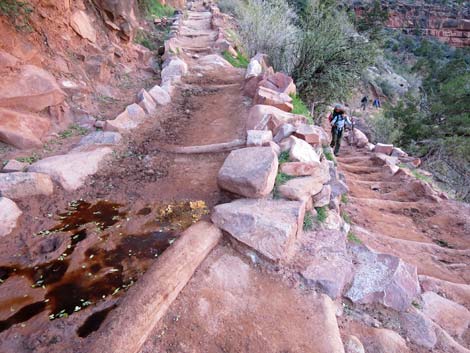
 Pools of mule urine - a most disgusting experience (view SW) |
 Contouring up and across the hillside (view SW) |
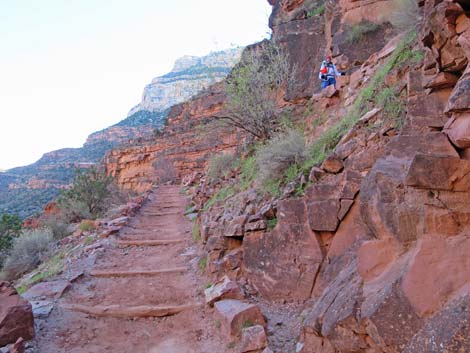
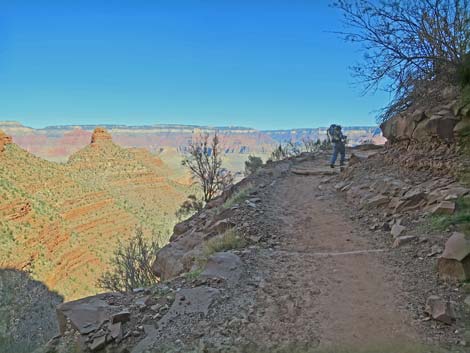
 In the distance: 2-Mile Switchback (view W) |
 Hiker crossing Bright Angel Wash and fault (view W |
 Hiker above 2-Mile Switchback (view NW) |
 Big grin: happy hiker above 2-Mile Switchback (view S) |
 |
 |
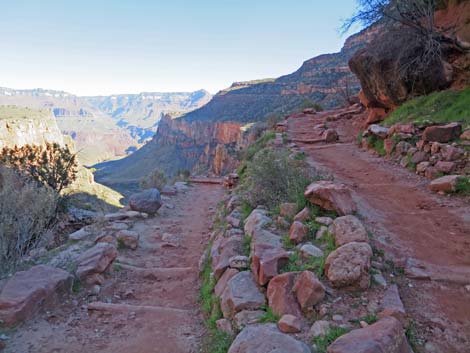
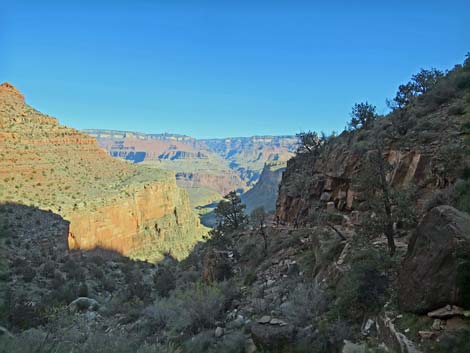
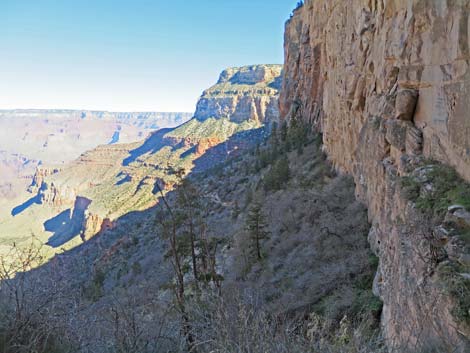
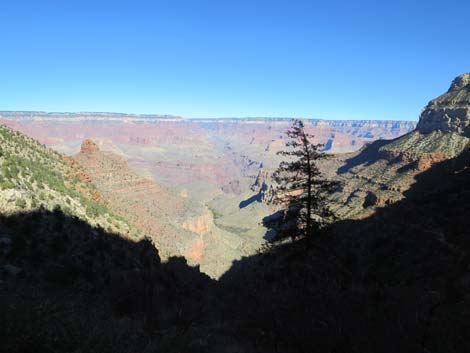
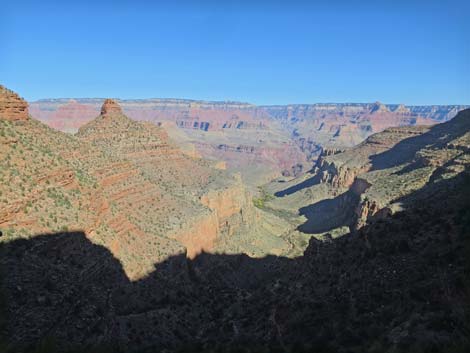 Grand view down canyon and across to North Rim (view NE) |
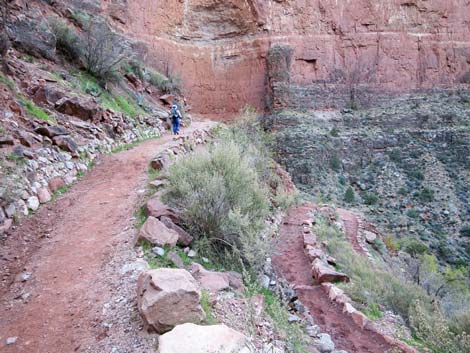
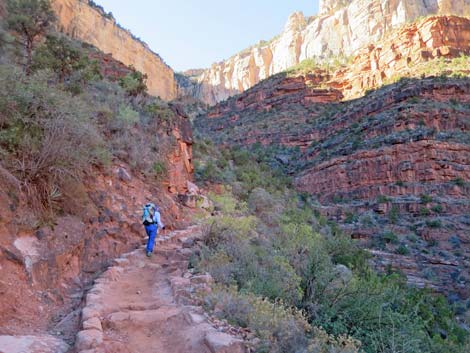
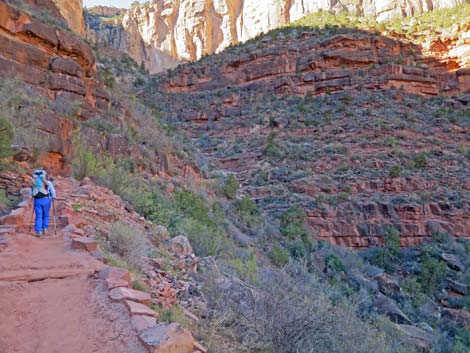
 Contouring up and across the hillside (view SW) |
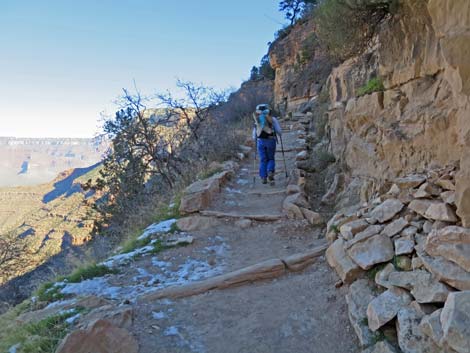
 Airy, but gentle, trail (view NE) |
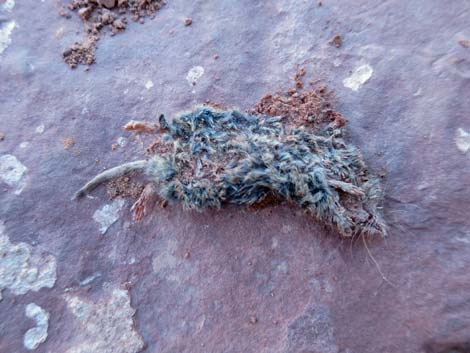 Woodrat who didn't make it; sad |
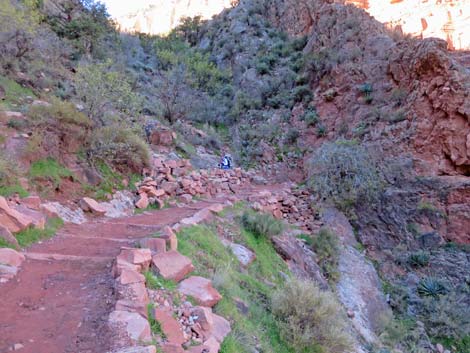
 Contouring across hillside; 1.5-Mile Resthouse in distance (view E) |
 Contouring up across hillside (view E) |
 Hiker approaching spur trail to 1.5 Mile Restrooms (view E) |
 Hiker at spur trail to 1.5 Mile Restrooms (view E) |
 Hiker approaching 1.5 Mile Resthouse (view SW) |
 Hiker at 1.5 Mile Resthouse (view SW) |
 1.5 Mile Water faucet; hiker at spur to Resthouse (view W) |
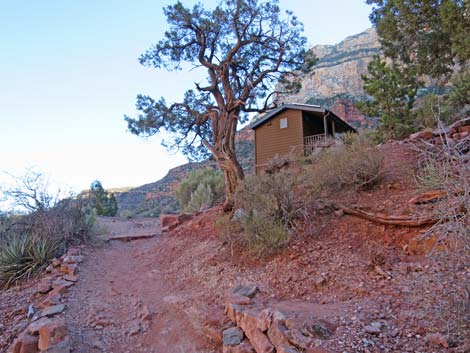
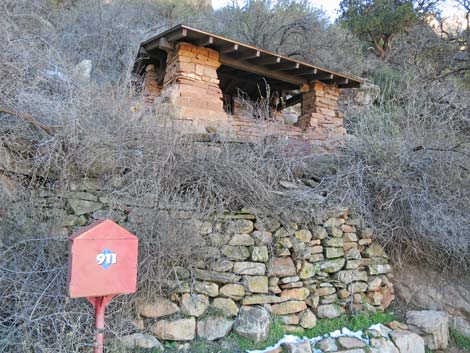 1.5 Mile Emergency Phone and Resthouse (view SW) |
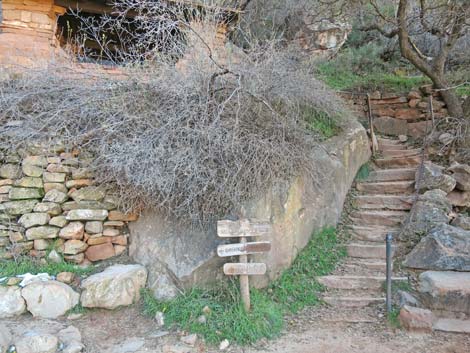 Short spur to 1.5 Mile Resthouse (view S) |
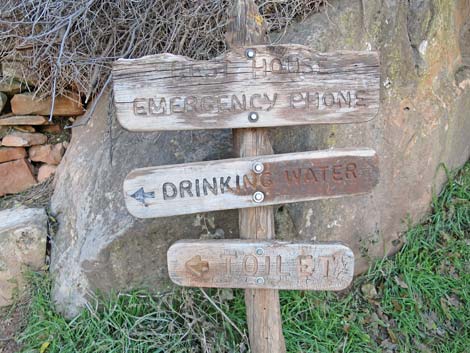 Directional signs at 1.5 Mile Resthouse (view S) |
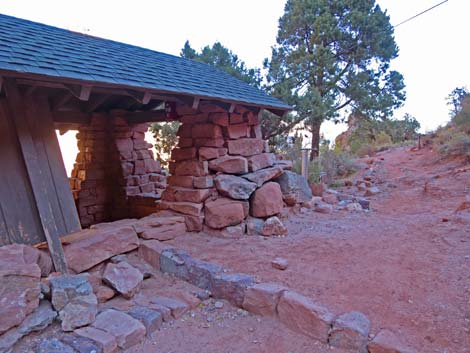
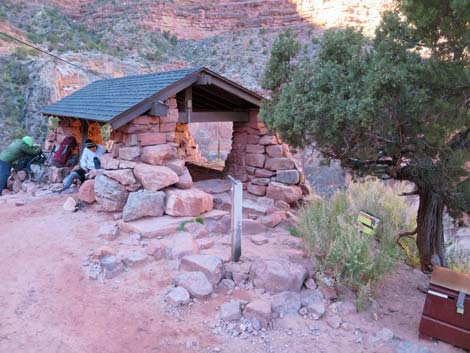
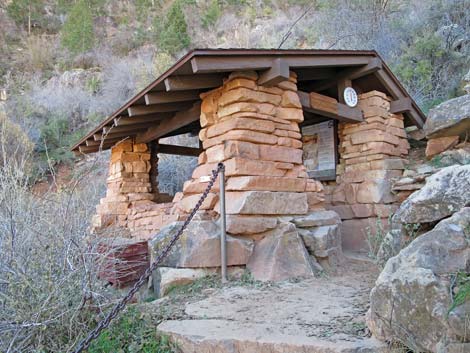 1.5 Mile Resthouse (view SE) |
 1.5 Mile Resthouse interior (view E) |
 1.5 Mile Resthouse interior (view NE to North Rim) |
 Hiker departing 1.5 Mile Resthouse (view NW) |
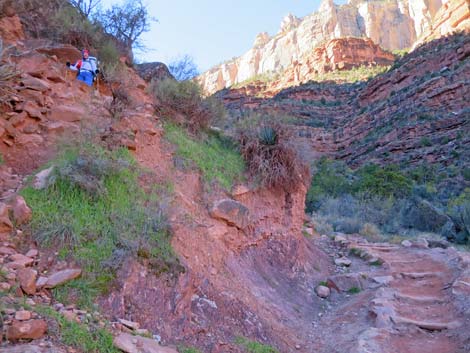
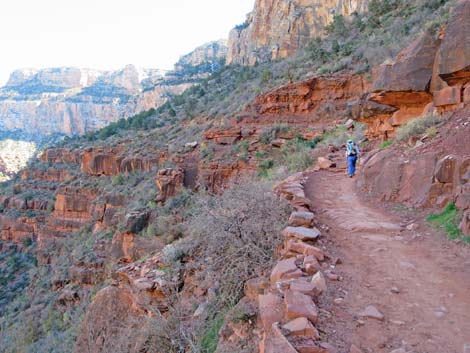
 Trail contours more steeply up and across hillside (view SW) |
 Trail contours more steeply up and across hillside (view SW) |
 Hiker approaching switchbacks below Coconino Sandstone Wall |
 Hiker starting into switchbacks below Coconino Sandstone Wall |
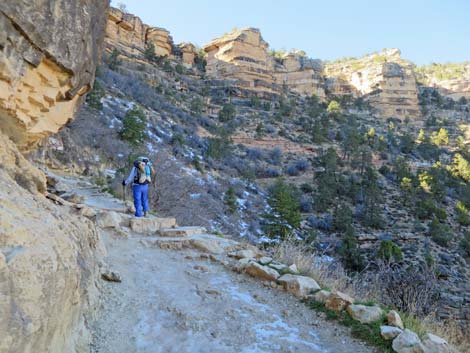
 Switchbacks below Coconino Sandstone Wall (view E) |
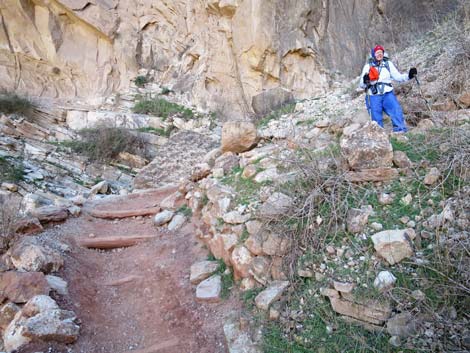
 Hiker approaching Coconino Sandstone Wall (view SE) |
 Hiker at Coconino Sandstone Wall (view SE) |
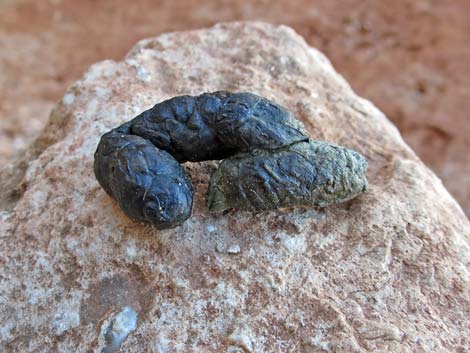 Bobcat left a business card |
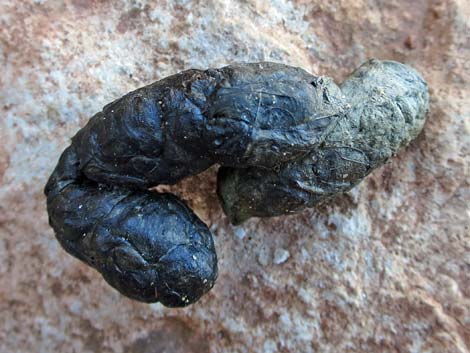 Bobcat left a business card |
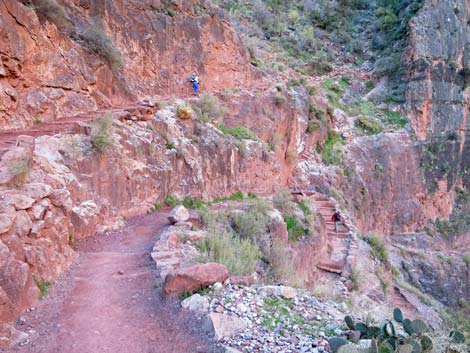
 Grand view along Coconino Sandstone Wall (view NE) |
 Gentle switchbacks (view SW) |
 Hiker switching back (view SW) |
 Grand view to the North Rim (view NE) |
 Hiker switching back (view SE) |
 Hiker at another steep spot (view SW) |
 Hiker resting above the steep spot (view SW) |
 |
 |
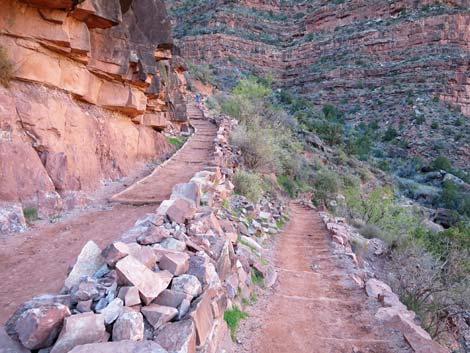
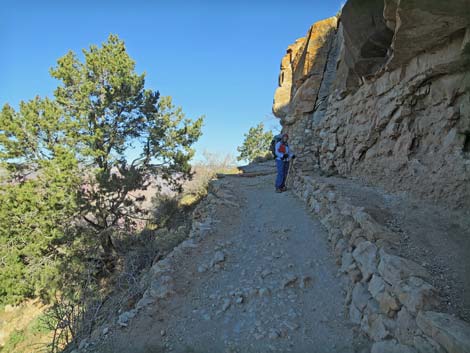
 Hiker at built-up trail along Coconino Sandstone Wall (view SW) |
 Steep hillsides make grand views to the North Rim (view NE) |
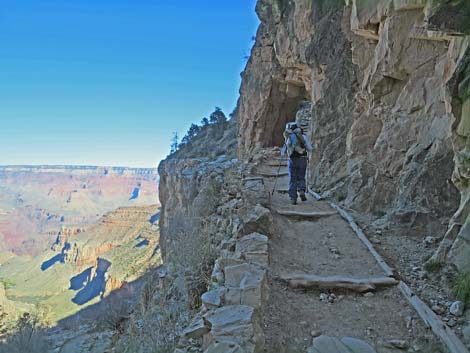 Hiker on built-up trail approaching second tunnel (view NE) |
 Hiker entering second tunnel (view NE) |
 Second Tunnel (view NE) |
 Steep trail above the tunnel (view NE) |
 Steep trail with ice (view NE) |
 Steep trail (view NE) |
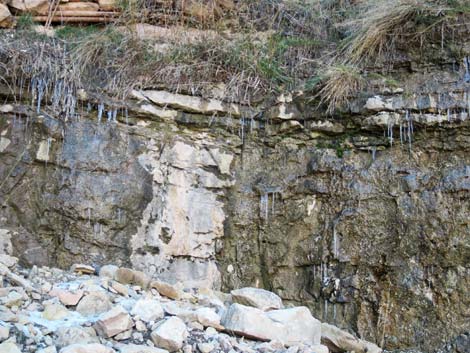 Icicles at seep along the trail (don't expect potable water) |
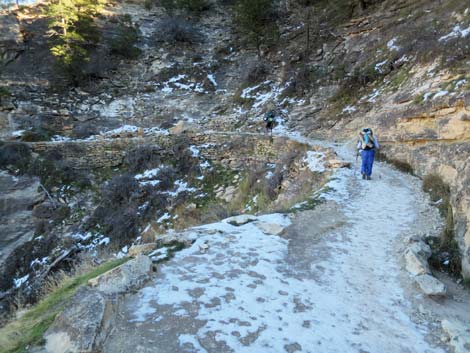
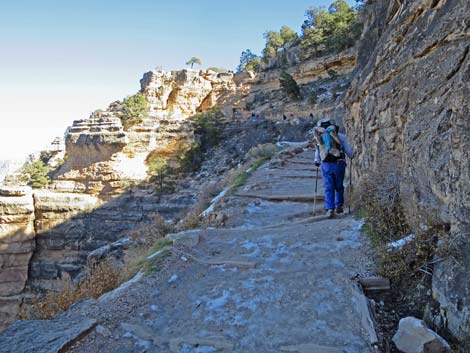
 Longest steep section of trail (view SW) |
 Longest steep section of trail with ice (view SW) |
 Longest steep section of trail with ice (view SW) |
 Longest steep section of trail without ice (view SW) |
 Switchback above longest steep section of trail (view SW) |
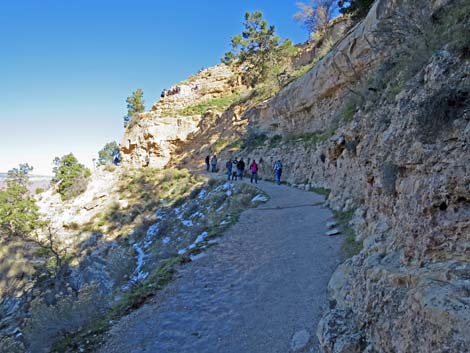
 More gentle trail contours up and across hillside (view S) |
 More gentle trail contours up and across hillside (view SE) |
 Steeper trail contours up and across hillside with ice (view S) |
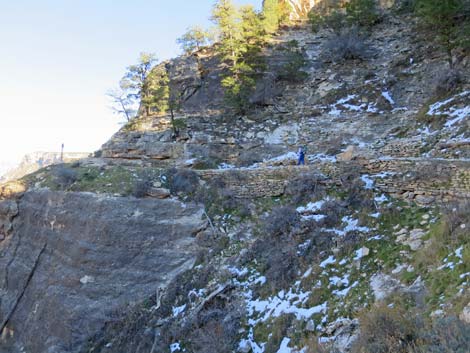 Built-up trail contours gently across steep hillside (view SE) |
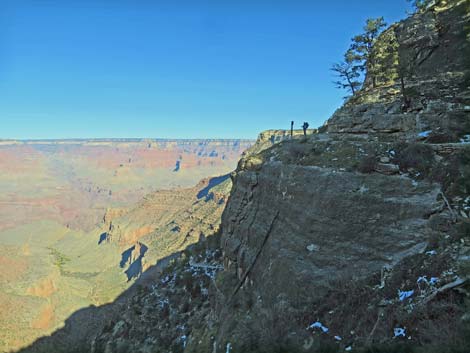 Trail crosses a rocky point above grand scenery (view NE |
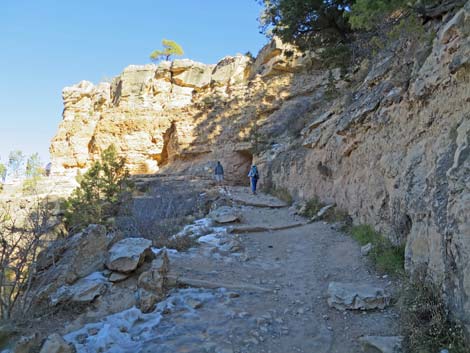
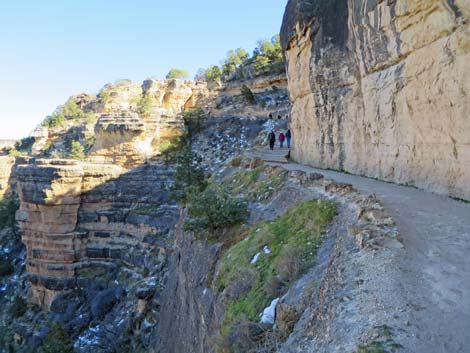 Trail follows ledge through Kaibab Limestone (view E) |
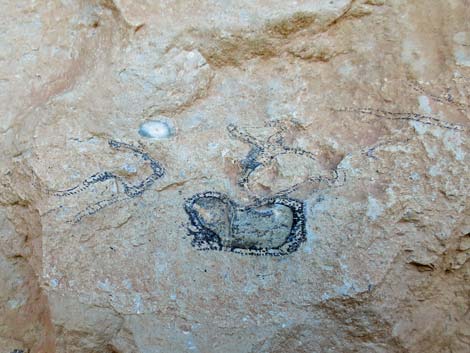 Fossils in the Kaibab Limestone (view S) |
 Moderately steep trail through Kaibab Limestone (view E) |
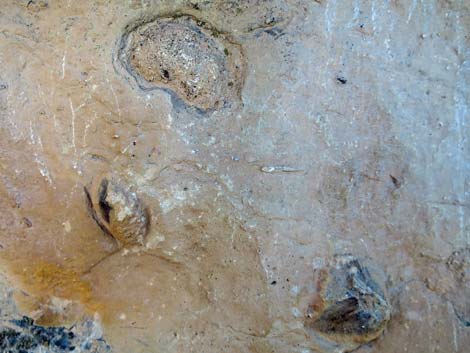 More fossils in the Kaibab Limestone (view S) |
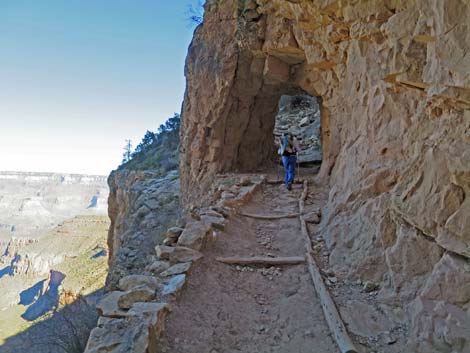
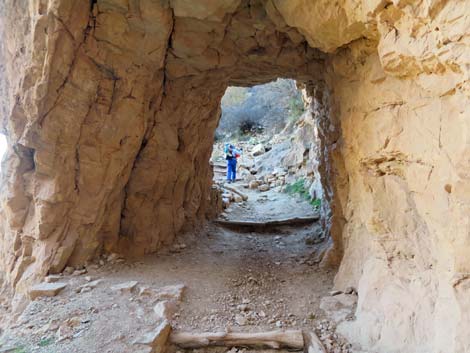
 Hikers approaching First Tunnel (view E) |
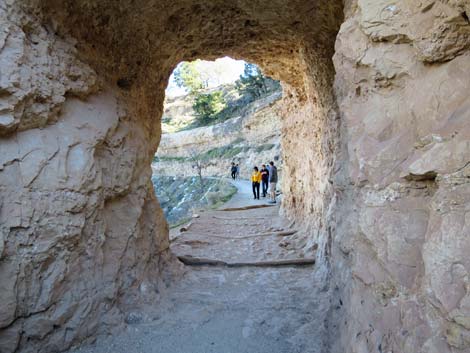 First Tunnel (view E) |
 More gentle trail through Kaibab Limestone (view E) |
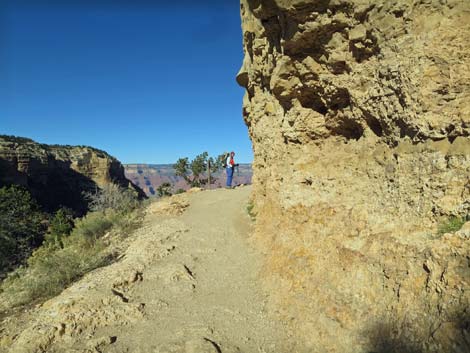 Another grand point (view NE) |
 Last rest before hitting civilization (view NE) |
 Hiker at last switchback (view E below Kolb Studio) |
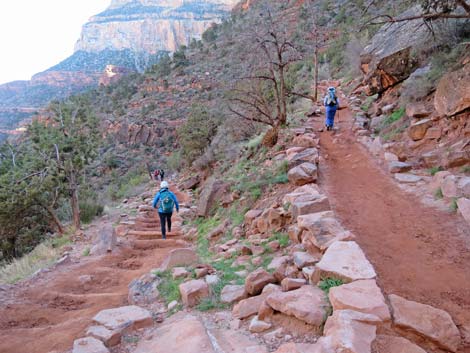
 Heading for the South Rim (view SW) |
 |
 |
 Hikers approaching Bright Angel Trailhead (view SW) |
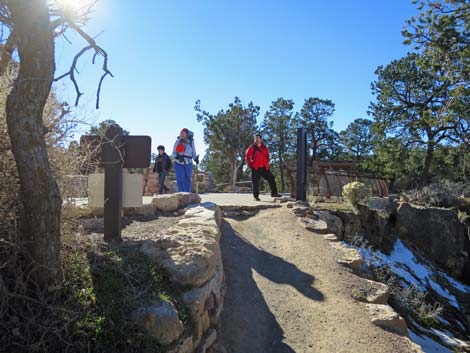 Hikers at Bright Angel Trailhead (view SW) |
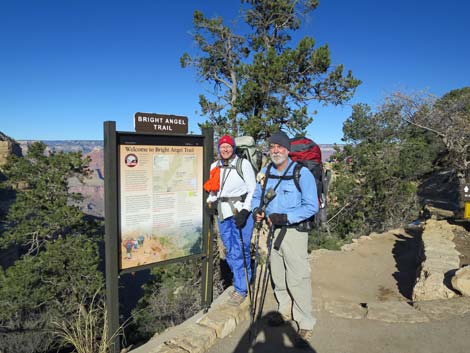 Selfie Bright Angel Trailhead (view SW) |
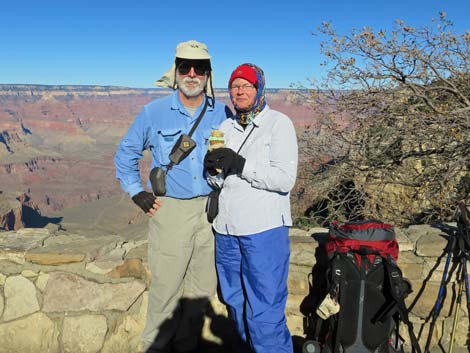 Obligate post-backpack ice cream cone at Bright Angel Lodge |
Happy Hiking! All distances, elevations, and other facts are approximate.
![]() ; Last updated 240326
; Last updated 240326
| Hiking the Grand Canyon | Hiking Around Las Vegas | Glossary | Copyright, Conditions, Disclaimer | Home |