Hiking Around Las Vegas, Lake Mead National Recreation Area
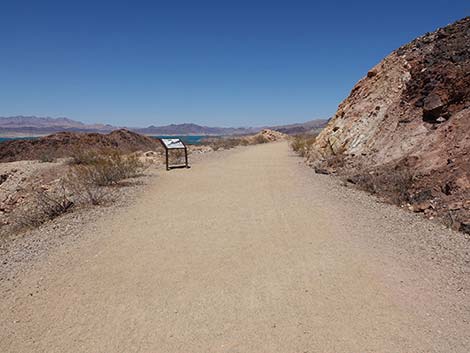
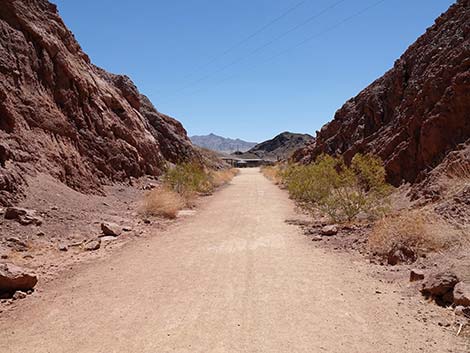
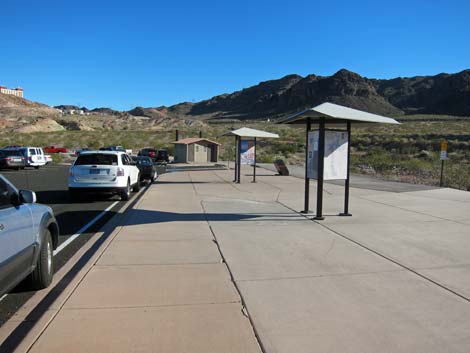 RRT Trailhead restrooms and info signs (view SE) |
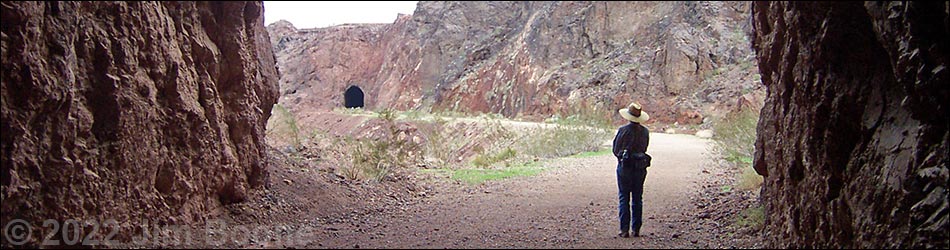
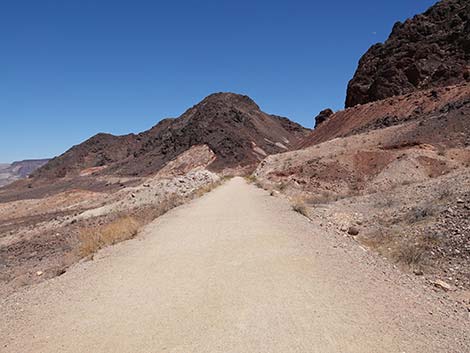
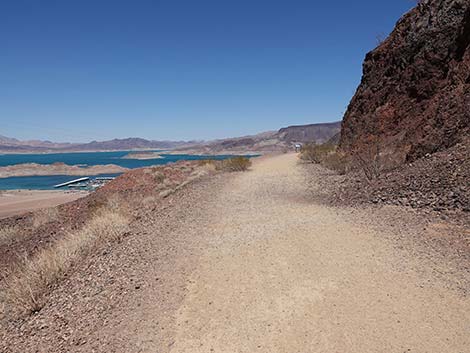
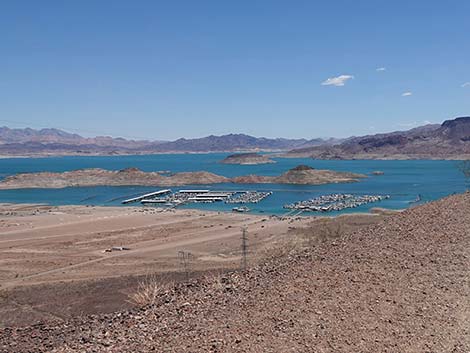
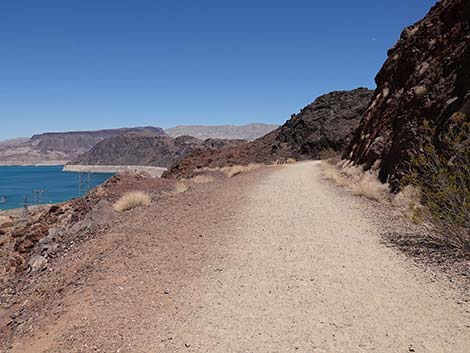
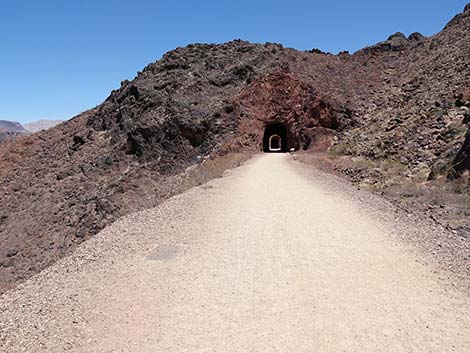
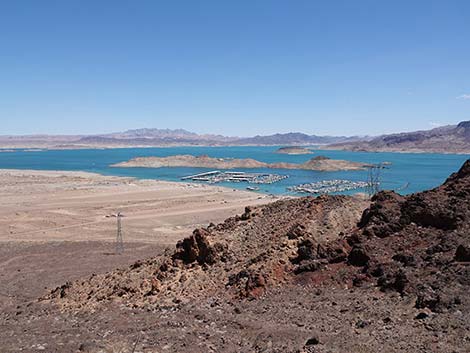
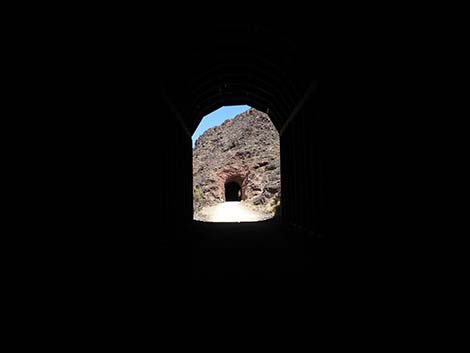
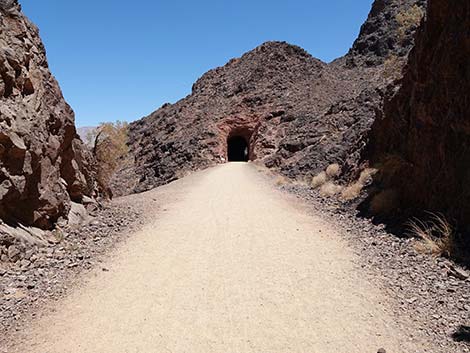
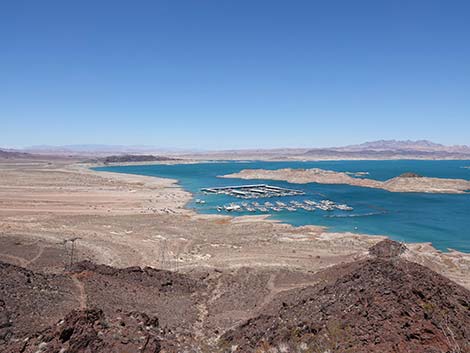
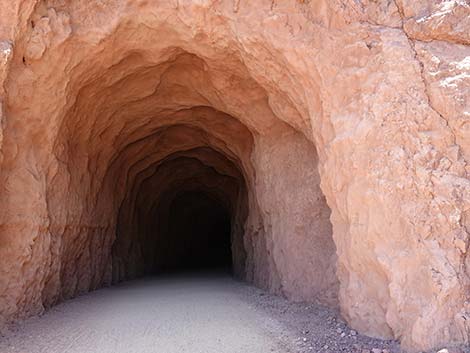
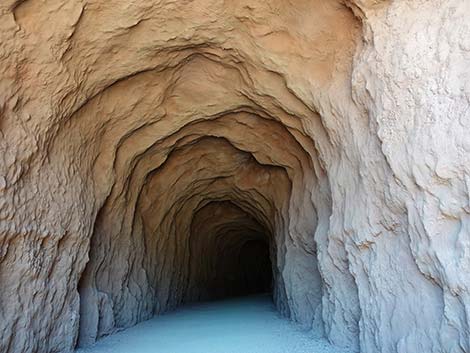
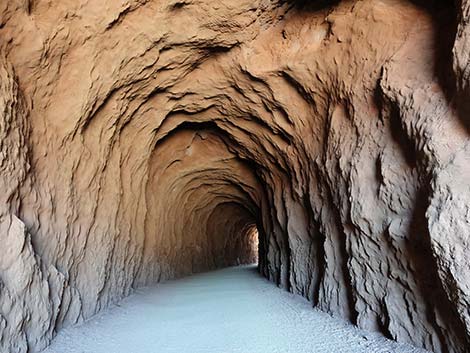
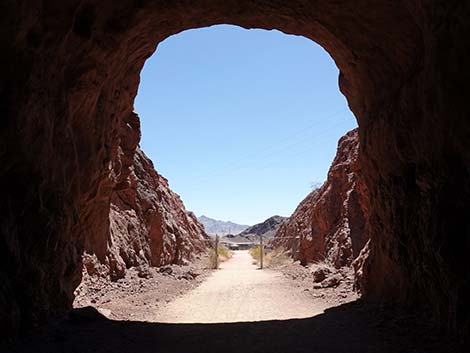
Overview The Railroad Tunnels Trail (RRT trail), designated by the US Department of the Interior as a National Recreation Trail in 2015, is a pleasant 4.4-mile (round trip) trail that follows an old railroad bed high above Lake Mead and runs through five 25-ft-diameter tunnels cut through volcanic ridges. With lots of bikers, joggers, and dogs, hiking here isn't a wilderness experience, but it is a fun walk through historic tunnels in a scenic desert setting. The "railroad tunnels" portion of the trail starts at the trailhead and runs east to just beyond the fifth tunnel, which runs, literally, underneath the Lakeview Scenic Overlook, but it does not actually connect to the Overlook. From a public toilet and covered picnic table, the trail continues all the way to Hoover Dam, adding another 3.5 miles to the round-trip hike. Link to map. |
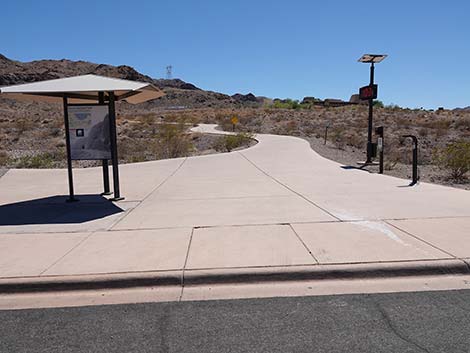 Start of trail is concrete path leading the wrong direction (view SW) |
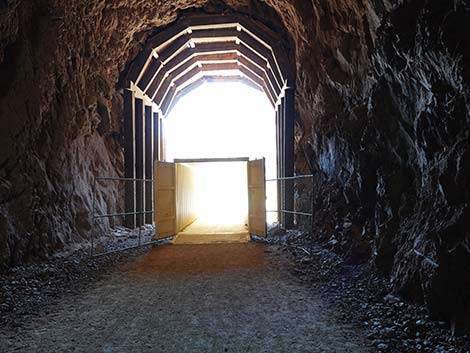
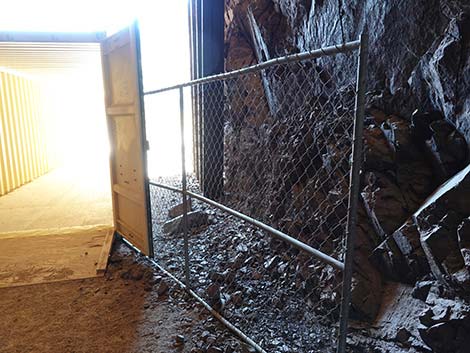
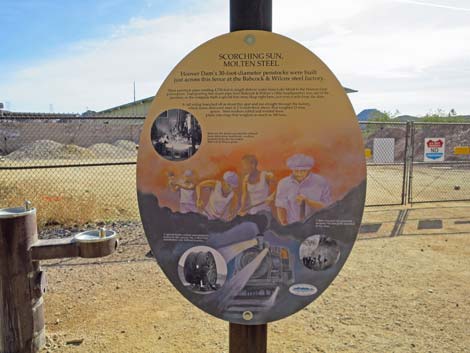
The railroad was built in 1931 and used for hauling equipment and materials during the construction of Hoover Dam. The railroad was used heavily until the dam was finished in 1935, but dam workers continued to use it until 1961. The tracks were dismantled in 1962, and the site was nominated to the National Register of Historic Places in 1984. For more information on the history of the railroad, see a PDF (140 KB) produced by the National Park Service. During Fall 2016, the trail was refurbished to fix parts that were eroding away, and a more accessible surface was laid down. During 2018 and 2019, the trail was closed while shipping containers were inserted into two of the tunnels because rocks were falling from the ceiling. While not in keeping with the historical look-and-feel of the trail, we must applaud the NPS for finding an inexpensive and workable solution to keep the trail open. |
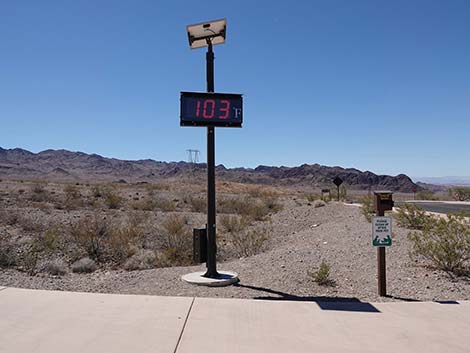 Thermometer at trailhead: don't hike when too hot (view NW) |
Watch Out Other than the standard warnings about hiking in the desert, ...this hike is pretty safe, given that the trail is a wide, flat, railroad bed running at a gentle grade. There are, however, considerable drop-offs along the edges where, if you stumbled off the roadbed, you could tumble a long way down the hillside. There are some washouts along the edge, so this is a real danger. Also, watch for bicycles careening along the trail. While hiking, please respect the land and the other people out there, and try to Leave No Trace of your passage. Also, even though this hike is short, be sure to bring what you need of the 10 Essentials. |
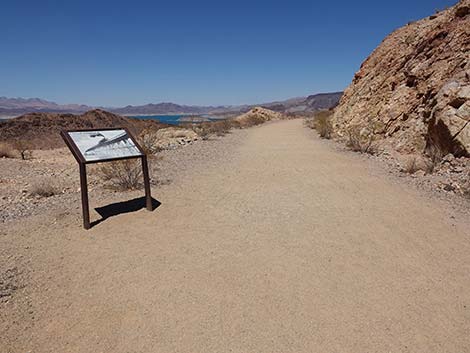
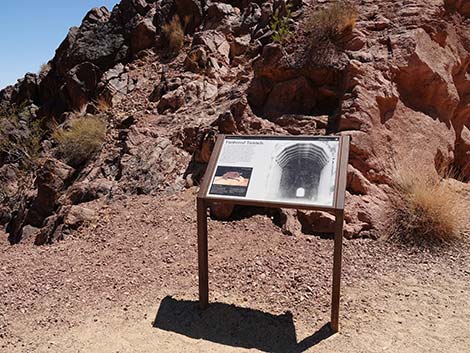
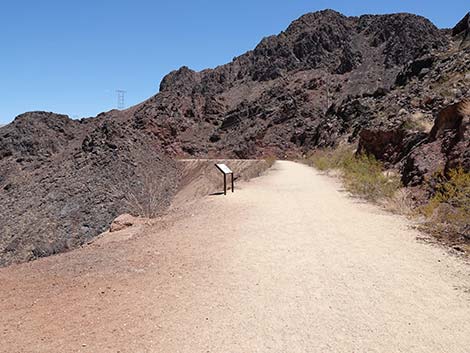
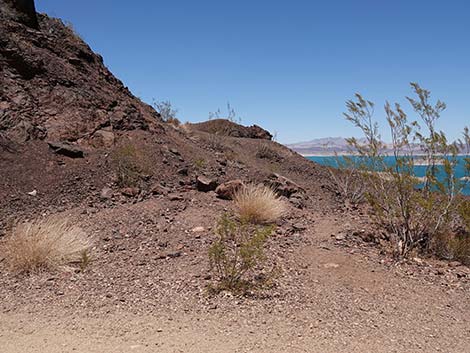
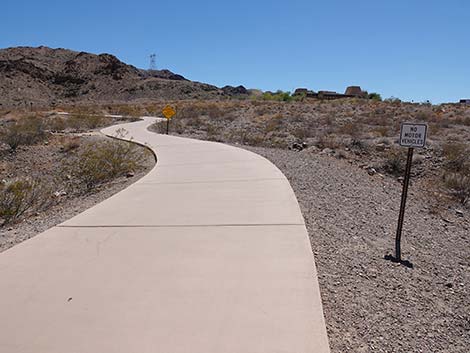 Information and warning signs along start of RRT trail (view SW) |
Getting to the Trailhead This hike is located on the far east-side of Boulder City in Lake Mead National Recreation Area, about 40 minutes southeast of downtown Las Vegas. From town, drive south on Interstate-11. Exit onto Highway Business 93 and drive through Boulder City, past the urban area, to Lakeshore Road. Turn left (north) onto Lakeshore Road and drive north 0.4 miles (next right turn past the Visitor Center) to the large Historic Railroad Trailhead, on the right. Park here; this is the trailhead. This trailhead is outside the fee area. |
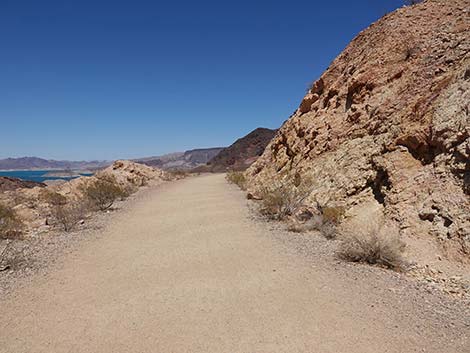
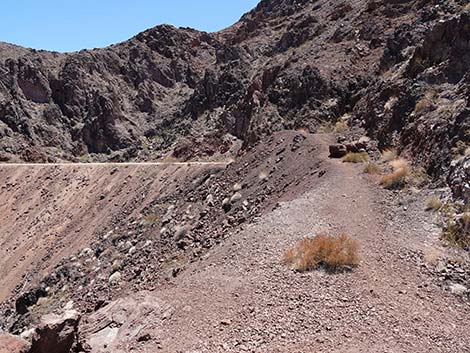
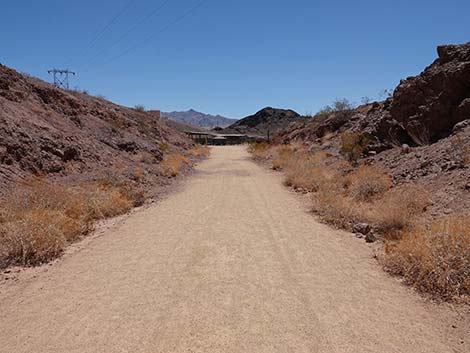
 RRT trail approaching a fork in the trail (view S) |
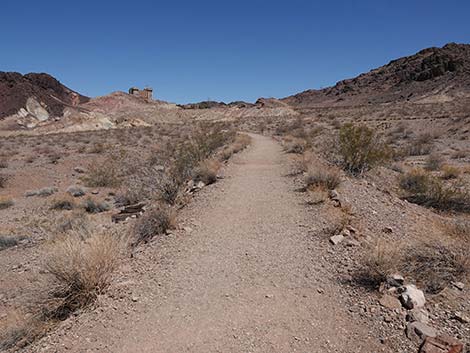
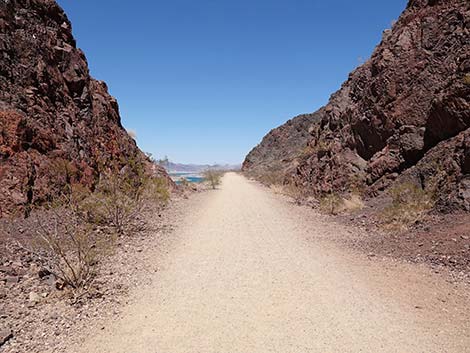
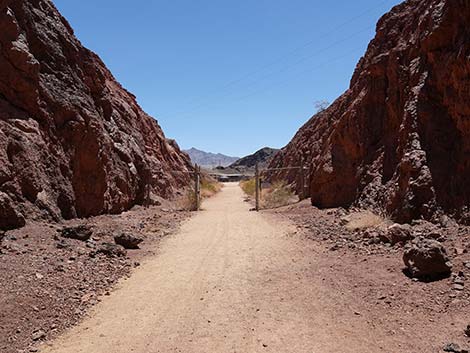
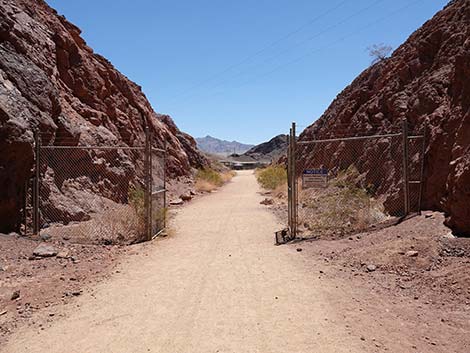
The Hike From the trailhead by the two large information signs (Table 1, Waypoint 01) on the west side of the parking lot, a concrete path runs west towards the visitor center. After about 40 yards of concrete trail, a dirt trail branches off to the left. Taking the rock-lined dirt trail left, the trail bends to the left and heads south to merge with the historic railroad bed, which runs to the east. Just ahead, the railroad bed is blocked by a gate (Wpt. 02) intended to exclude vehicles from the trail, and just past the gate, the railroad bed cuts through a low ridge of yellow volcanic ash. On the hill above, the Hoover Dam Casino sticks out like a sore thumb. The dirt trail from the trailhead to the gate is actually the bed of the Six Companies Railroad that ran from here to gravel pits, a sorting plant, and the Lomix concrete mixing plant. More of this old railroad bed can be seen running north-northwest across Lakeshore Road from the parking lot. |
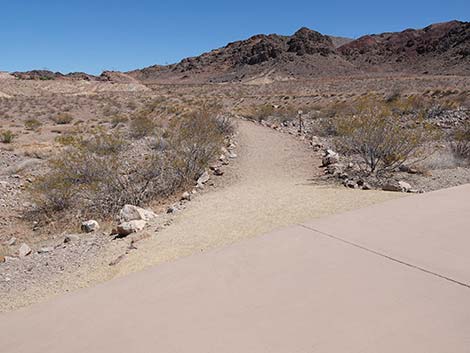 RRT trail (dirt) departs concrete path to the left (view SE) |
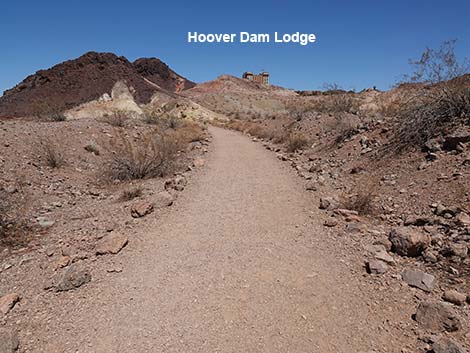
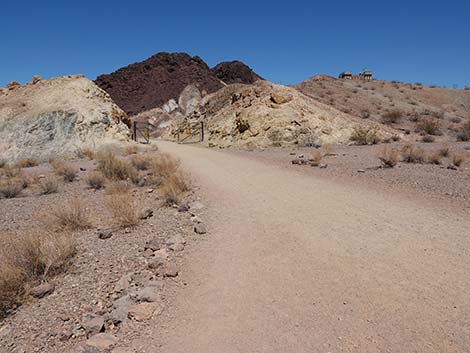
Lomix, one of the two on-site concrete mixing plants, was down in the canyon on the Nevada side, about a 1/2-miles upriver from the dam and close to river level; it is now flooded. The flat area before the gate is the approximate site of Lawler, the railroad junction where the Six Companies Railroad (built to haul aggregate for the concrete used in the dam, power houses, and ancillary works) met the U.S. Government railroad that ran from Boulder City to the edge of the canyon above the dam. Lawler junction probably consisted of a short section of double track, three turnouts, and a shed for switch tenders and a telegraph operator. Walking through the gate (Wpt. 02) and the roadcut, the trail crosses a wash that comes down from the south. The Hoover Dam Lodge (with its noisy helicopter rides) sits at the top of the wash. |
 A small trail sign marks the way (view SE) |
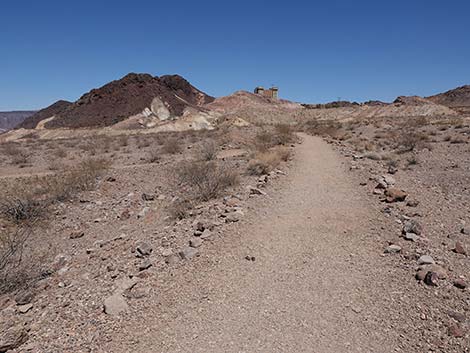
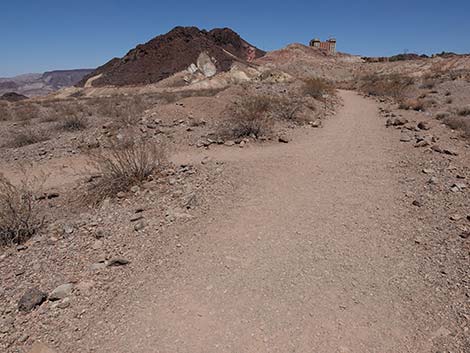
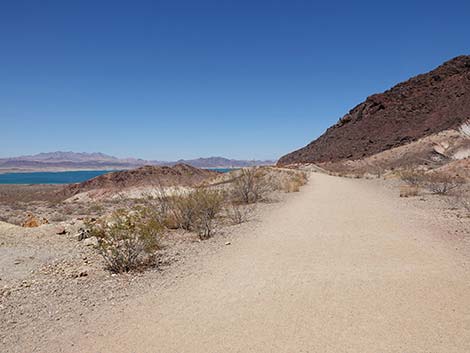
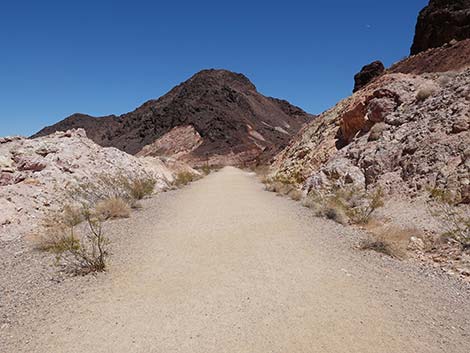
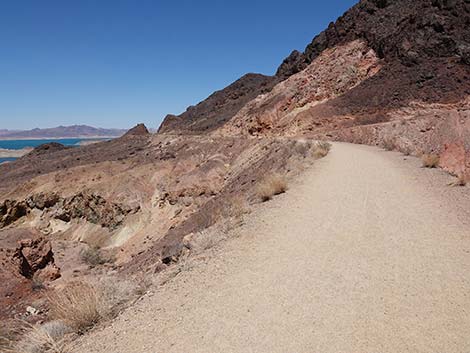
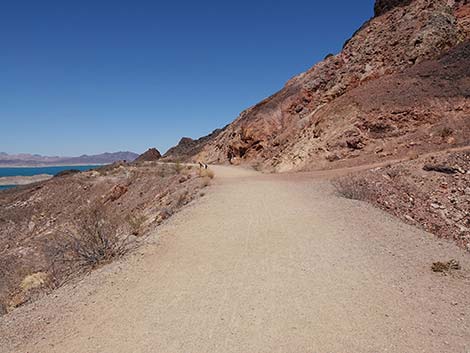
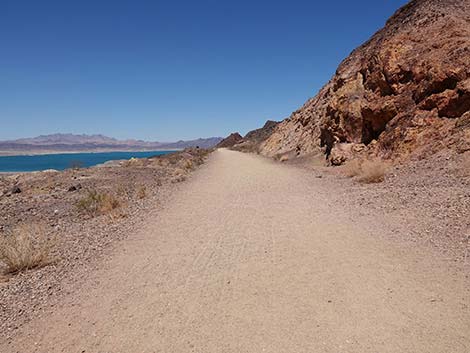
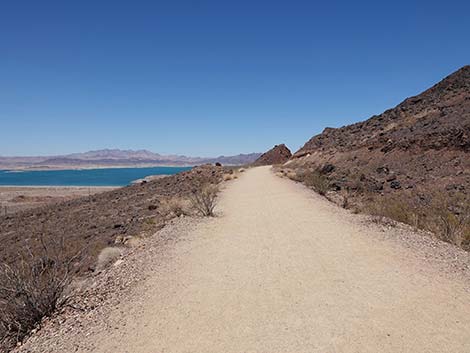
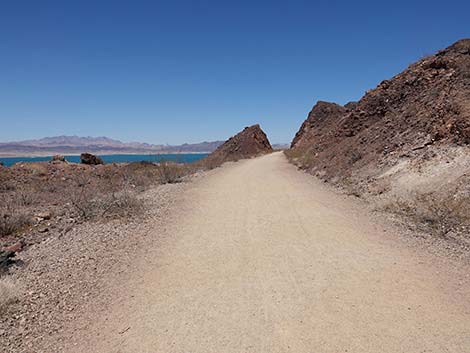
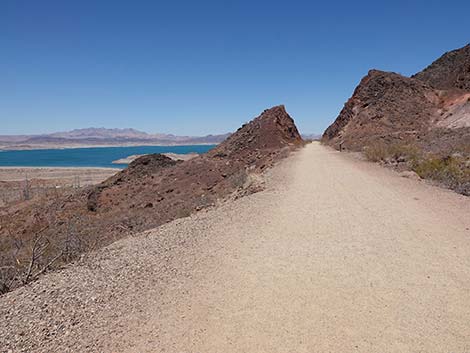
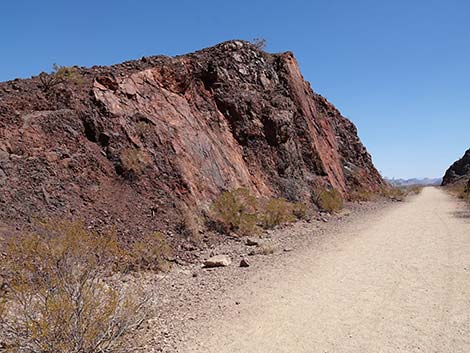
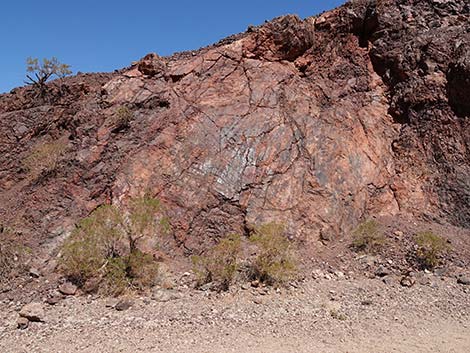
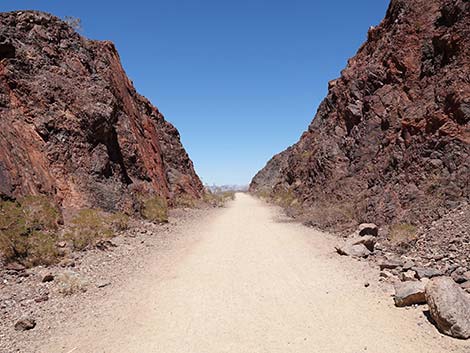
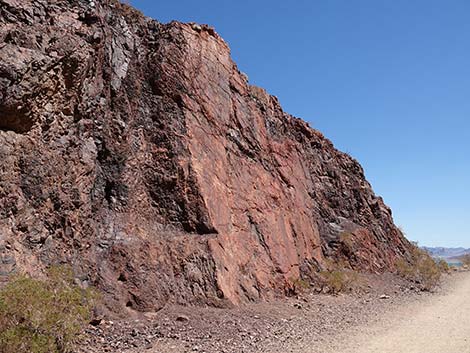
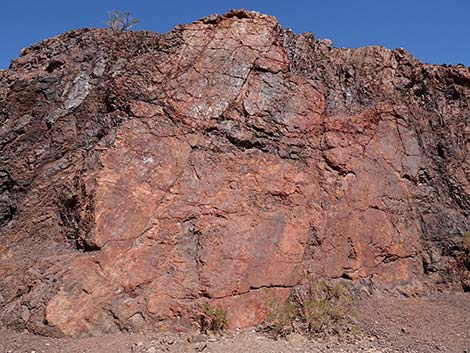
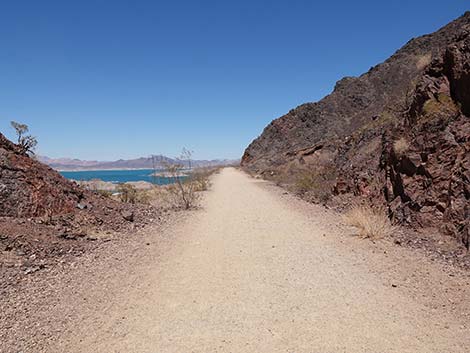
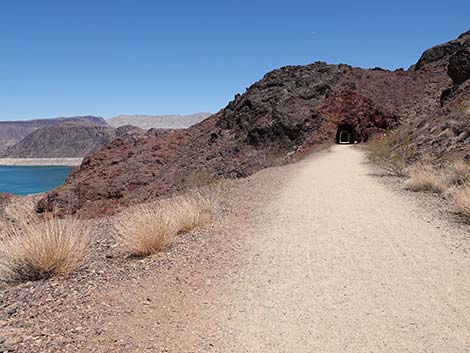
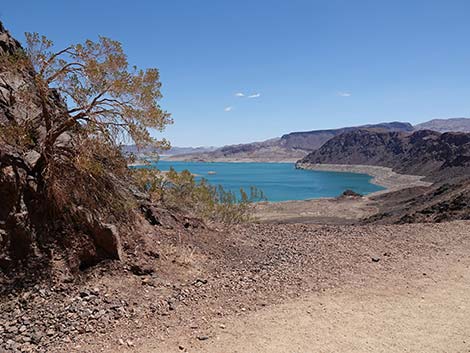
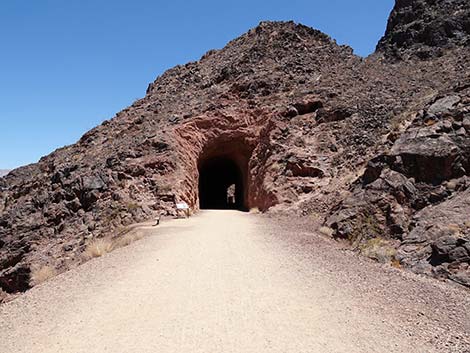
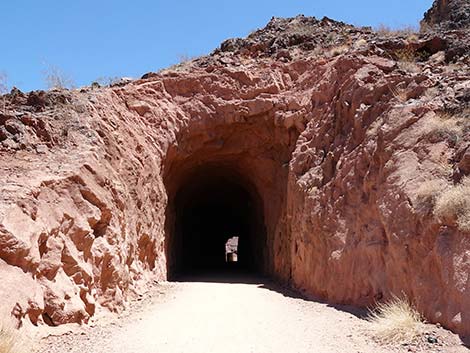
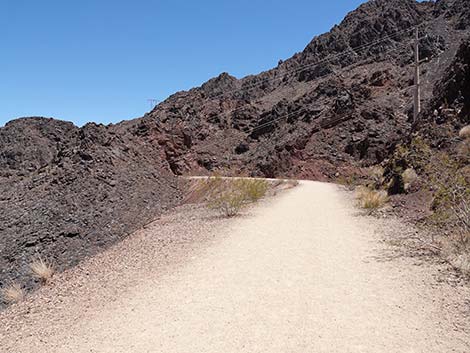
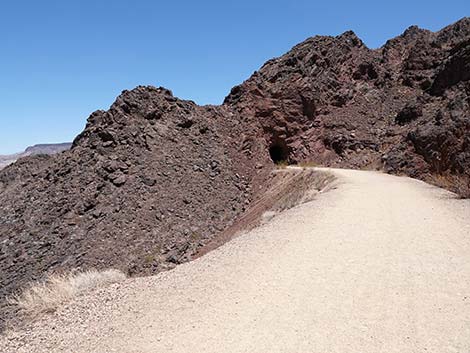
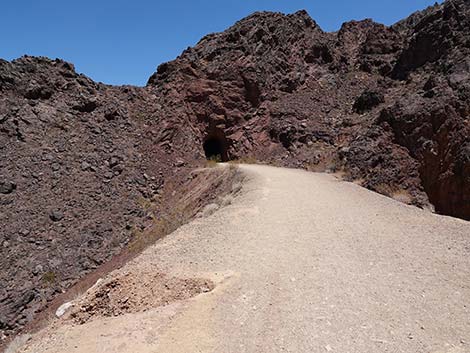
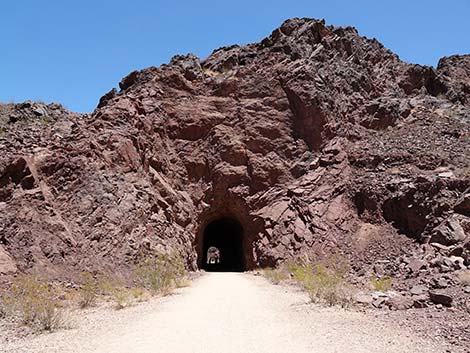
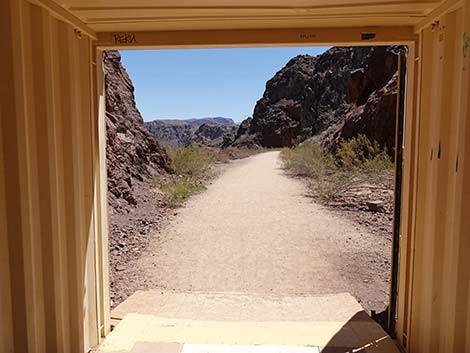
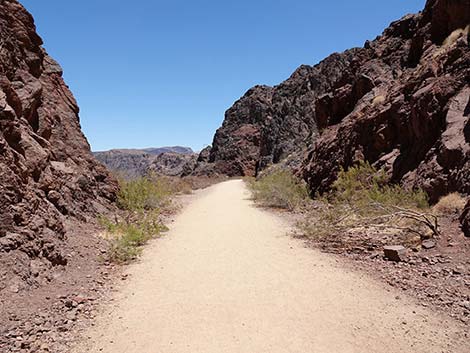
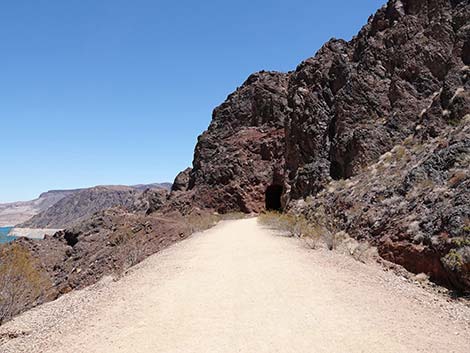
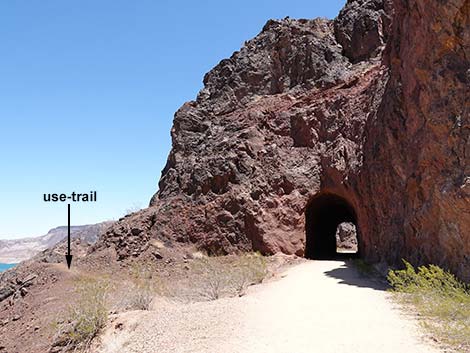
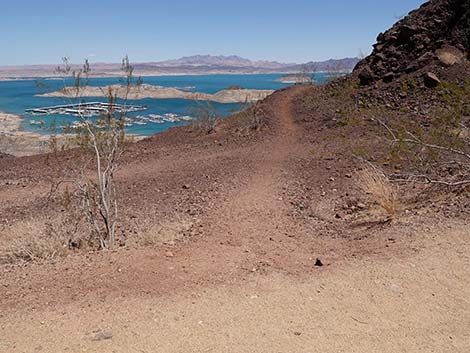
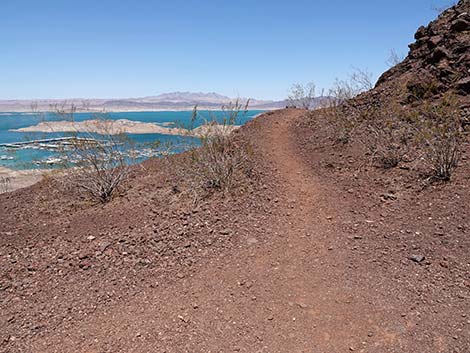
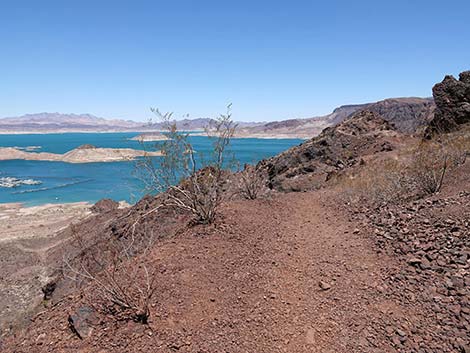
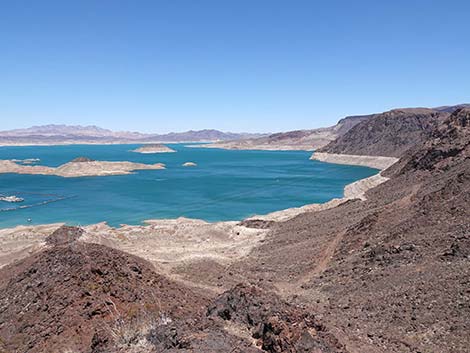
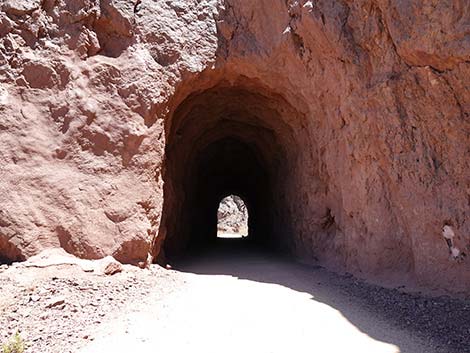
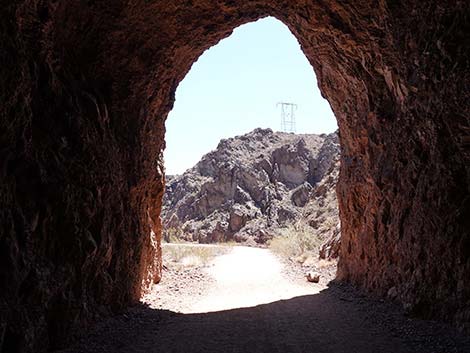
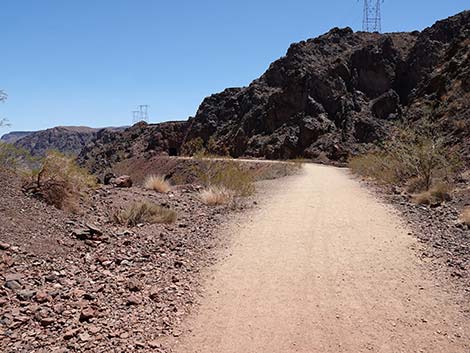
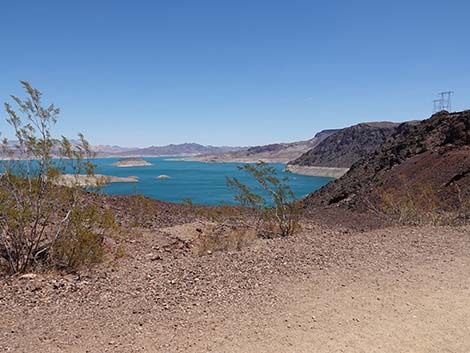
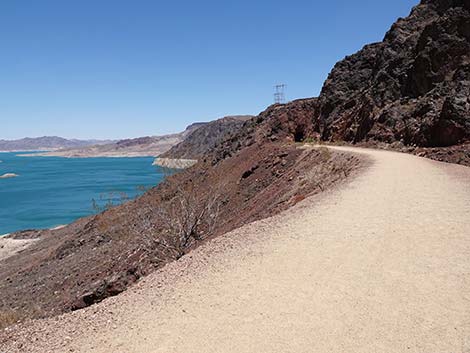
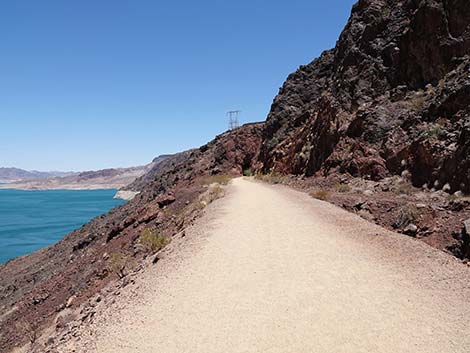
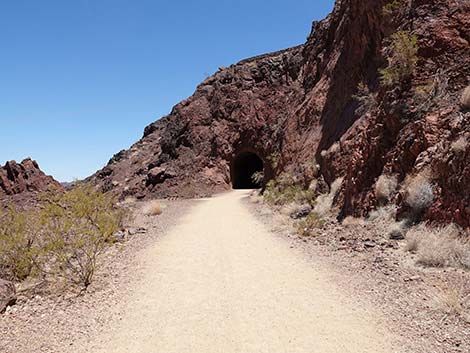
Through this area and just beyond, the trail runs across a jumbled area of strikingly colorful volcanic ash. There is lots of color in the rocks, mostly yellows and reds, but including greens, oranges, tans, and pale gray. Farther out, the trail runs almost entirely along black volcanic cliffs. The dominant vegetation along this part of the trail is stunted creosote bush and white bursage with a few other shrubs mixed in. During spring, there can be desert wildflowers along the trail. From the gate, the trail runs out along the roadbed for about 1/2-miles to a trail junction (Site 03). Here, a "short-cut" trail comes down the steep, rocky hillside from the northeast corner of the Hoover Dam Lodge and Casino parking lot (Railroad Tunnels Casino Trailhead). In another 0.5 miles, the trail arrives at the first railroad tunnel (Wpt. 04). Approaching the first tunnel, the cliffs get higher and steeper, and the valley floor seems to fall away into the lake. Rounding the corner to the first view of the tunnel, look through it and notice the second tunnel in the distance. |
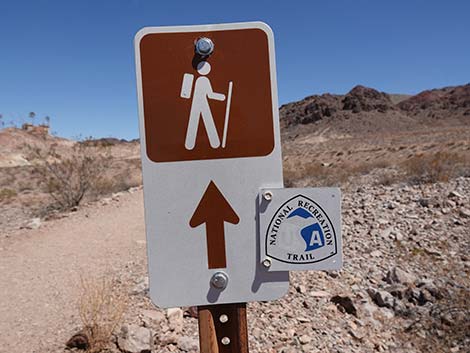 Trail sign: only indication of status as a National Recreation Trail |
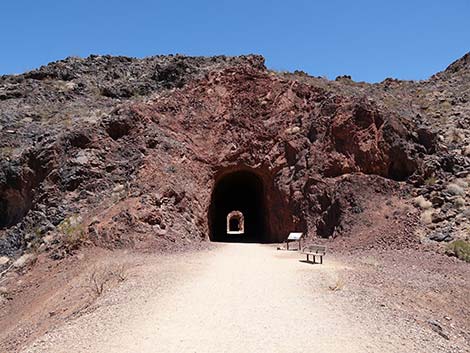
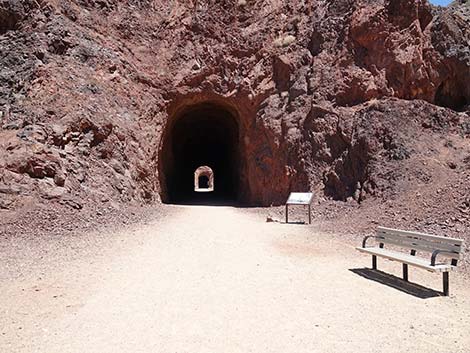
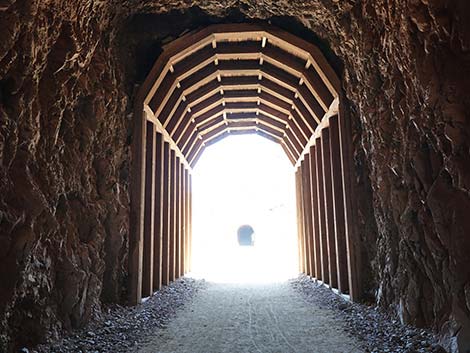
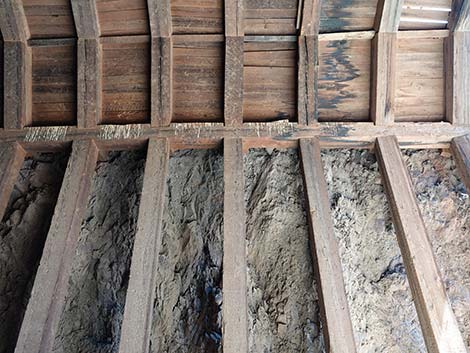
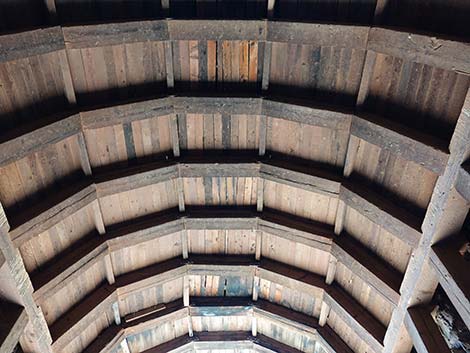
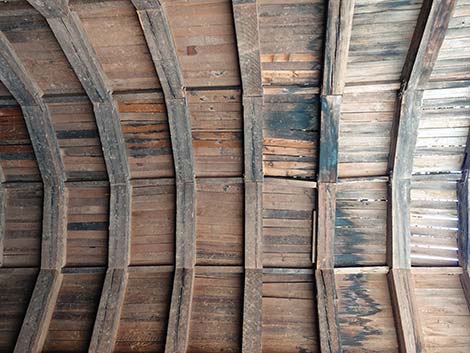
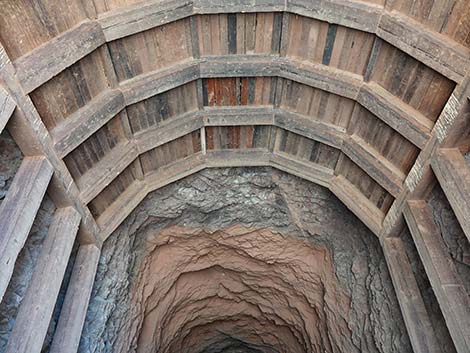
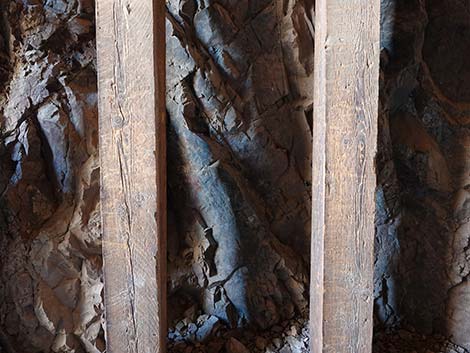
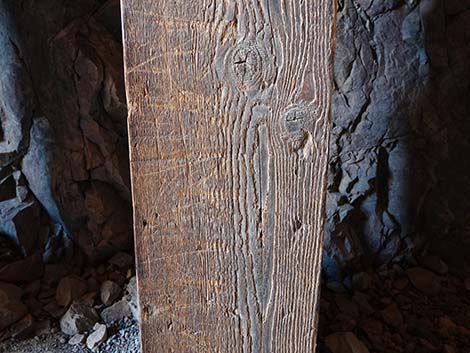
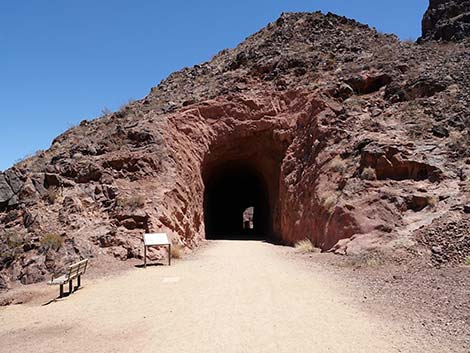
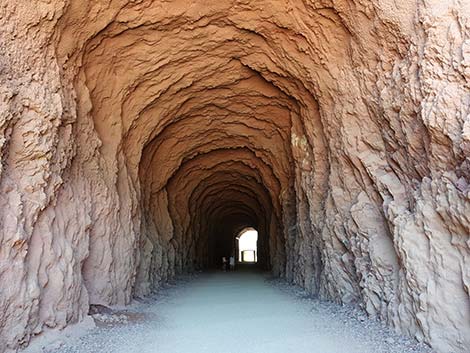
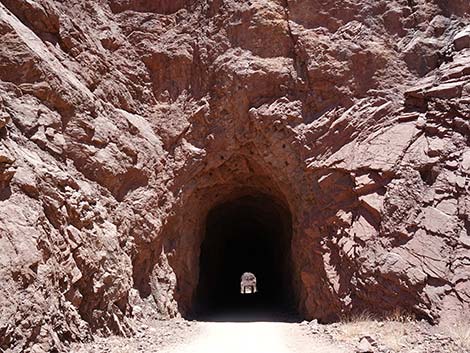
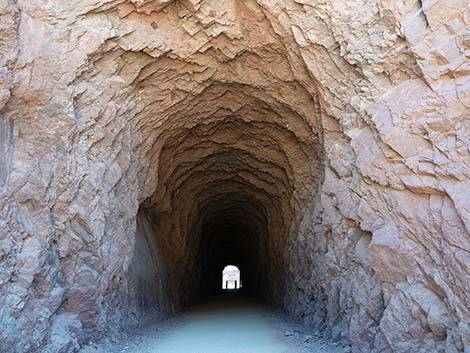
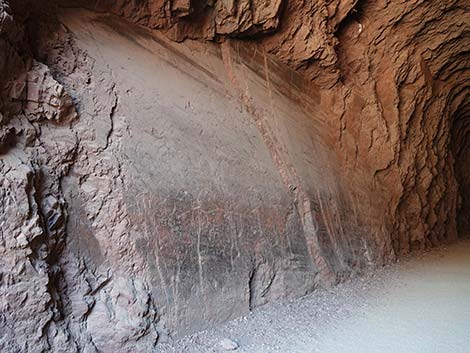
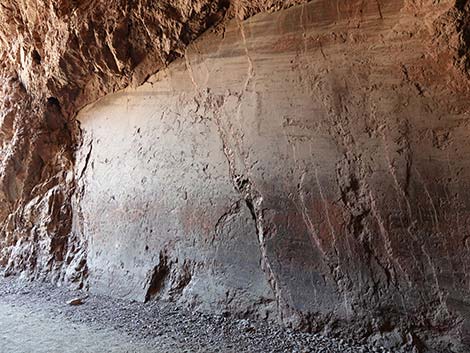
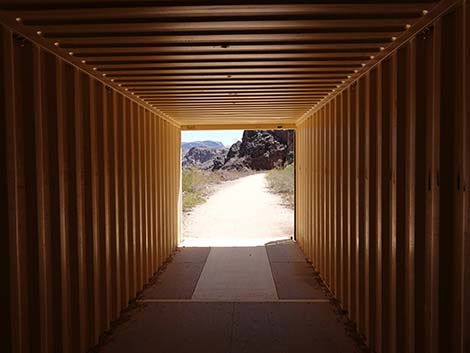
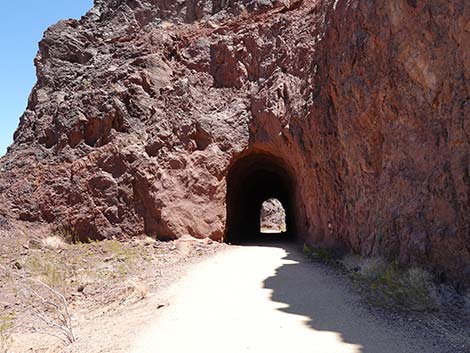
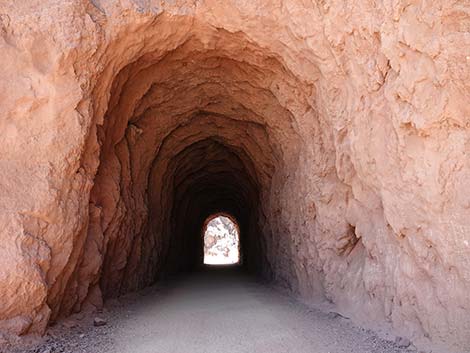
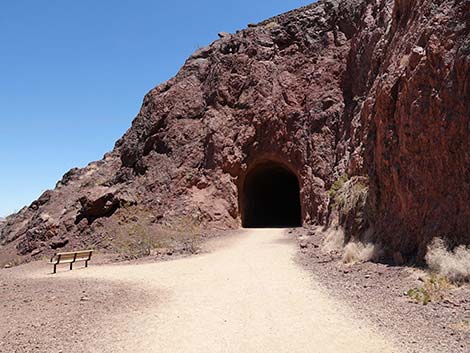
At the far end of the first tunnel, there are nine 20-ft-tall wooden timbers on each side of the tunnel that are capped with a wooden arch. These timbers support the roof and prevent loose rocks from falling onto the roadbed. The timbers are in remarkable condition considering that they have been here for some 90 years. Originally, the eastern ends of all five tunnels were shored up with these timbers; unfortunately, arsonists burned the timbers in the second and fifth tunnels. Some of the arches have been damaged by falling rock (proving their value), and on the fourth tunnel, fallen rocks have deformed the arch. Past the first tunnel, the trail continues eastward along the roadbed and passes through four more tunnels. All along the wall of the canyon, and especially between the first and second tunnels, there is an amazing amount of bright green lichen on the black volcanic rock. Lichens are a symbiotic combination of fungi and algae that grow on the surface of bare rocks. It is hard to imagine that something like this can grow on black rocks in the desert. They are, however, growing on the shady side, and you can see that many other shrubs survive here too. |
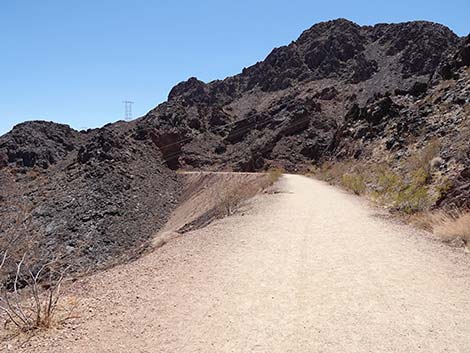
 The RRT trail begins to swing back to the east (the right direction) |
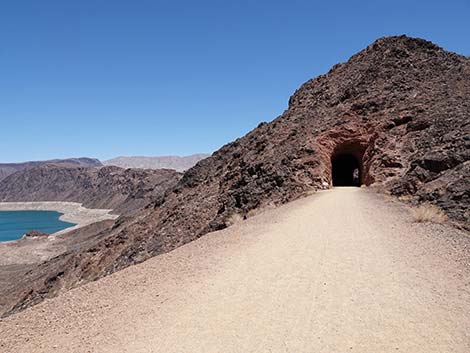
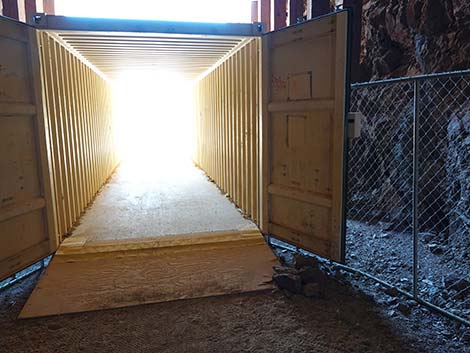
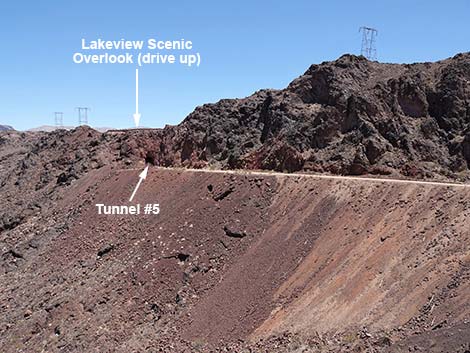
The same shrub species grow here as were back on the gravel flats at the trailhead, but here they look bigger and more robust, and there are species growing here that can't survive out on the flats. In particular, there are Schott's Pygmycedar shrubs growing on the cliffs. Bush Arrowleaf, generally an uncommon shrub, also likes these shaded rock walls. Because of rockfalls and deteriorating timbers inside tunnels #2 and #3, the National Park Service placed shipping contains under the timbers to shield hikers from the next rocks fall. While this might damage the aesthetics of the "historic" Railroad Tunnels Trail, it certainly was a creative way to quickly reopen the trail at minimal expense. From the trail between the fourth and fifth tunnels, Lakeview Overlook can be seen atop the cliff above the fifth tunnel (the tunnel goes under the overlook). Hikers can see the stonework along the edge of the overlook and wave at the people who drove up there. Some people scramble up the cliffs to the overlook, but it doesn't look very safe. |
 RRT trail approaching a trail junction (view SE) |
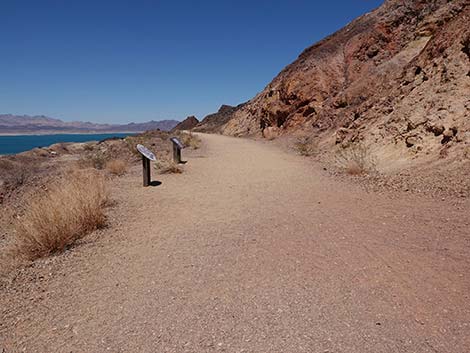
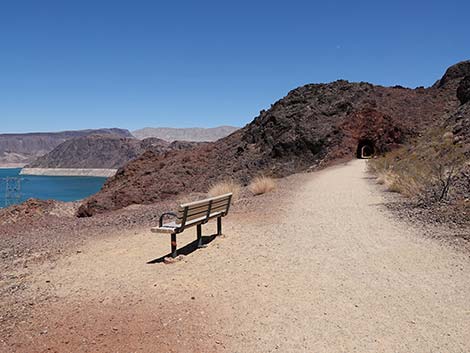
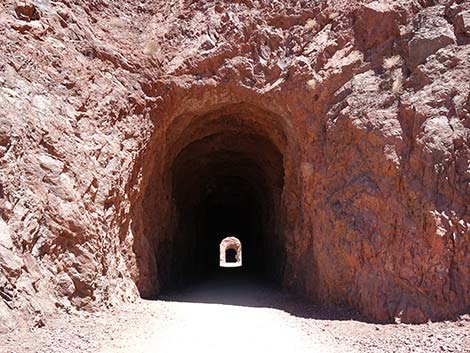
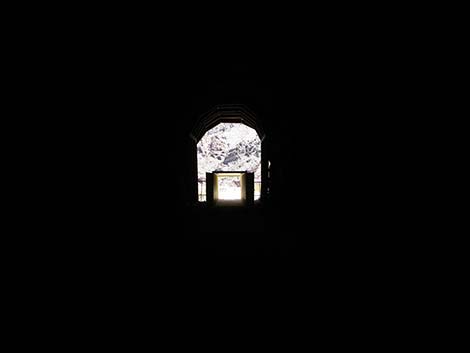
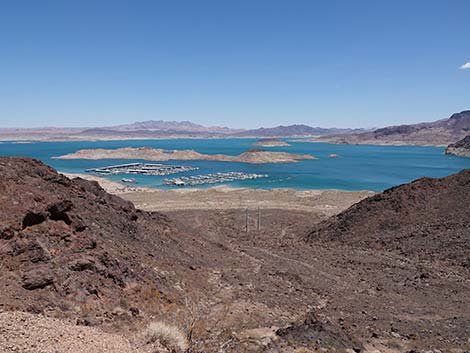
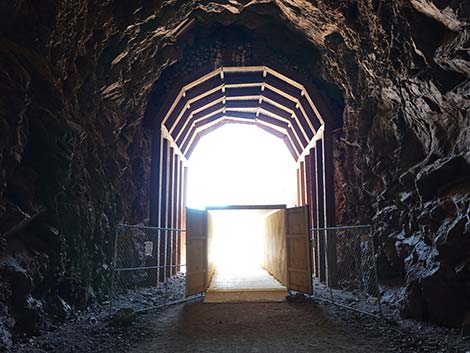
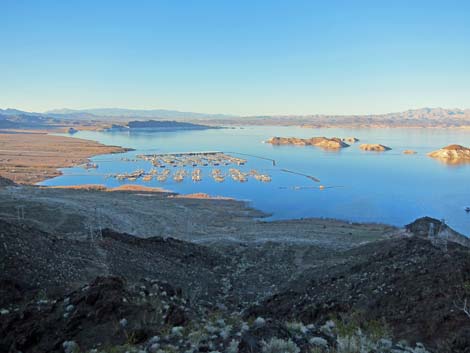
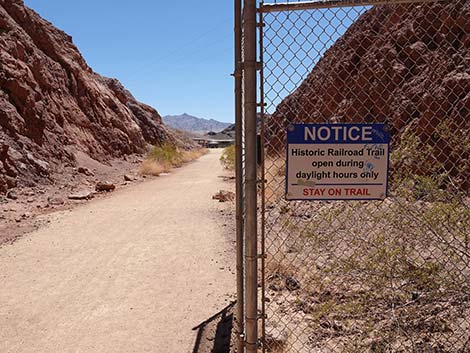
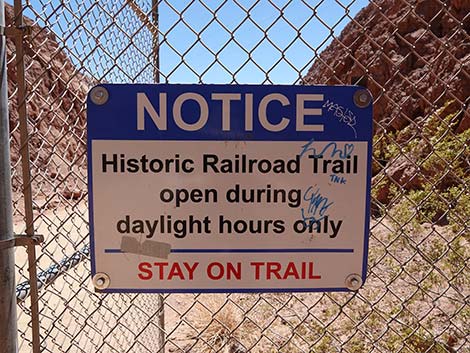
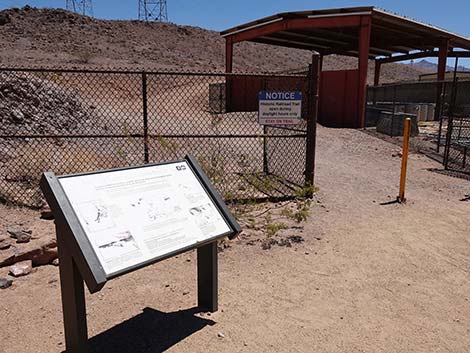
The fifth tunnel is longer than the others and has a bend in the middle that prevents hikers from seeing the other end, making this tunnel much darker than the others. Just past the fifth tunnel, the trail passes through a gate (Wpt. 05) with a sign saying that it is open during daylight hours. Past the gate, the trail runs out to the Bureau of Reclamation Rest Area with shaded picnic tables, vault toilet, and trash cans. there is an emergency call box here too. Past the Bureau of Reclamation Rest Area, the trail runs around the back of the highway maintenance yard and on down the canyon for another 1.74 miles on a "trail" road to Hoover Dam. From the fifth tunnel, consider going through the gate and then climbing up to the viewpoint (Lakeview Scenic Overlook), then either continue to the dam (Wpt. 12) or return to the trailhead (Wpt. 01) by walking back through the five tunnels (see photos of the return). The rocky knob on the ridge outside of the fourth tunnel makes for a nice place to stop and eat lunch in the sun. |
 RRT trail at junction; a shortcut from the trailhead (view SE) |
 RRT trail at junction looking left; shortcut from trailhead (view NW) |
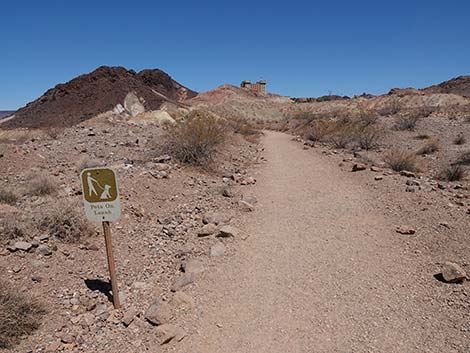 Sign along trail: pets must remain on leash (view SE) |
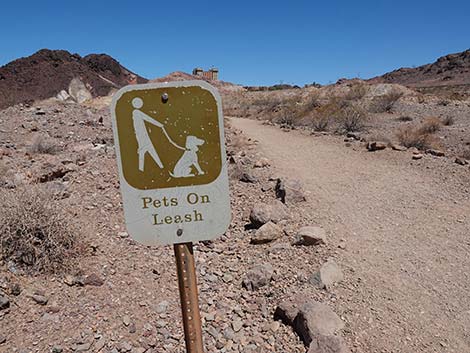 Sign along trail: pets must remain on leash (view SE) |
 Hoover Dam Lodge, on the ridge, comes into view (view SE) |
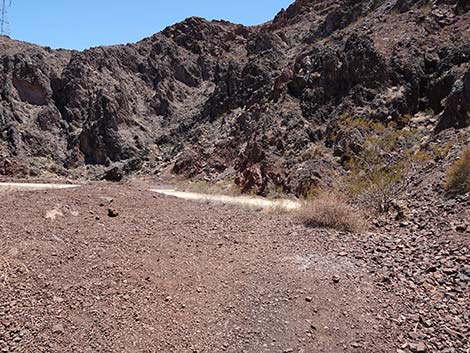
 RRT trail continues towards another trail junction (view SE) |
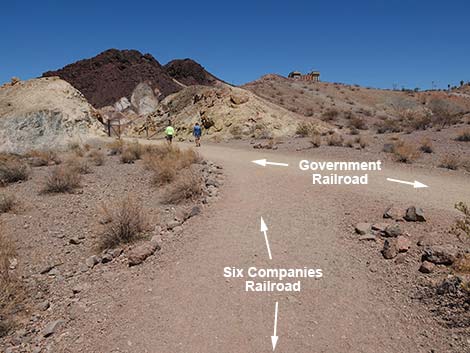 Government Railroad bed merges with RRT trail (view E) |
 Merging with the Government Railroad line (view E) |
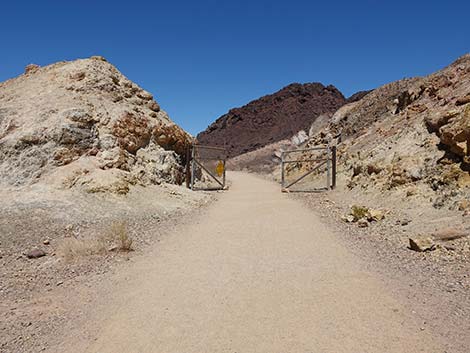 RRT trail approaching gate formerly used to exclude vehicles (view E) |
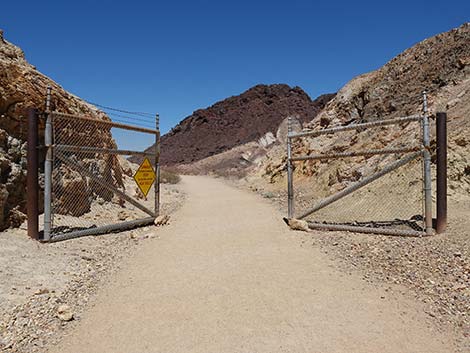 RRT trail at gate to block vehicles (view E) |
 The gate is never locked these days (view E) |
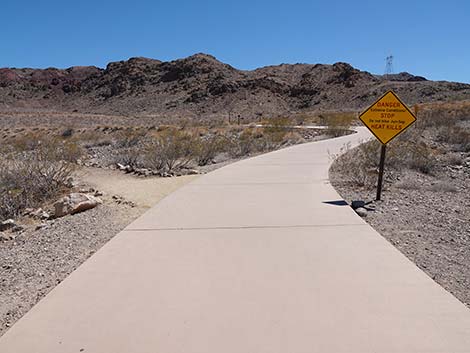
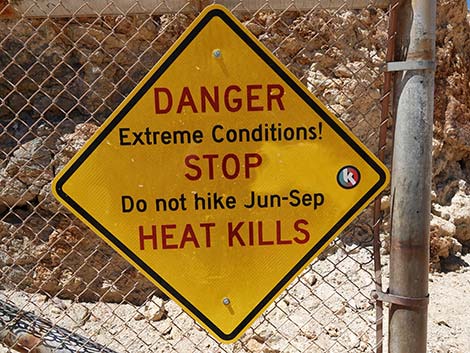 Sign on the gate: Heat Kills! |
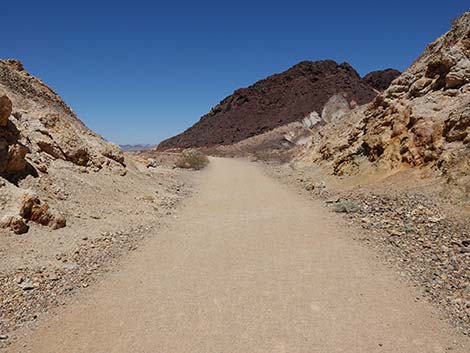 RRT trail continues through gap cut in the ridge (view NE) |
 RRT trail begins a long runs across open country with no shade |
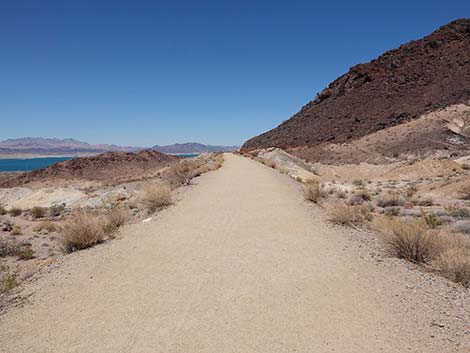 RRT trail continues across open country with no shade (view NE) |
 RRT trail continues across open country with no shade (view NE) |
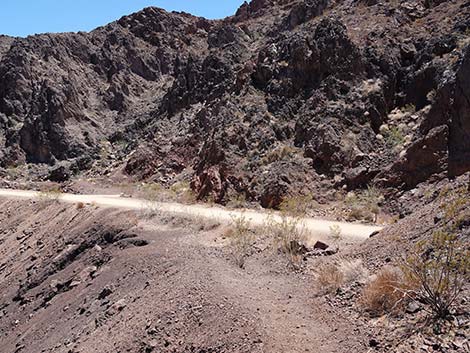
 RRT trail continues towards the next ridgeline (view NE) |
 RRT trail approaching first of several information signs along the trail |
 First of several information signs along the trail (view NE) |
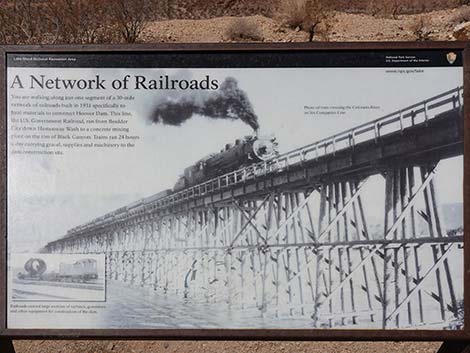 Sign: A Network of Railroads |
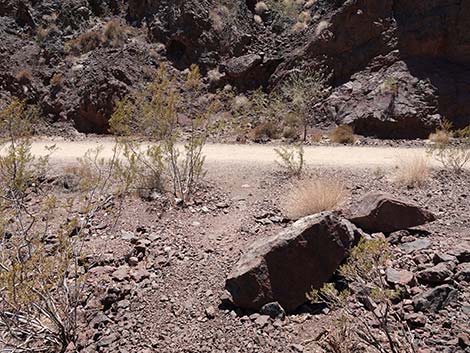
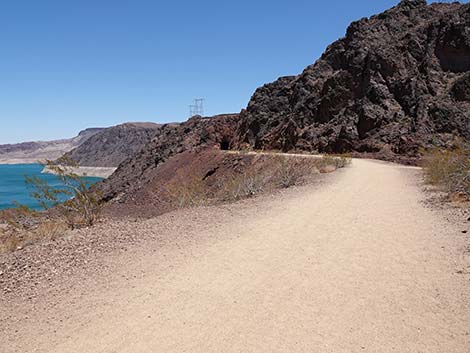
 RRT continues around the corner (view E) |
 Big, open views, but little shade (view E) |
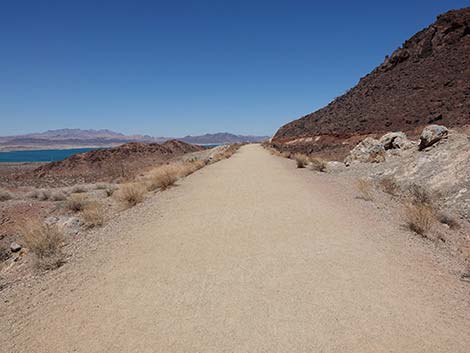
 RRT trail continues across open country with no shade (view NE) |
 RRT trail runs through a small road-cut (view NE) |
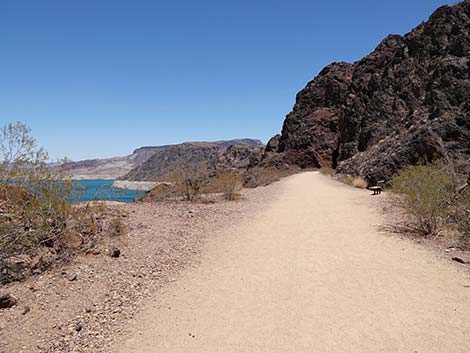
 This long, straight trail can be very hot during warm weather (view E) |
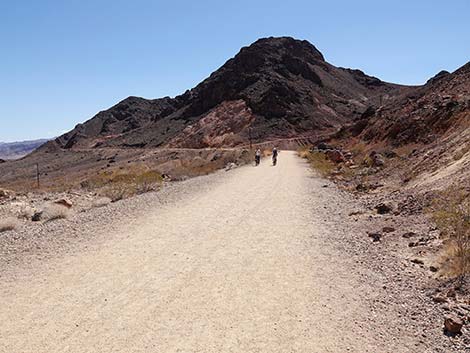 The RRT trail is popular with bike riders (view E) |
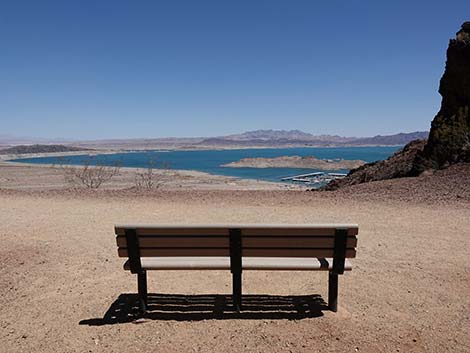
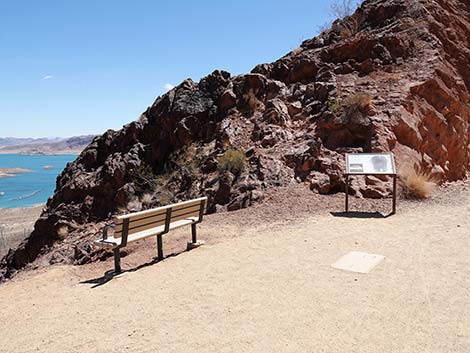
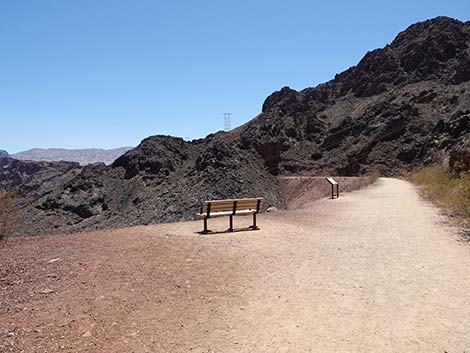
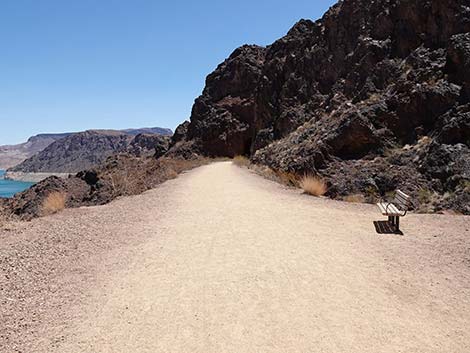
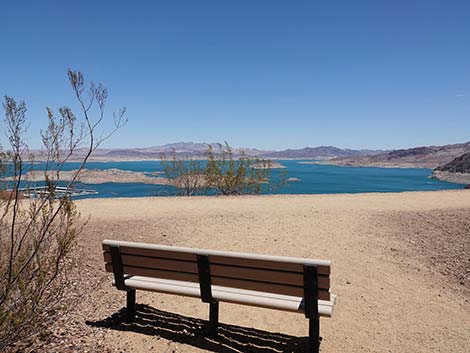
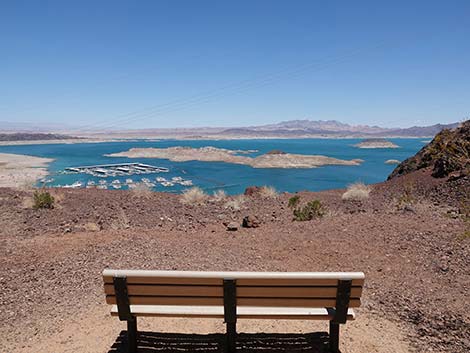
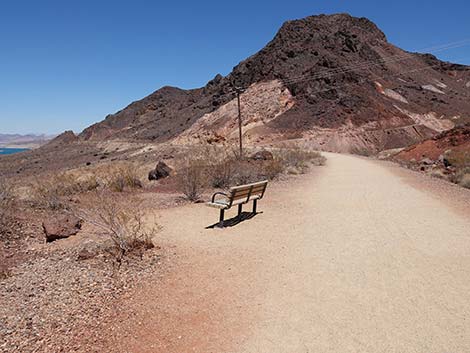 RRT trail approaching the first bench (view E) |
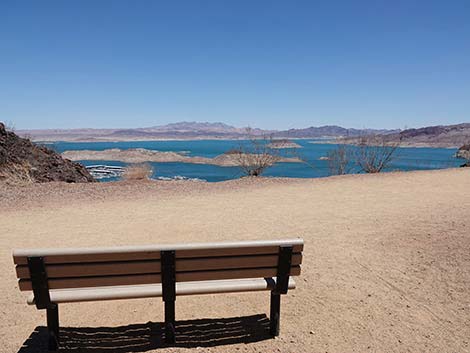
 A bench with a view (view NE) |
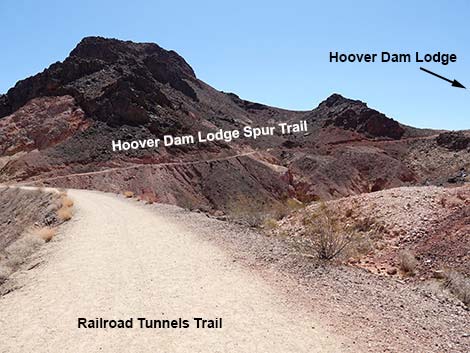 Spur trail to Hoover Dam Lodge Trailhead is visible on hillside (view E) |
 RRT trail continues on the railroad grade (view E) |
 RRT trail continues on the railroad grade (view E) |
 RRT approaching spur trail to Hoover Dam Lodge Trailhead (view E) |
 Spur trail to Hoover Dam Lodge Trailhead (view S from RRT Trail) |
 RRT trail continues past the Hoover Dam Lodge spur trail (view NE) |
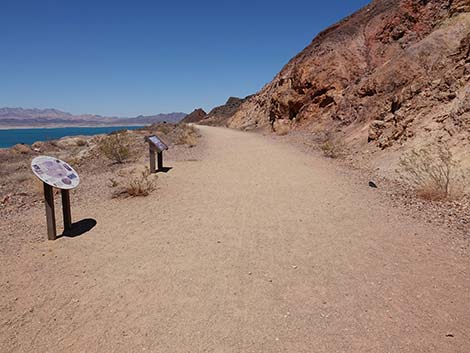 RRT trail at two information signs (view NE) |
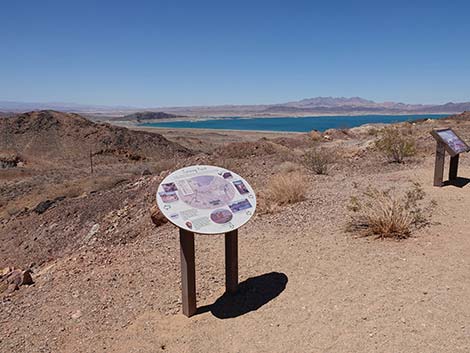 First information sign (view N) |
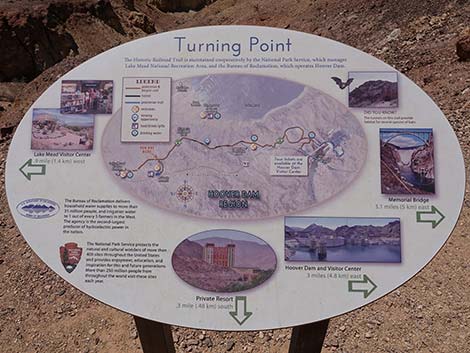 Sign: Turning Point (illustrated trail map) |
 Second information sign (view N) |
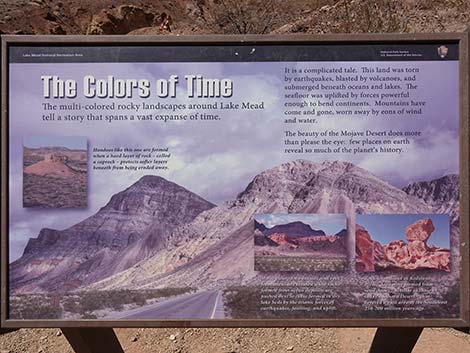 Sign: The Colors of Time (geology) |
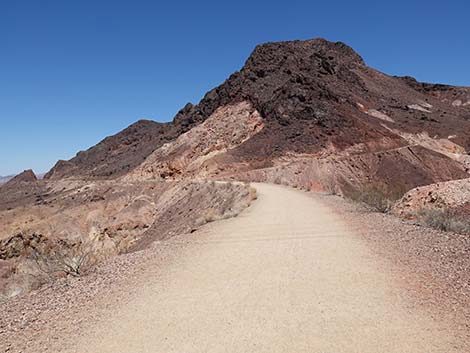
 Another bit of long, sunny trail |
 The trail continues past the signs (view NE) |
 RRT trail provides grand views (view NE) |
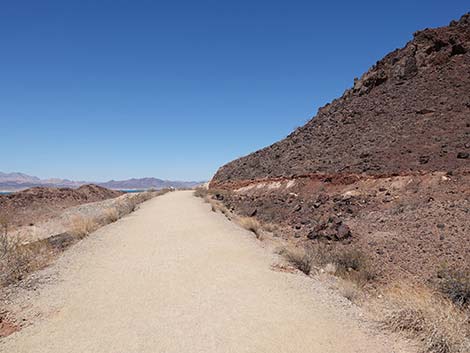
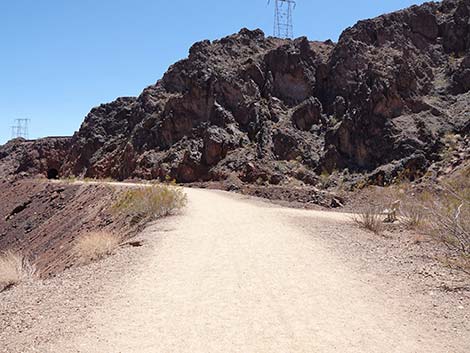
 RRT trail approaching another road-cut (view NE) |
 RRT trail approaching another information sign (view NE) |
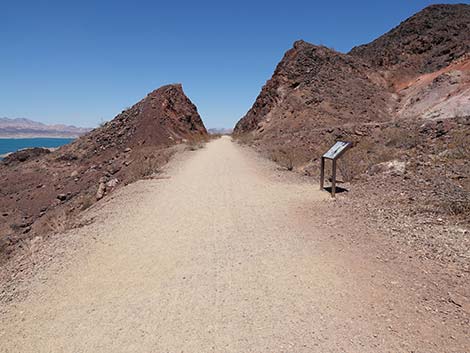
 RRT trail approaching an information sign (view E) |
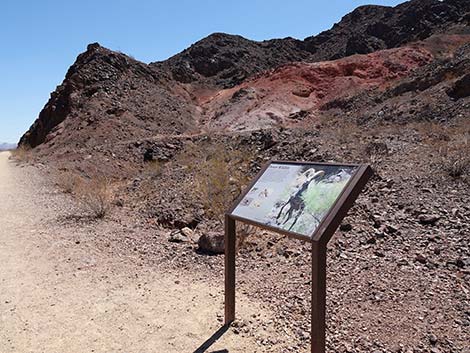
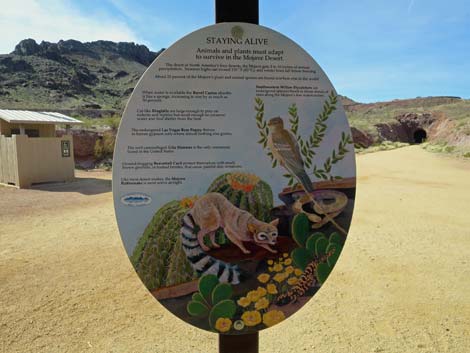
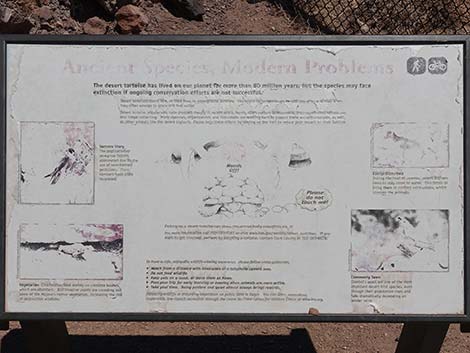
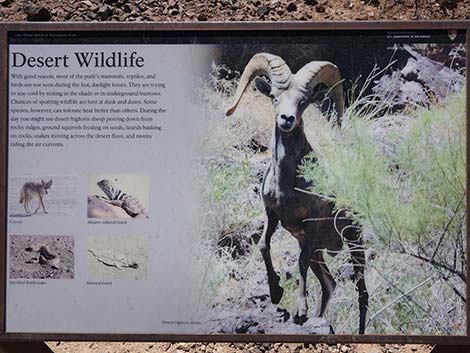 Sign: Desert Wildlife (view SE) |
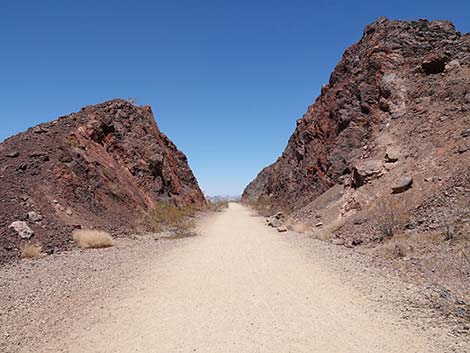 RRT trail approaching another road-cut (view NE) |
 Road-cut through ridge; notice smooth left wall (view E) |
 The smooth wall is the trace of an earthquake fault (view N) |
 RRT trail continuing through the road-cut (view NE) |
 Another section of earthquake fault (view NE) |
 The smooth wall is the trace of an earthquake fault (view N) |
 RRT trail continuing through the road-cut (view NE) |
 RRT trail continuing exiting the road-cut (view NE) |
 Another long, straight section without shade (view NE) |
 RRT trail approaching the next information sign (view NE) |
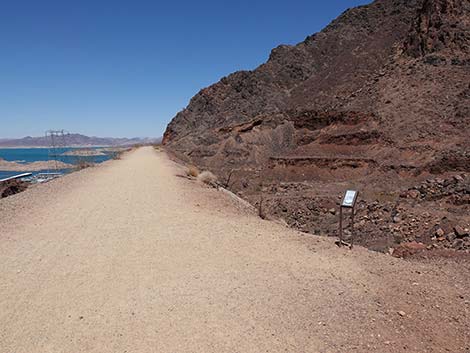
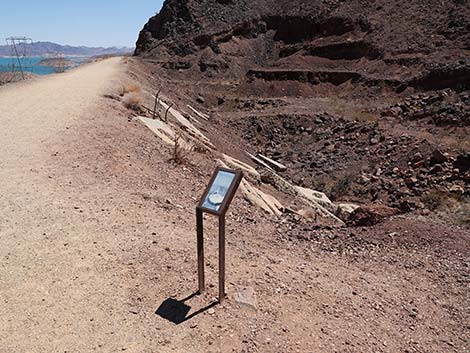 RRT trail at the next information sign (view E) |
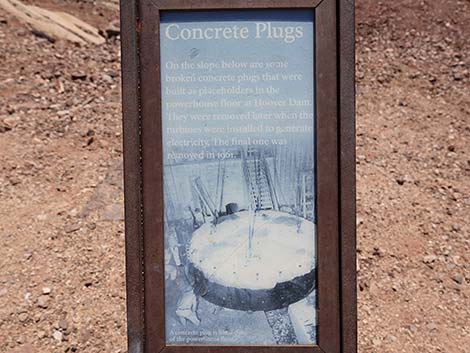 Sign: Concrete Plugs from construction of the dam |
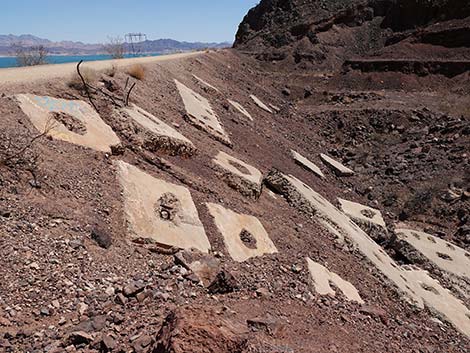 Concrete plugs from construction of the dam |
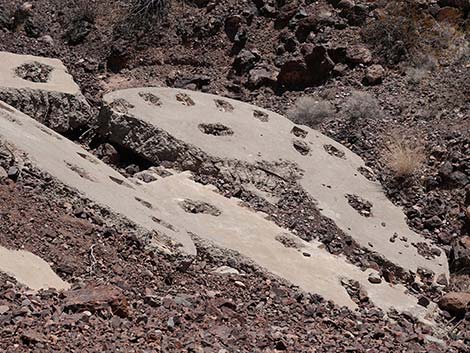 Concrete plugs from construction of the dam |
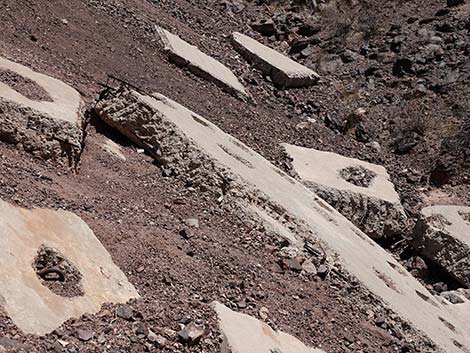 Concrete plugs from construction of the dam |
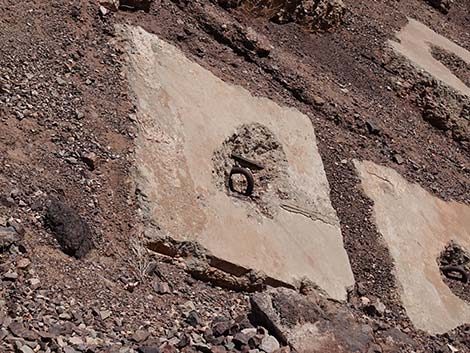 Hooks used for lifting Concrete plugs |
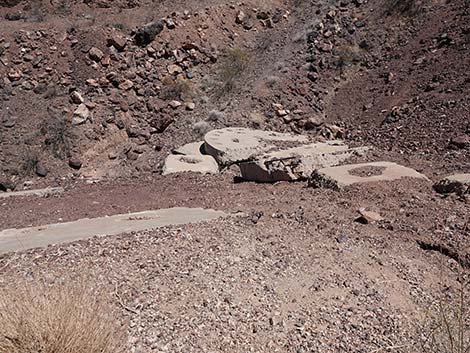 Concrete plugs from construction of the dam |
 Rebar in concrete plugs |
 RRT trail continues past the concrete plug dump (view NE) |
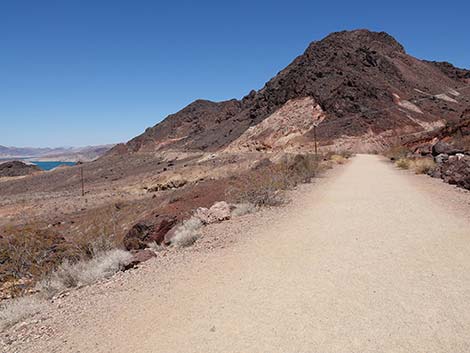
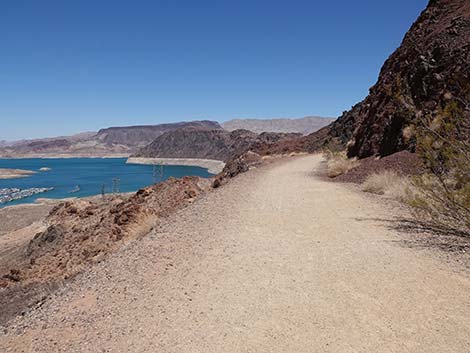
 Grand views out across Lake Mead (view NE) |
 RRT trail approaching the next information sign (view NE) |
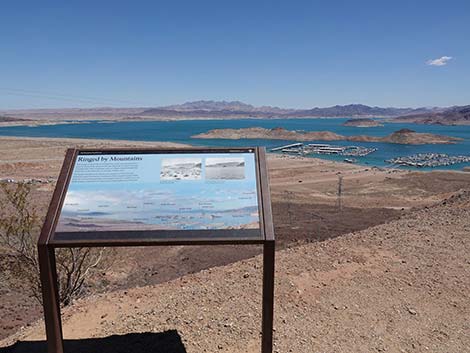 RRT trail at the next information sign (view NE) |
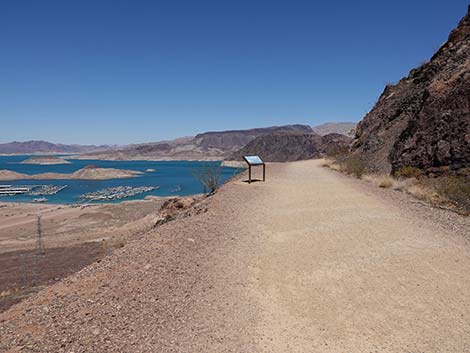
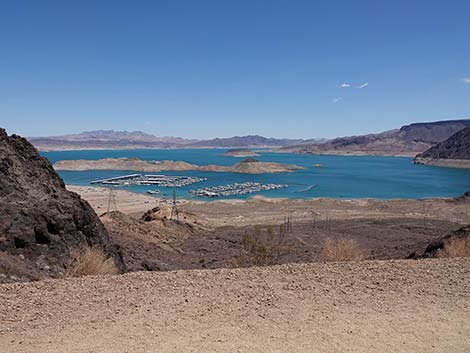
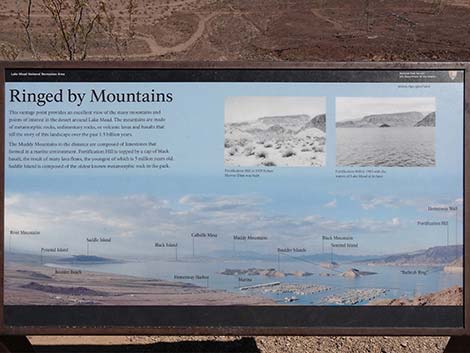 Sign: Ringed by Mountains (points of interest identified) |
 RRT trail continues past the sign (view NE) |
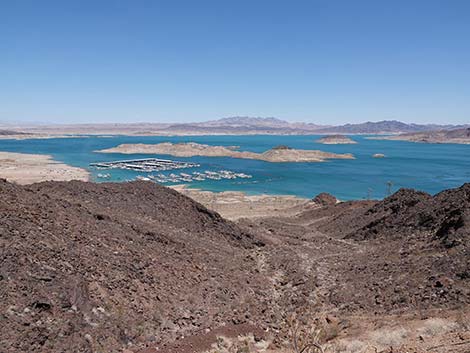
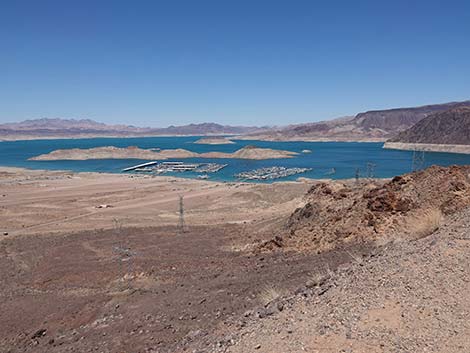 More grand views out across Lake Mead (view NE) |
 RRT trail begins to turn the next corner (view E) |
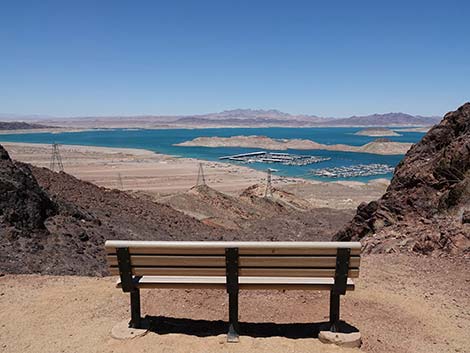
 Tunnel #1 and a bench come into view (view SE) |
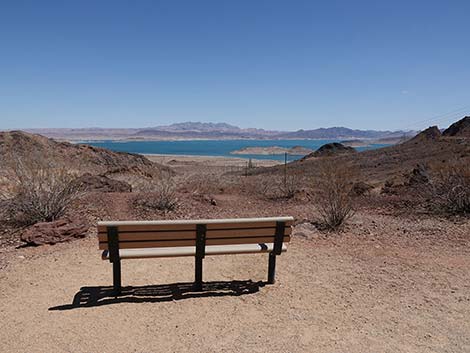
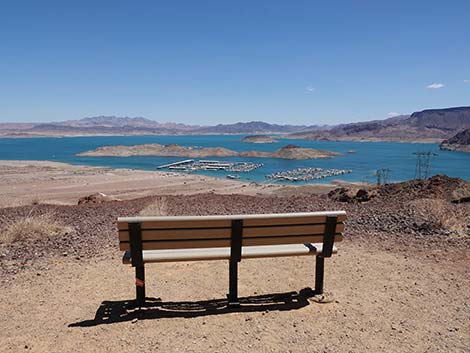 Bench with a view towards the marinas (view NE) |
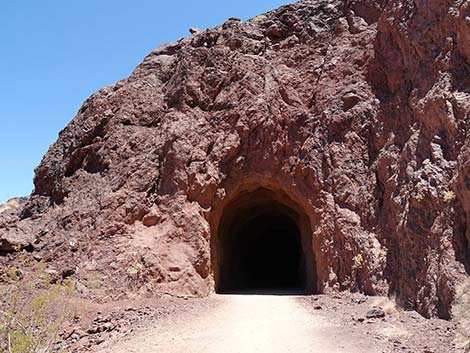
 RRT trail approaching Tunnel #1 (view SE) |
 RRT trail approaching Tunnel #1 (view SE) |
 More grand views out across Lake Mead (view NE) |
 RRT trail at Tunnel #1 (view SE) |
 Bench and sign at entrance to Tunnel #1 |
 Bench with a view, but so grand (view NE) |
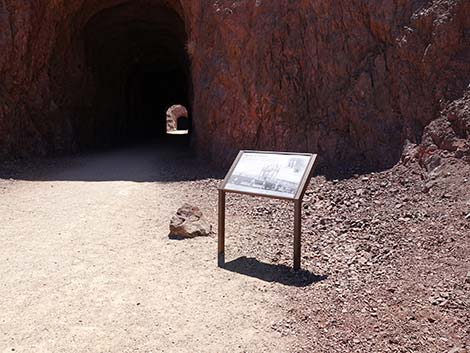 RRT trail approaching sign at entrance to Tunnel #1 (view SE) |
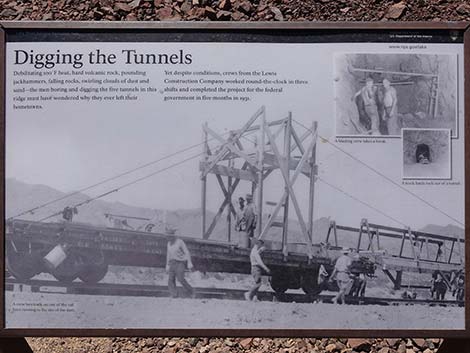 Sign: Digging the Tunnels |
 RRT trail at entrance to Tunnel #1 (view SE) |
 RRT trail inside entrance to Tunnel #1 (view SE towards Tunnel #2) |
 RRT trail inside Tunnel #1 looking out towards Tunnel #2 |
 RRT trail approaching timbers inside Tunnel #1 |
 Timbers and cribbing inside Tunnel #1 support the roof |
 Timbers and cribbing inside Tunnel #1 support the roof |
 Timbers and cribbing inside Tunnel #1 support the roof |
 Timbers and cribbing inside Tunnel #1 support the roof |
 Close-up of timbers inside Tunnel #1 |
 Close-up of timbers inside Tunnel #1 |
 RRT trail at exit from Tunnel #1; looking out towards Tunnel #2 |
 RRT trail exiting Tunnel #1 (view SE) |
 View at exit from Tunnel #1 |
 RRT trail continuing towards Tunnel #2 (view SE) |
 Between Tunnel #1 and Tunnel #2 |
 The grand view keep coming (view NE) |
 RRT trail approaching Tunnel #2 (view SE) |
 RRT trail approaching a bench and sign (view SE) |
 Bench and sign outside Tunnel #2 |
 Not the grandest view, but pretty good (view N) |
 Sign at entrance to Tunnel #2 |
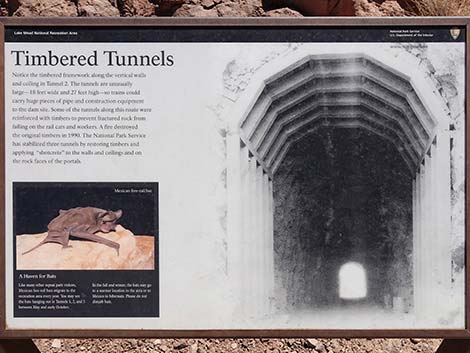 Sign: Timbered Tunnels |
 RRT trail at entrance to Tunnel #2 (view SE) |
 Tunnel #2 has a slight curve to the right (view SE) |
 Inside Tunnel #2 looking towards shipping container (view SE) |
 Inside Tunnel #2: two Mexican Free-tailed Bats flying around! |
 RRT trail approaching the shipping container inside Tunnel #2 |
 Fencing forces hikers into the shipping container |
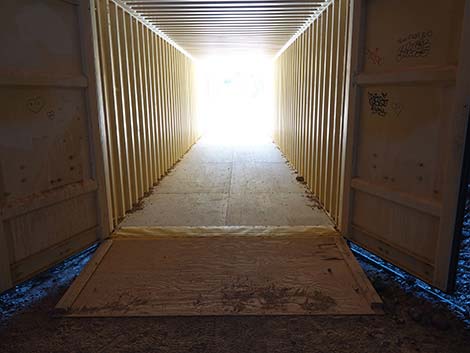 A ramp facilitates wheel chairs and bicycles |
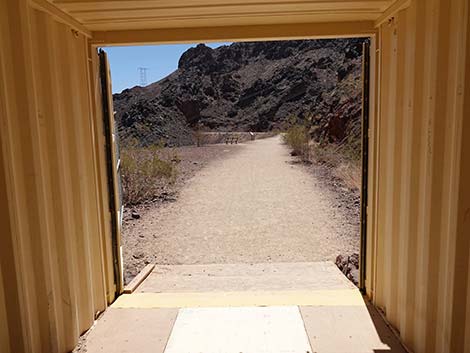 RRT trail exiting the shipping container (view SE) |
 RRT trail exiting Tunnel #2 (view SE) |
 RRT trail approaching the next bench (view SE) |
 Another bench with a view (view NE) |
 RRT trail approaching the next sign (view SE) |
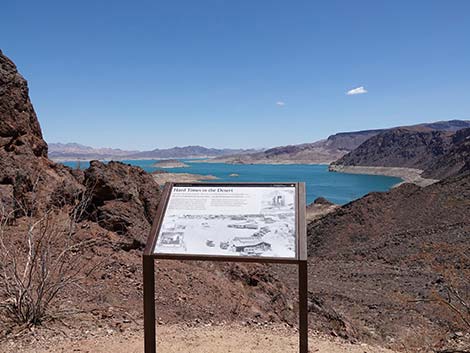 Information sign between Tunnels #2 and #3 |
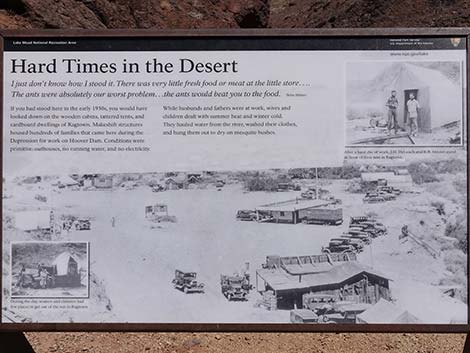 Sign: Hard Times in the Desert (the hard lives of dam workers) |
 RRT trail continues past Tunnel #2 (view SE) |
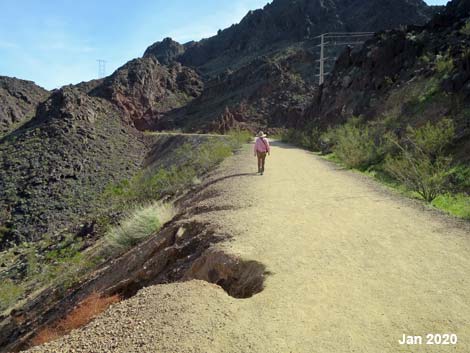 Watch for washouts on the edge of the trail (Jan 2020) |
 Still: Watch for washouts on the edge of the trail (Jul 2022) |
 RRT trail continuing towards Tunnel #3 (view SE) |
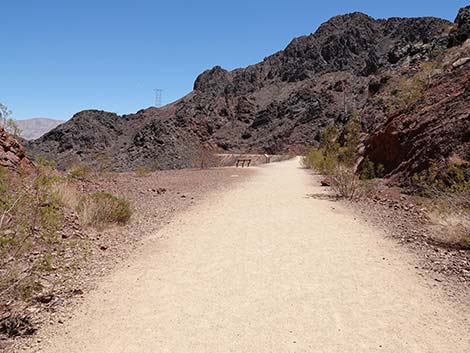
 Grand views between Tunnels #2 and #3 |
 RRT trail continuing towards Tunnel #3 (view SE) |
 More washouts on the edge of the trail (Jul 2022) |
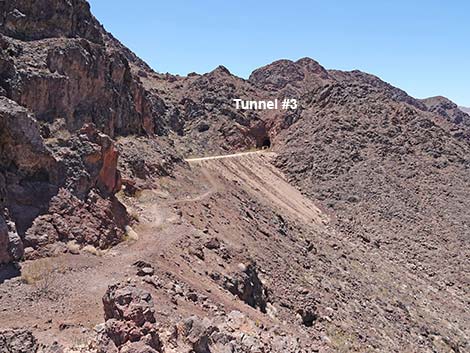
 Approaching Tunnel #3 (view E) |
 RRT trail approaching Tunnel #3 entrance (view NE) |
 Entering Tunnel #3 (view NE) |
 Smooth left wall of Tunnel #3 is the trace of an earthquake fault |
 Close-up of smooth earthquake fault trace |
 I wonder if an owl roosts up there |
 Inside Tunnel #3 (the dark spot is bat guano) |
 Bat guano on the floor |
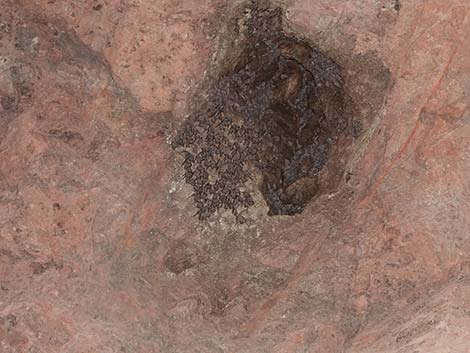 Hard to make out, but about 200 gray bats in the belfry! |
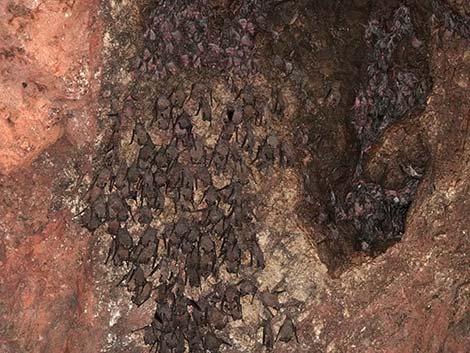 Lots of Mexican Free-tailed Bats in the belfry! |
 Inside Tunnel #3 looks out through shipping container (view NE) |
 Inside Tunnel #3 approaching the shipping container (view NE) |
 Inside Tunnel #3, looking out through the container |
 Inside Tunnel #3 container |
 Exiting the shipping container inside Tunnel #3 container (view NE) |
 Exiting Tunnel #3 container (view NE) |
 Past Tunnel #3, another grand view over Lake Mead (view NE) |
 RRT trail approaching another bench (view NE) |
 Another bench with a view (view N) |
 Unfortunately, the view is better from the other edge of the trail |
 RRT trail continuing past Tunnel #3 (view NE) |
 RRT trail approaching Tunnel #4 (note trail at left) |
 RRT trail at entrance to Tunnel #4 (view NE) |
Detour Around Tunnel #4 to Scenic Knob
 Use-trail at left bypasses Tunnel #4 towards scenic knob (view NE) |
 Use-trail bypassing Tunnel #4 to scenic knob (view NE) |
 Use-trail bypassing Tunnel #4 to scenic knob (view NE) |
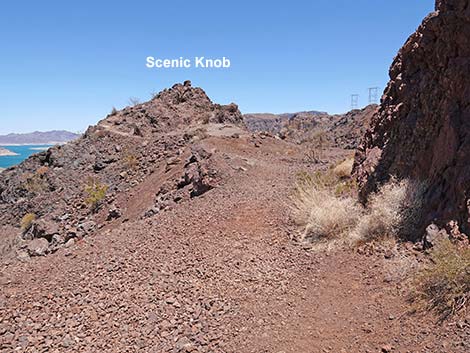 Scenic knob comes into view (view E) |
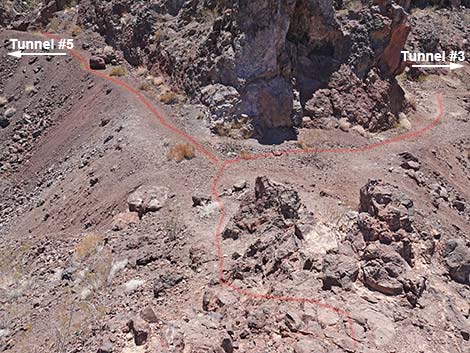
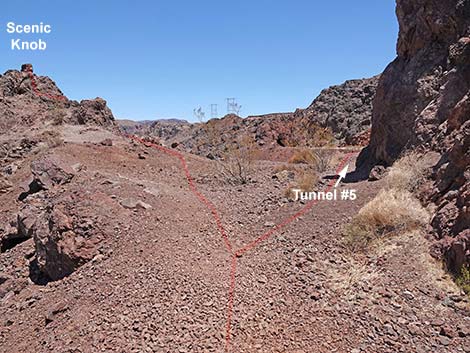 Use-trail splits: left to Scenic Knob, right to Tunnel #5 |
 Just like stairs (view NE) |
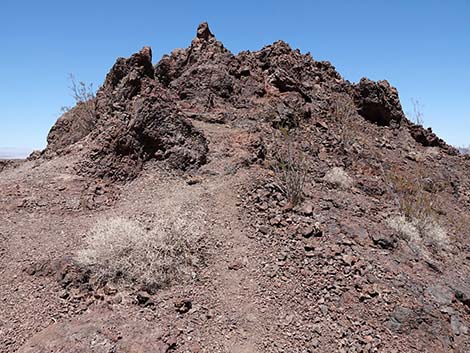
 Approaching top of Scenic Knob (view N) |
 Top of Scenic Knob (view NE) |
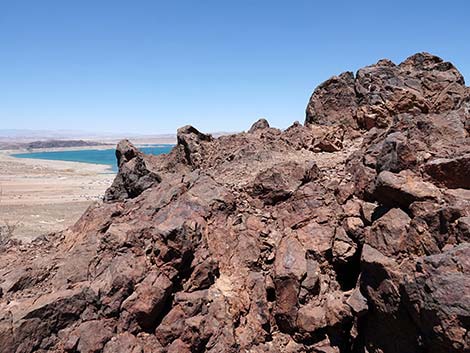
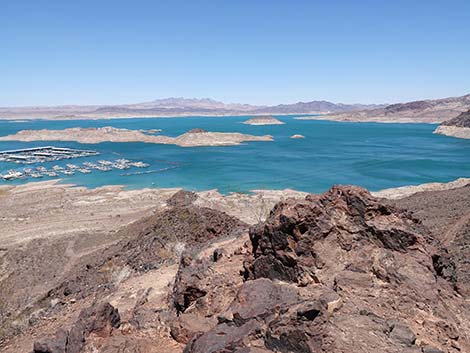
 View from atop Scenic Knob (view W) |
 View from atop Scenic Knob (view NW) |
 View from atop Scenic Knob (view N) |
 View from atop Scenic Knob (view NE) |
 View from atop Scenic Knob (view SE) |
 Atop Scenic Knob (view S back towards use-trail) |
 |
 |
 |
 |
Continuing on RRT trail through Tunnel #4
 Continuing on RRT trail into the entrance of Tunnel #4 |
 RRT trail inside entrance to Tunnel #4 |
 RRT trail approaching exit from Tunnel #4 (view E) |
 RRT trail exiting Tunnel #4 (view E) |
 Trail, on the left, that leads to scenic view atop rocky knob (view N) |
 Another big view of Lake Mead (view NE) |
 RRT trail continuing past Tunnel #4 (view E) |
 RRT trail approaching another bench (view E) |
 Bench with a view (view NE) |
 RRT trail continuing past Tunnel #4 (view E) |
 RRT trail continues towards Tunnel #5 (view NE) |
 Sunset view of Lake Mead (view N) |
 RRT trail approaching Tunnel #5 (view NE) |
 RRT trail approaching another bench (view NE) |
 Big view from the Tunnel #5 bench (view N) |
 RRT trail approaching entrance to Tunnel #5 (view NE) |
 RRT trail at entrance to Tunnel #5 (view NE) |
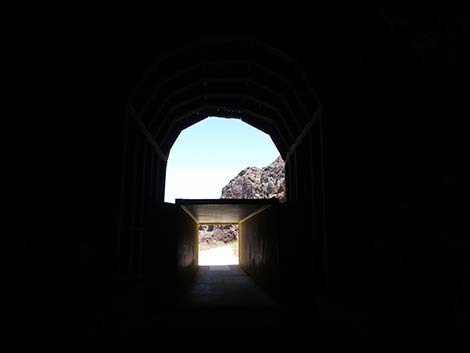
 RRT trail inside Tunnel #5: no exit if visible (view NE) |
 Tunnel #5 is longer than the others and bends to the right (view E) |
 Past the bend inside Tunnel #5 (view SE) |
 RRT trail exiting from Tunnel #5 (view SE) |
 Tunnel #5 opens into a long trench (view SE) |
 RRT trail approaching gate beyond Tunnel #5 (view SE) |
 Note sign on gate (view SE) |
 Sign: Trail to dam open only during daylight hours (view SE) |
 RRT trail continues down trench past Tunnel #5 (view SE) |
 RRT trail continues down trench past Tunnel #5 (view SE) |
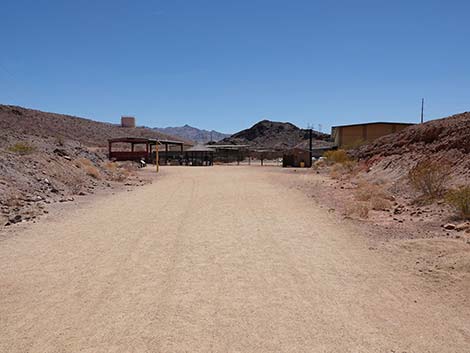 RRT trail approaching the Bureau of Reclamation Rest Area (view SE) |
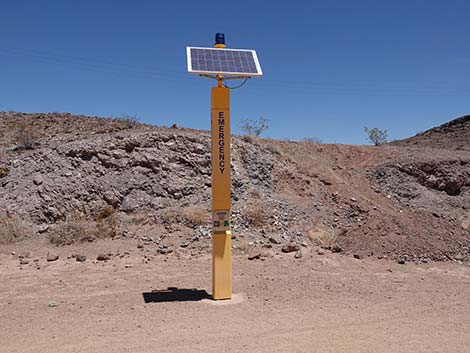 Emergency call box on the left (view NE) |
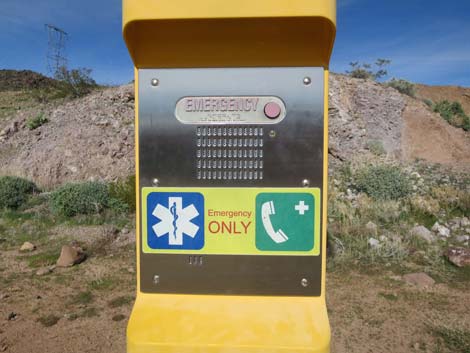 Emergency call box on the left (view NE) |
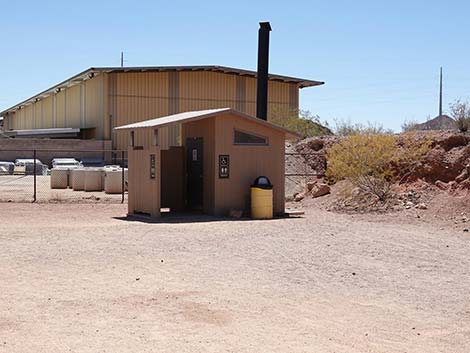 Vault toilet and trash can |
 Shaded picnic table at Bureau of Reclamation Rest Area |
 Information sign under the shade structure |
 Information sign under the shade structure |
 Information sign under the shade structure |
 Information sign (view SE) |
 Faded sign adjacent to the trail |
 Trash cans |
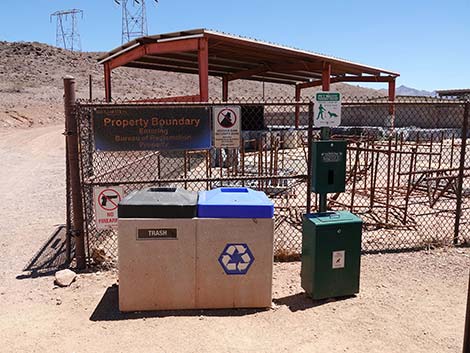
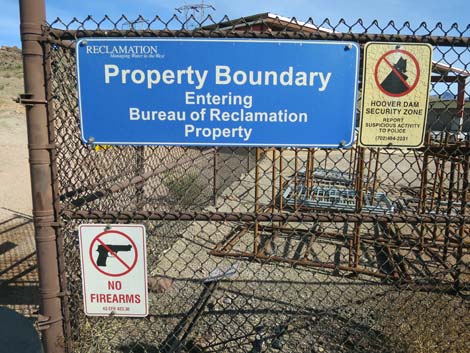 Sign: entering Bureau of Reclamation area; no guns |
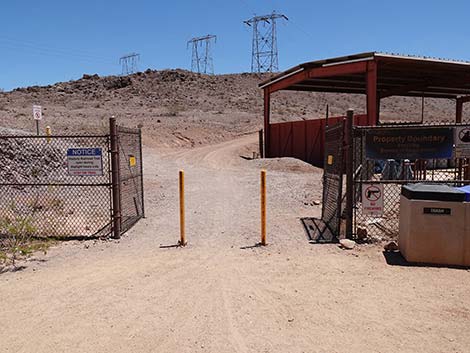 Gate to Bureau of Reclamation land; trail continues to dam (view E) |
Table 1. Hiking Coordinates Based on GPS Data (NAD27; UTM Zone 11S). Download Hiking GPS Waypoints (*.gpx) file.
| Wpt. | Location | UTM Easting | UTM Northing | Elevation (ft) | Point-to-Point Distance (mi) | Cumulative Distance (mi) | Verified |
|---|---|---|---|---|---|---|---|
| 01 | Trailhead | 698891 | 3987304 | 1,570 | 0.00 | 0.00 | GPS |
| 02 | Railroad Bed | 699134 | 3987212 | 1,589 | 0.20 | 0.20 | GPS |
| 03 | Trail to Casino | 699877 | 3987543 | 1,595 | 0.53 | 0.73 | GPS |
| 04 | First Tunnel (before) | 700505 | 3987994 | 1,599 | 0.54 | 1.27 | GPS |
| 05 | Last Tunnel (after) | 701916 | 3987925 | 1,581 | 0.94 | 2.21 | GPS |
| 01 | Trailhead | 698891 | 3987304 | 1,570 | 2.21 | 4.42 | GPS |
| . | . | . | . | . | . | . | . |
| 06 | Trail Junction | 702843 | 3988201 | 1,532 | 0.77 | 2.98 | GPS |
| 07 | Trail Junction | 703093 | 3987952 | 1,473 | 0.26 | 3.24 | GPS |
| 08 | Trail Junction | 703294 | 3988051 | 1,444 | 0.14 | 3.38 | GPS |
| 09 | West Gate | 703325 | 3988063 | 1,444 | 0.03 | 3.41 | GPS |
| 10 | East Gate | 703452 | 3988042 | 1,460 | 0.08 | 3.49 | GPS |
| 11 | Parking Garage Top | 703556 | 3987952 | 1,378 | 0.16 | 3.65 | GPS |
| 12 | Dam View | 703900 | 3988021 | 1,250 | 0.30 | 3.95 | GPS |
| 01 | Trailhead | 698891 | 3987304 | 1,570 | 3.95 | 7.90 | GPS |
Happy Hiking! All distances, elevations, and other facts are approximate.
![]() ; Last updated 240326
; Last updated 240326
| Hiking Around Lake Mead | Hiking Around Las Vegas | Glossary | Copyright, Conditions, Disclaimer | Home |