Hiking Around Las Vegas, Spring Mountains (Mt. Charleston), Cold Creek Area
 Historical (2002) Bonanza Peak trailhead sign (view W) |
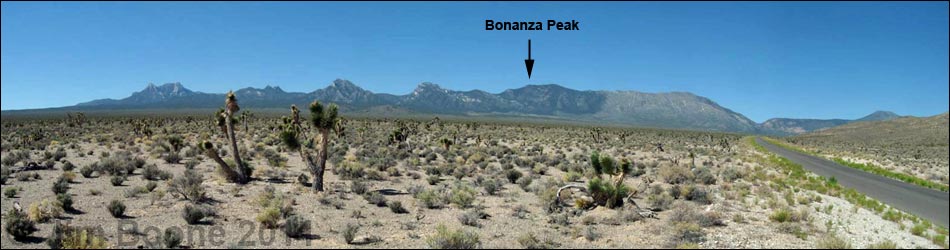
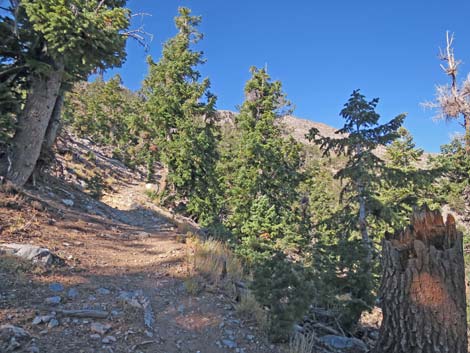
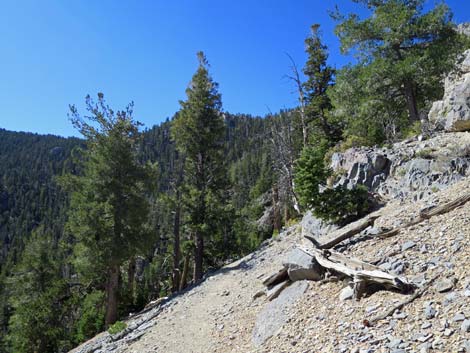
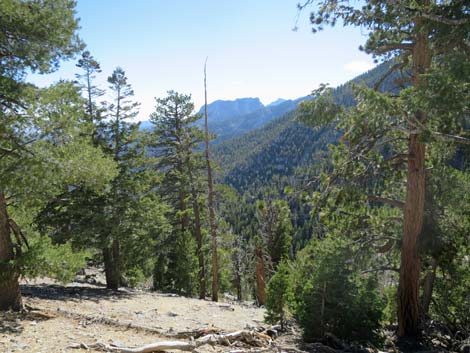
Overview This hike is strenuous, 4-miles and 3,000-ft elevation gain (one-way), but the grades are fairly consistent and never extreme. The trail starts at the Bonanza Trailhead above Cold Creek, climbs some 80 switchbacks to the crest of the Spring Mountains, then heads south along the crest, passing a few more switchbacks, to the summit. The trail is forested all the way to the summit with trees that provide lots of shade. The lower trail is forested with ponderosa pine, white fir, and mountain mahogany, and higher up forested with bristlecone pines. There is even some common juniper, uncommon in this part of the world, higher up. There are great views through the trees to the east from many places along this scenic trail, but the views are especially grand from Bonanza Saddle (views east and west) and from Bonanza Peak (views east, south, and west). Above Bonanza Saddle, there are even nice views north. For photos of the descent, see Bonanza Peak Descent. Link to map. |
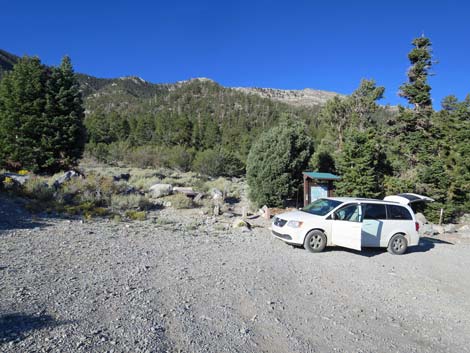 Modern Bonanza Peak trailhead (view W) |
Watch Out Other than the standard warnings about hiking in the desert, this is a long trail to a high-elevation place, so take it easy if you've just come up from the desert. This trail probably is a bit much for young children. There are some nice rocky overlooks on the ridgeline, but watch you step near the edge. The access road is rough and usually requires a 2WD-HC vehicle, but not 4WD. Sometimes it is passable in a sedan. While hiking, please respect the land and the other people out there, and try to Leave No Trace of your passage. Also, this is a long hike, so be sure to bring the 10 Essentials. |
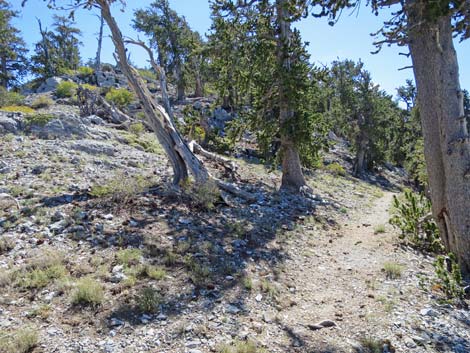
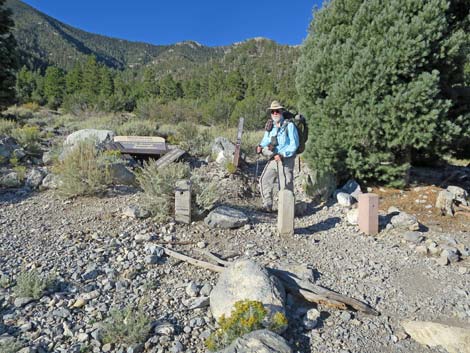 Departing the trailhead (view SW; note trailhead sign is down) |
Getting to the Trailhead This hike is located above Cold Creek in the Spring Mountains National Recreation Area, about 1.25 hours northwest of Las Vegas. From town, drive north on Highway 95 to Cold Creek Road. Turn left onto Cold Creek Road and drive west through the town of Cold Creek. On the far edge of town, the pavement ends, but the road continues to the Bonanza Trailhead at the very end of the road. |
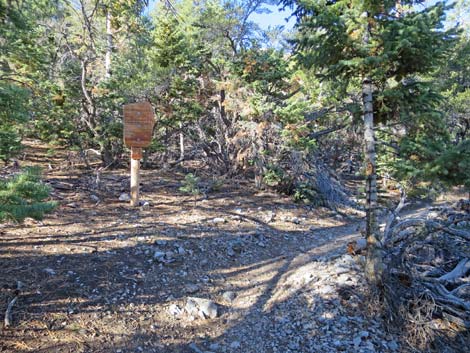
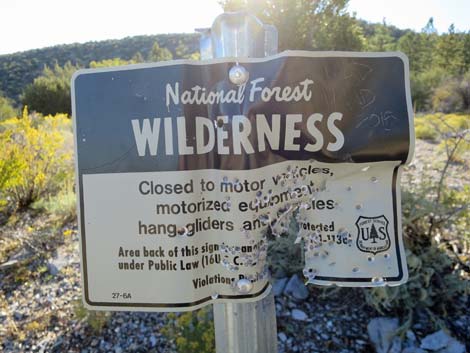 Small wilderness area sign near trailhead (view SE) |
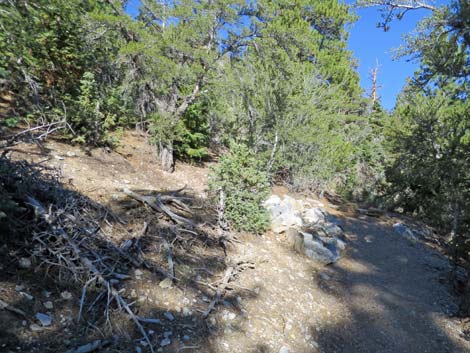
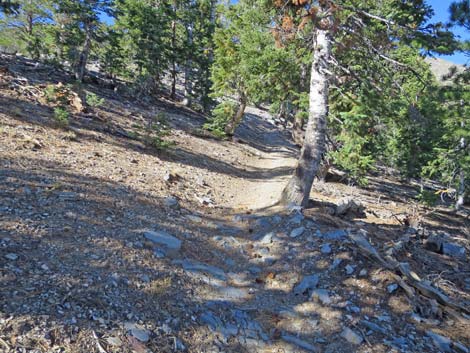
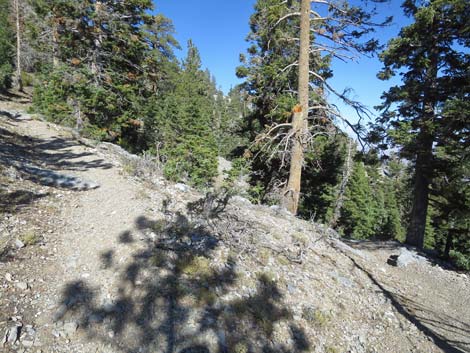
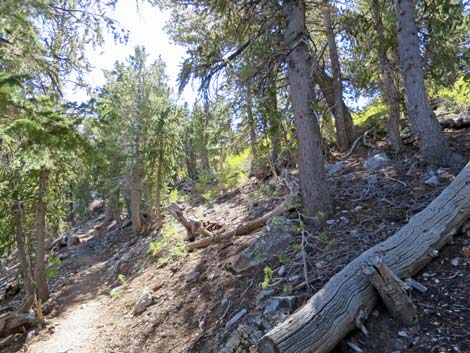
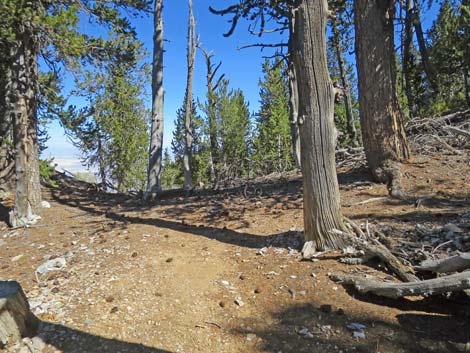
The Hike From the trailhead (Table 2, Waypoint 01), the trail begins in the farthest corner of the large parking lot (southwest corner) by a trailhead sign. Don't be confused by another trail that departs from the northwest corner of the parking lot and heads northwest to the old Bonanza Boy Scout Camp and on to Whisky Spring. From the trailhead, the Bonanza Trail runs southwest across an open area (was a grassy meadow, but now is growing in with shrubs and trees). When the trail enters the forest, it becomes clearly marked and is easy to follow. |
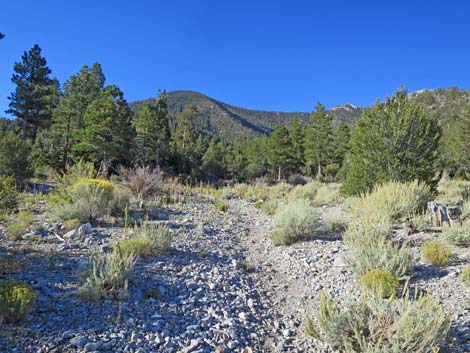 Crossing the old meadow area (view SW) |
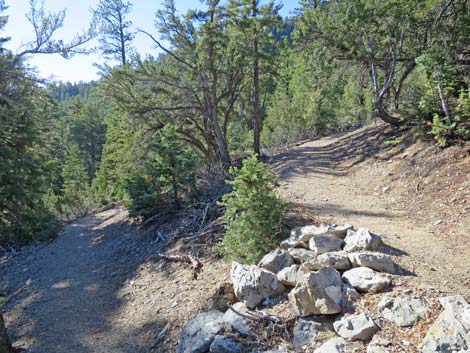
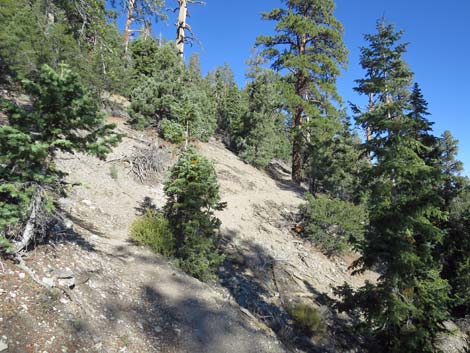
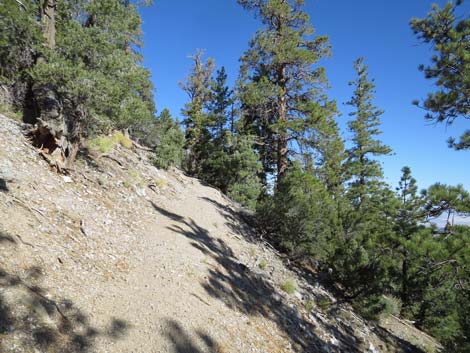
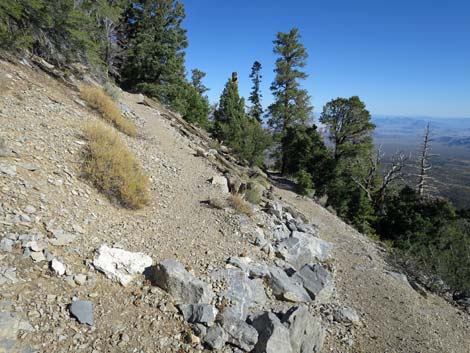
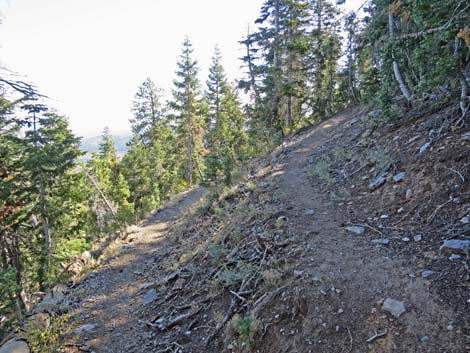
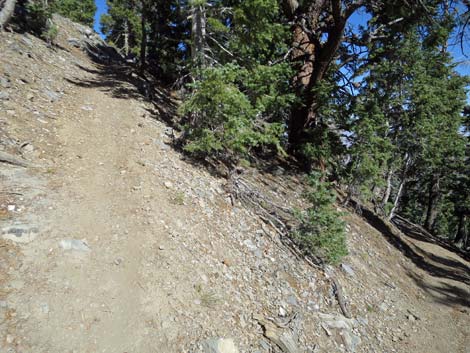
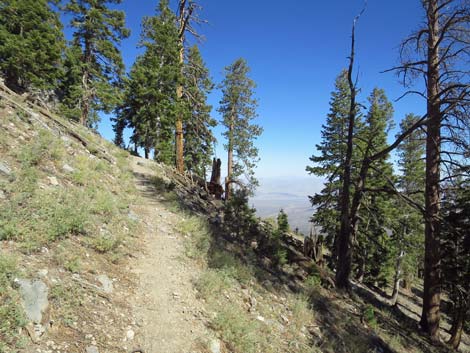
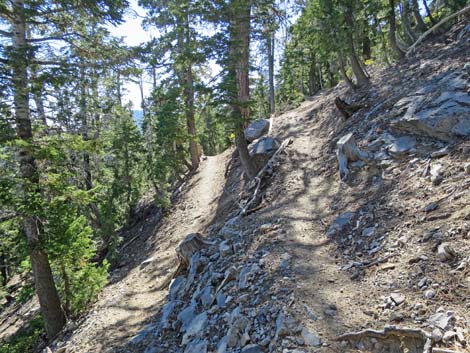
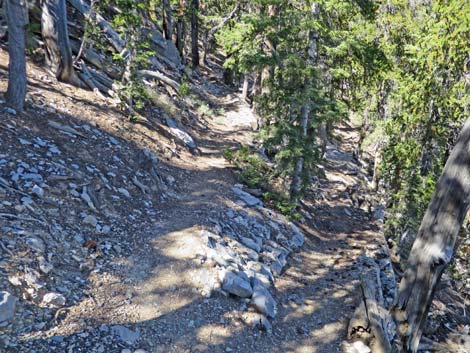
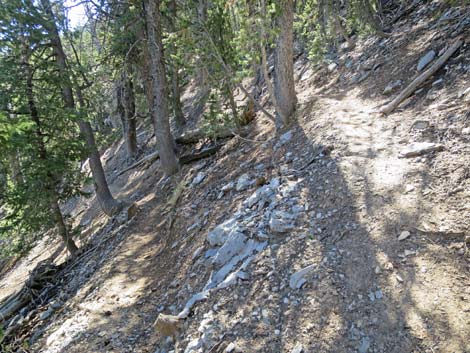
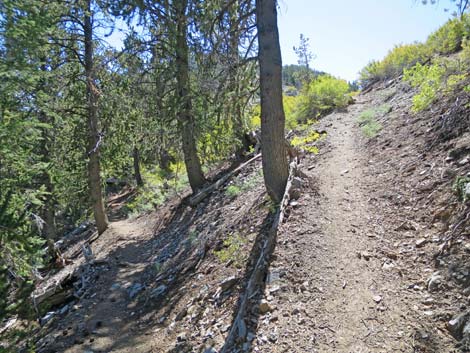
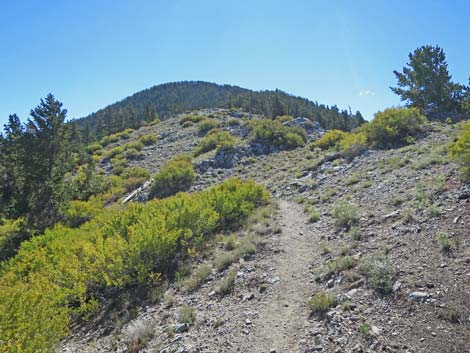
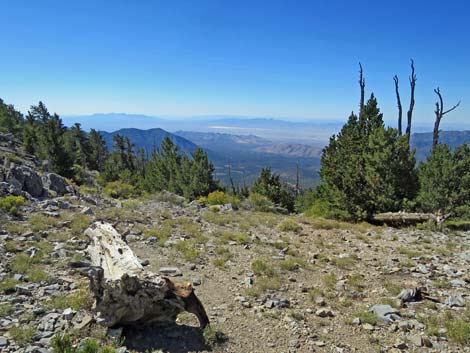
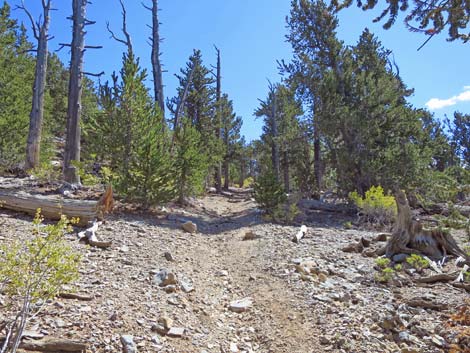
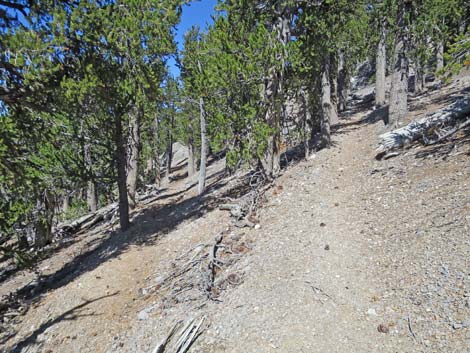
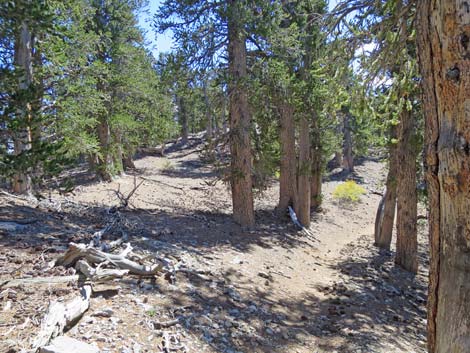
After the trail enters the forest, it makes a big loop and curves around towards the north. The trail steepens and starts switchbacking up the side of a side ridge. The trail eventually gains the crest of the side ridge and follows it westward towards the main ridge. In this area, the switchbacks are shorter and steeper, and parts of the trail run steeply straight up the side ridge. The trail eventually runs far enough north to touch the edge (Wpt. 02) of the burn area that killed most of trees on the mountains above Cold Creek village. From that point (it is a nice view without trees in the way), the trail begins a long gentle traverse southward across the hillside and climbs onto Bonanza Saddle (Wpt. 03). The saddle provides great views east and west. From Bonanza Saddle (Wpt. 3), the trail runs south. In the treeless area near the saddle, the trail runs atop the crest, but then drifts onto the west side of the ridge and stays on the west side in the trees heading towards the summit. |
 Entering the forest (view SW) |
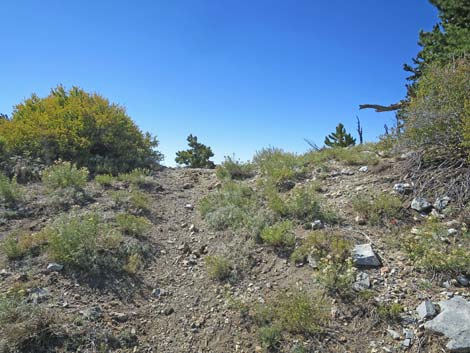
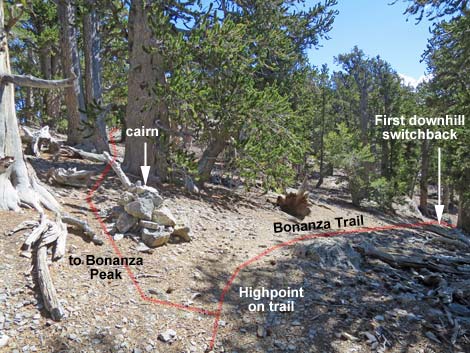
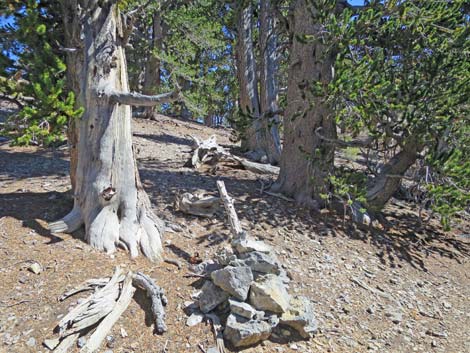
Surprisingly, the Bonanza Trail does not lead to the summit. In fact, there is no use-trail or other obvious place to leave the Bonanza Trail and head for the summit, and hikers could even hike past the summit and start down the other side of the mountain before realizing that they had gone too far. Finding the cutoff (Wpt. 04), however, is easy. All the way from the trailhead, every switchback leads uphill. The trail runs uphill and down, but all of the switchbacks turn uphill. Close to the cutoff, the trail passes below a long band of 15- to 20-ft-high limestone cliffs to the east. The trail tops a little rise (marked with a cairn) that is just a few yards west of, and almost even with, a saddle on the ridgeline (the trail does not go over the saddle). The trail then runs downhill at a slight grade for about 50 feet to a switchback heading downhill (the first downhill switchback on the entire trail). About 10 ft back from the switchback, another cairn adorns the side of the trail. |
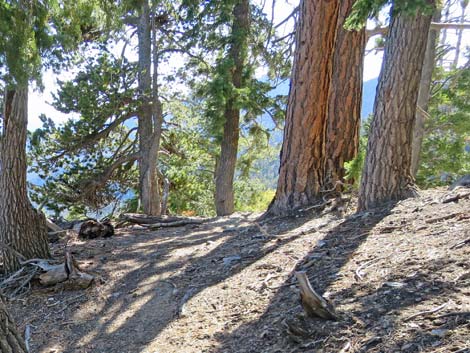
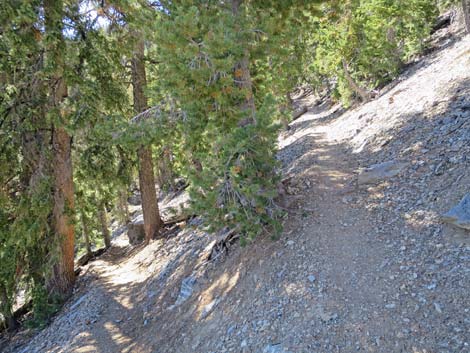
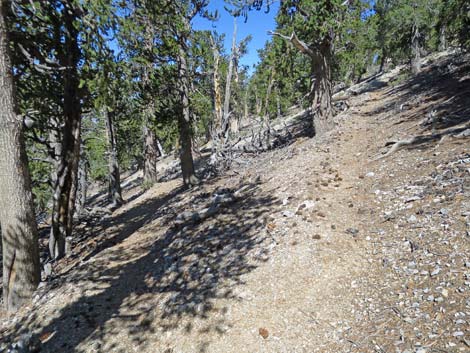
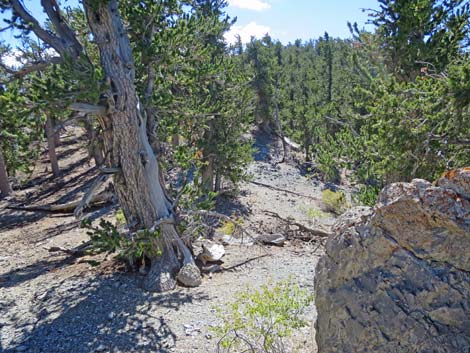
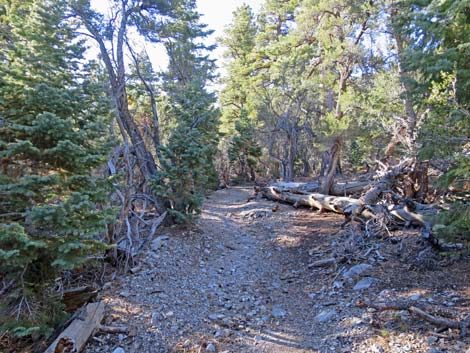 Well maintained trail in the forest (view SW) |
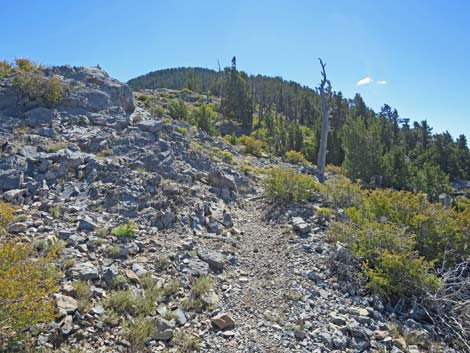
Hikers can depart the Bonanza Trail at this second cairn and climb up and south across the hillside on a faint use-trail, but it probably is easier to backtrack the 50 feet to the highpoint on the trail (the highest point on the entire Bonanza Trail; Wpt. 4), and walk out to the saddle on the ridgeline. From the saddle, a few cairns and a faint use-trail lead south up the crest of the ridge for about 0.25 miles to the summit (Wpt. 05). The summit is marked with a cairn and a register. Staying west of a highpoint on the ridgeline saves a little bit of effort. Views east, south, and west from the summit are grand, and from this high perch, hikers can even get cell phone service and check their email. I'm not sure where the tower is located, but it is not available from other places along the route. To get back to the trailhead, retrace your steps down the ridge to the trail, then follow the trail back to the parking area. Be sure to enjoy the grand views east on the way down. |
 Approaching Mt. Charleston Wilderness Area sign (view SW) |
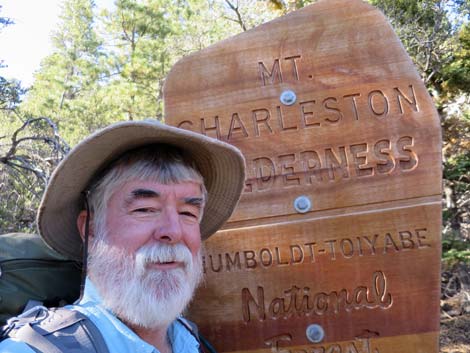 Selfie at Mt. Charleston Wilderness Area sign (view SW) |
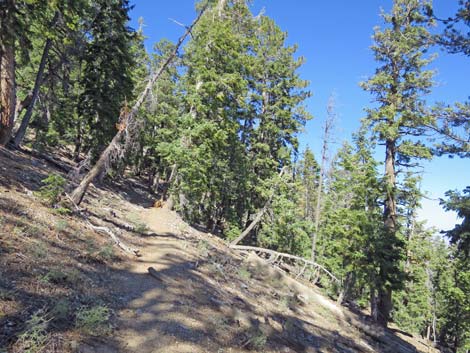
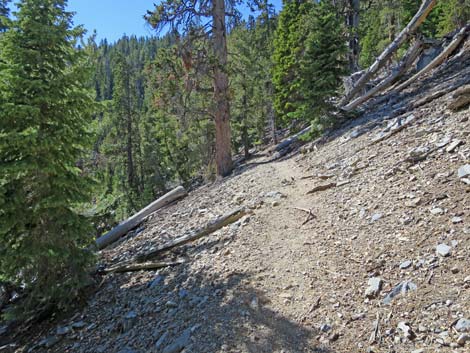
 Approaching the first of many switchbacks (view N) |
 First of many switchbacks (view S) |
 Climbing across the hillside (view NW) |
 Climbing across the hillside (view NW) |
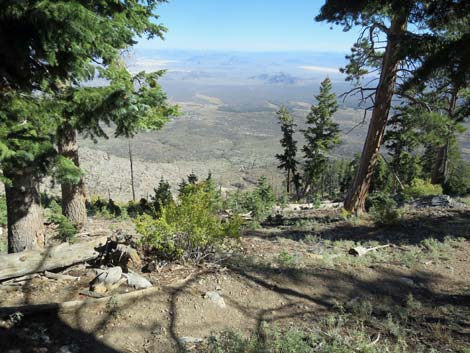
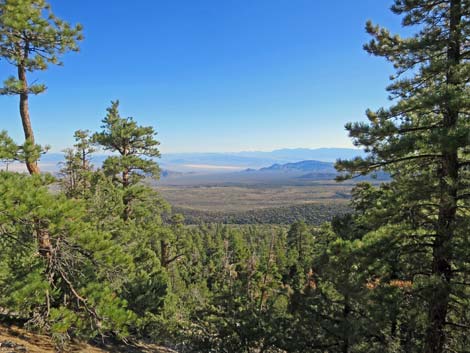 Grand view across the bombing range and DNWR (view NE) |
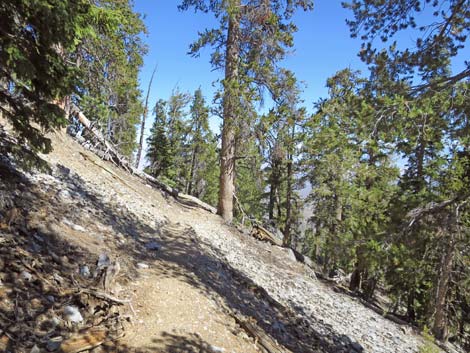
 Another switchback (view NW) |
 Another switchback (view NW) |
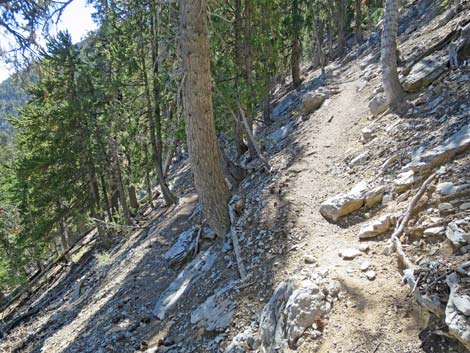
 Climbing across the hillside (view NW) |
 A steeper bit of trail (view NW) |
 Another switchback (view NW) |
 Another switchback (view SE) |
 Another switchback (view NW) |
 Approaching edge of burn zone (view N) |
 Edge of burn zone (view N) |
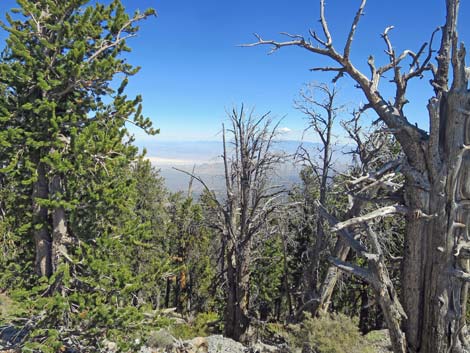
 Great view from edge of burn zone (view NE) |
 Small campsite at a switchback (view SE) |
 Climbing across the hillside (view NW) |
 Another switchback (view SE) |
 Beginning the grand traverse (view SW) |
 Mummy Mountain in the distance (view SE) |
 The grand traverse towards Bonanza Saddle (view SW) |
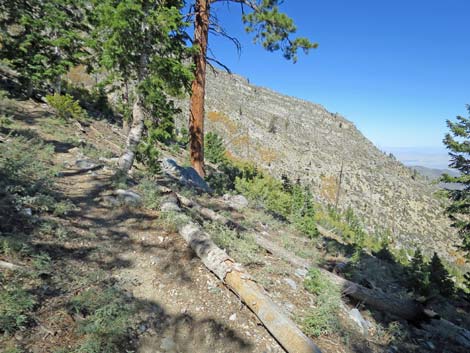
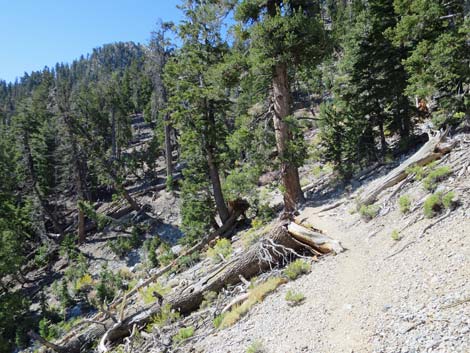
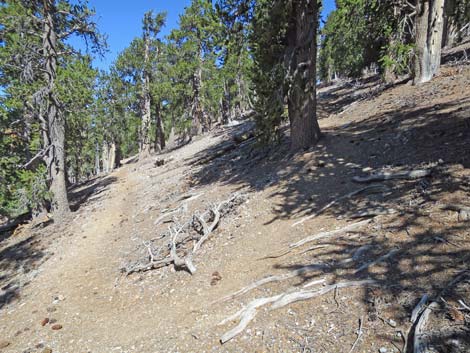
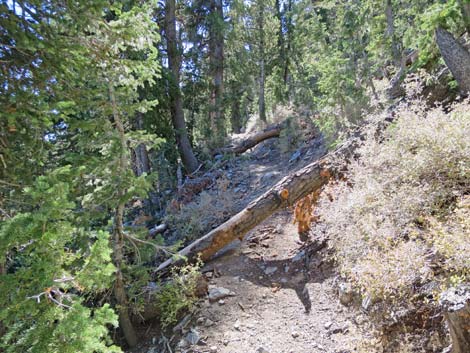 Two fallen trees: work for the trail crew (view S) |
 Common Juniper along the trail (view SE) |
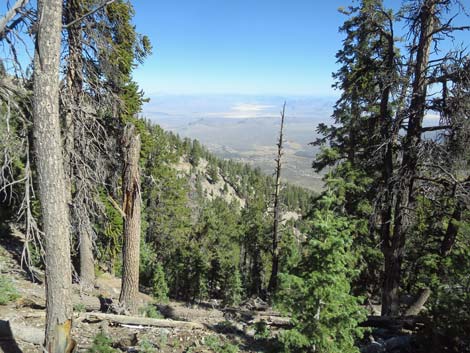 More grand views across the bombing range and DNWR (view NE) |
 Another small campsite just off Bonanza Trail (view E) |
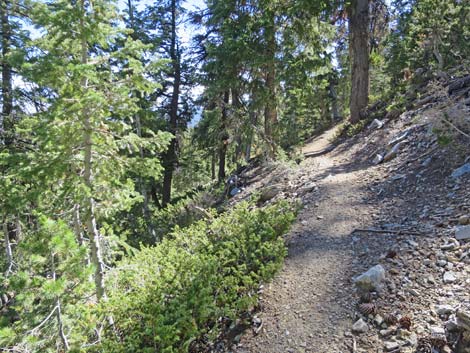
 Climbing across the hillside (view S) |
 Climbing across the hillside (view N) |
 Another switchback (view S) |
 Another switchback (view S) |
 Another switchback (view NW) |
 Another switchback (view S) |
 Approaching Bonanza Saddle (view S) |
 Last switchback before Bonanza Saddle (view S) |
 Approaching Bonanza Saddle (view S) |
 Climbing onto Bonanza Saddle (view SW) |
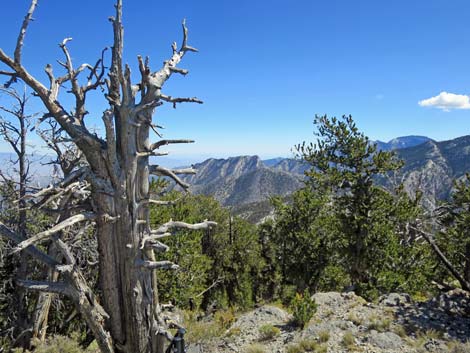
 Bonanza Saddle (view W into the Pahrump Valley) |
 Departing Bonanza Saddle (view S along the ridge) |
 Trail follows crest of the ridge leaving Bonanza Saddle (view S) |
 Contouring onto the west-facing slope (view S) |
 Another switchback (view NE) |
 Switchback near the ridgeline (view E) |
 Another switchback (view N) |
 Another switchback near the crest (view E) |
 Climbing across west-facing slope (view S) |
 Another switchback (view NE) |
 Near a low saddle, trail drops a bit to pass a rocky knob (view SE) |
 Beyond the rocky knob, a cairn at cutoff to Bonanza Peak (view SE) |
 Cairn with stick pointing towards the ridgeline (view SE) |
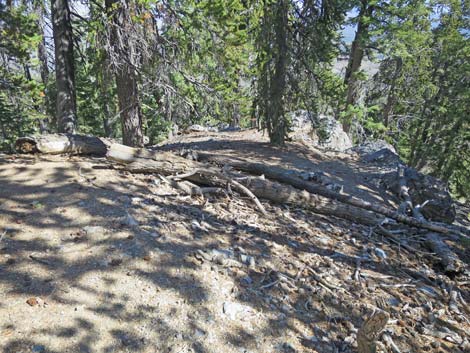
 Campsite on ridgeline (view SE) |
 Approaching slickrock limestone on the ridgeline (view S) |
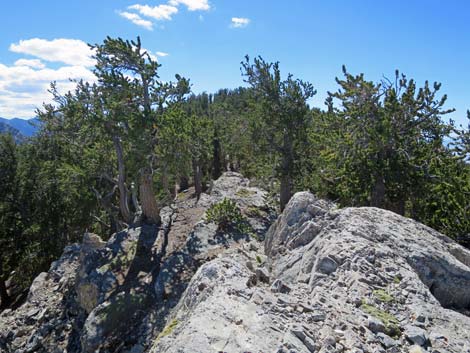 Oops, a rocky false summit (view S) |
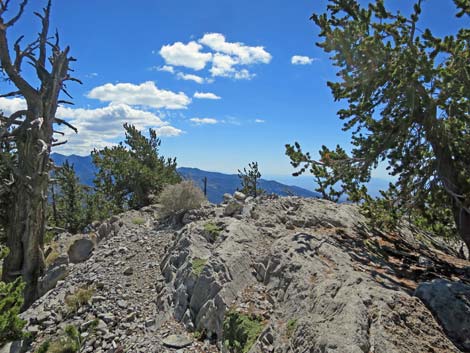
 Ridgeline past the rocky false summit (view S) |
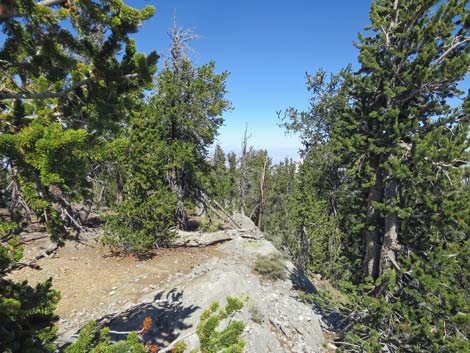
 Faint use-trail near the ridgeline (view S) |
 Campsite just below the summit (view S) |
 Approaching Bonanza Peak Summit (view SW) |
 Bonanza Peak Summit (view SW) |
 Bonanza Peak Summit (view E) |
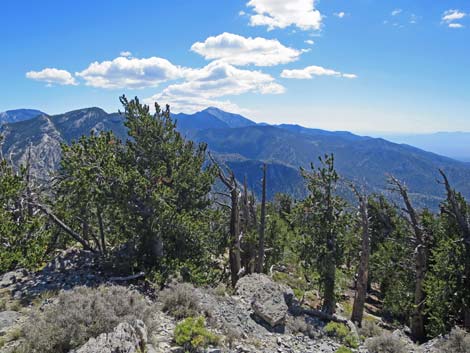
 Bonanza Peak Summit (view SE) |
 Bonanza Peak Summit (view S) |
 Bonanza Peak Summit (view N; departure route) |
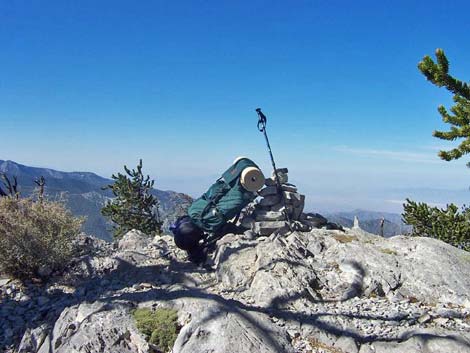
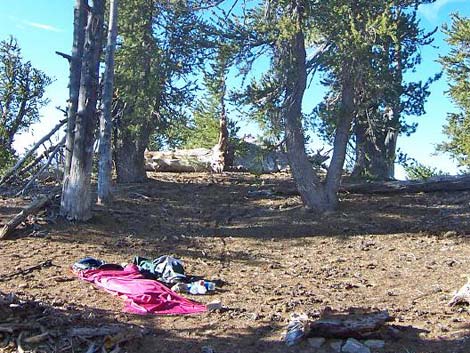 Leave-no-trace campsite just below summit |
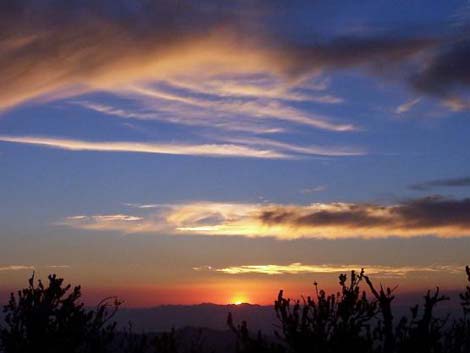 Sunset from the summit |
Table 2. Hiking Coordinates Based on GPS Data (NAD27; UTM Zone 11S). Download Hiking GPS Waypoints (*.gpx) file.
| Wpt. | Location | UTM Easting | UTM Northing | Elevation (ft) | Point-to-Point Distance (mi) | Cumulative Distance (mi) | Verified |
|---|---|---|---|---|---|---|---|
| 01 | Bonanza Trailhead | 613006 | 4026888 | 7,553 | 0.00 | 0.00 | Yes |
| 02 | Burn Area | 611728 | 4026451 | 9,013 | 1.79 | 1.79 | GPS |
| 03 | Bonanza Saddle | 611679 | 4025509 | 9,803 | 1.19 | 2.98 | GPS |
| 04 | Highest Point on Bonanza Trail | 612378 | 4024663 | 10,355 | 0.86 | 3.84 | GPS |
| 05 | Bonanza Peak | 612465 | 4024347 | 10,397 | 0.23 | 4.07 | GPS |
Happy Hiking! All distances, elevations, and other facts are approximate.
![]() ; Last updated 240329
; Last updated 240329
| Hiking Around Mt Charleston | Hiking Around Las Vegas | Glossary | Copyright, Conditions, Disclaimer | Home |